Creating an Azure VM is a very straightforward process – all you have to do is follow the given steps:
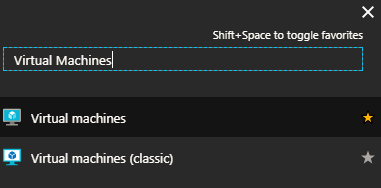
- Navigate to the Azure portal and search for Virtual Machines, as shown in the following screenshot:

Figure 3.1: Searching for Virtual Machines
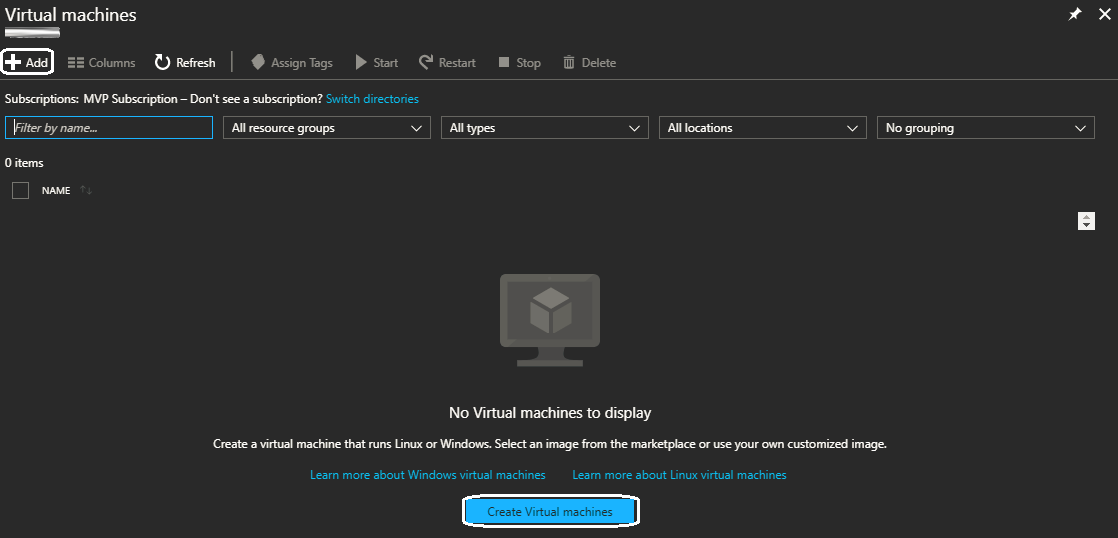
- Once the VM blade is opened, you can click on +Add to create a new VM, as shown in the following screenshot:

Figure 3.2: Virtual Machines blade
- Once you have clicked on +Add, a new blade will pop up where you have to search for and select the desired OS for the VM, as shown in the following screenshot:

Figure 3.3: Searching for Windows Server 2016 OS for the VM
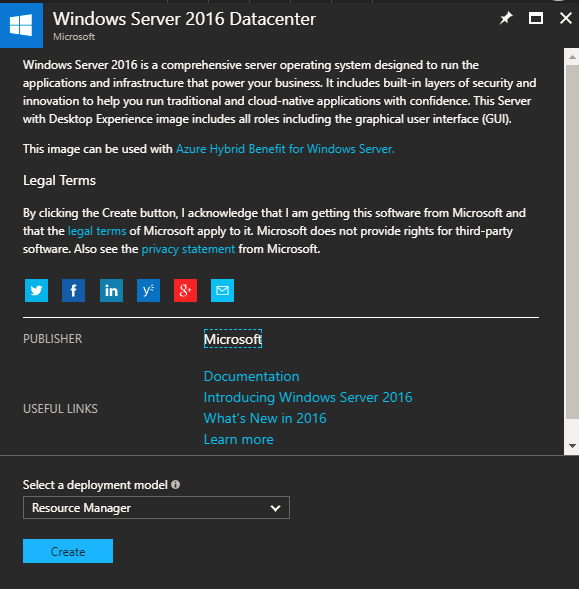
- Once the OS is selected, you need to select the deployment model, whether that be Resource Manager or Classic, as shown in the following screenshot:

Figure 3.4: Selecting the deployment model
- Once the deployment...


