(For more resources related to this topic, see here.)
You need to allow your Windows master image to communicate with your XenDesktop infrastructure. You can accomplish this task by installing Virtual Desktop Agent. In this latest release of the Citrix platform, VDA has been redeployed in three different versions: desktop operating systems, server operating systems, and Remote PC, a way to link an existing physical or virtual machine to your XenDesktop infrastructure.
Getting ready
You need to install and configure the described software with domain administrative credentials within both the desktop and server operating systems.
How to do it...
In the following section, we are going to explain the way to install and configure the three different types of Citrix Virtual Desktop Agents.
Installing VDA for a server OS machine
- Connect to the server OS master image with domain administrative credentials.
- Mount the Citrix XenDesktop 7.0 ISO on the server OS machine by right-clicking on it and selecting the Mount option
- Browse the mounted Citrix XenDesktop 7.0 DVD-ROM, and double-click on the AutoSelect.exe executable file.
- On the Welcome screen, click on the Start button to continue.
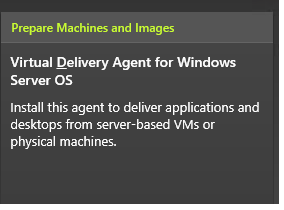
- On the XenDesktop 7.0 menu, click on the Virtual Delivery Agent for Windows Server OS link, in the Prepare Machines and Images section.
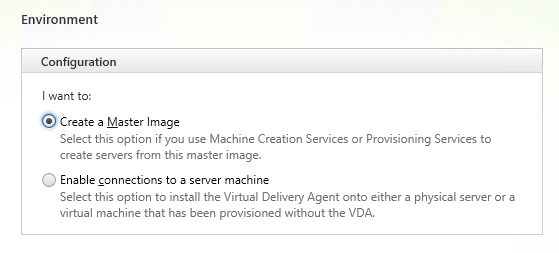
- In the Environment section, select Create a master image if you want to create a master image for the VDI architecture (MCS/PVS). Or enable a direct connection to a physical or virtual server. After completing this step, click on Next.
- In the Core Components section, select a valid location to install the agent; then flag the Citrix Receiver component; and click on the Next button.
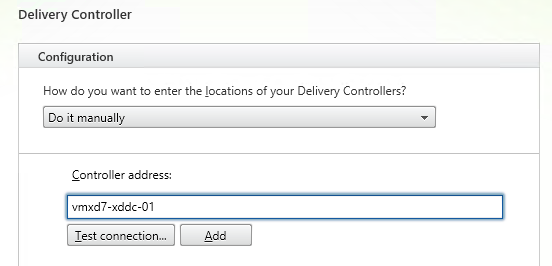
- In the Delivery Controller section, select Do it manually from the drop-down list in order to manually configure Delivery Controller; type a valid controller FQDN; and click on the Add button, as shown in the following screenshot. To continue with the installation, click on Next.
Unlock access to the largest independent learning library in Tech for FREE!
Get unlimited access to 7500+ expert-authored eBooks and video courses covering every tech area you can think of.
Renews at £16.99/month. Cancel anytime
To verify that you have entered a valid address, click on the Test connection...button.
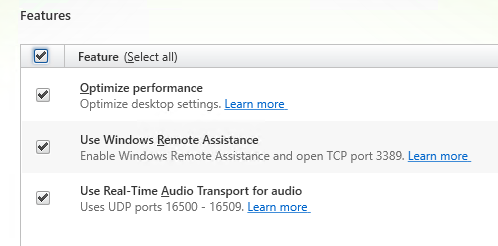
- In the Features section flag, choose the optimization options that you want to enable, and then click on Next to continue, as shown in the following screenshot:
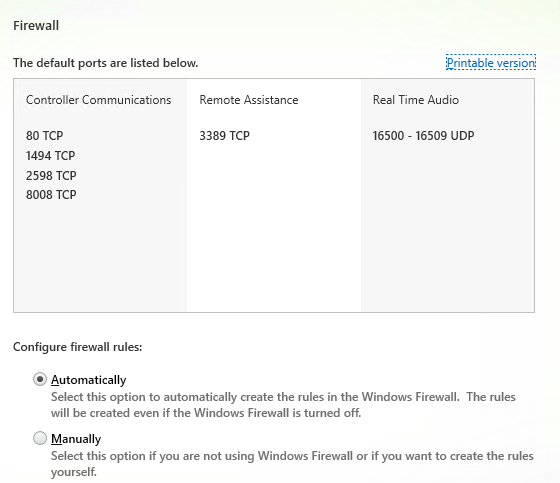
- In the Firewall section, select the correct radio button to open the required firewall ports automatically if you're using the Windows Firewall, or manually if you've got a firewall other than that on board. After completing this action, click on the Next button as shown in the following screenshot:
- If the options in the Summary screen are correct, click on the Install button to complete the installation procedure.
In order to complete the procedure, you'll need to restart the server OS machine several times.
 United States
 Great Britain
 India
India
 Germany
 France
 Canada
 Russia
 Spain
Spain
 Brazil
 Australia
 Singapore
 Hungary
 Ukraine
 Luxembourg
 Estonia
 Lithuania
 South Korea
 Turkey
 Switzerland
 Colombia
 Taiwan
 Chile
Chile
 Norway
 Ecuador
 Indonesia
 New Zealand
 Cyprus
 Denmark
 Finland
 Poland
 Malta
Malta
 Czechia
 Austria
 Sweden
 Italy
Italy
 Egypt
Egypt
 Belgium
 Portugal
 Slovenia
 Ireland
 Romania
 Greece
 Argentina
 Netherlands
 Bulgaria
 Latvia
 South Africa
 Malaysia
 Japan
Japan
 Slovakia
 Philippines
 Mexico
 Thailand


