Hello World
Now that we have everything we need installed, we should make sure that Haxe, OpenFL, and HaxeFlixel are all up and running. To do this, we'll create a new project using the command line, run it, and then add an image to the screen to ensure that we can make changes.
Creating a project
To create a project, open up a command or terminal window and navigate to the folder in which you want your game's folder to be created.
After doing this, enter this command:
flixel tpl -n "HelloWorld"
This will create a new folder using the standard HaxeFlixel project template. It will also create project files for your code-editing tool of choice, allowing for quick integration out of the box.
Tip
If HaxeFlixel doesn't automatically open your project in your code-editing tool, open it in the tool manually. For FlashDevelop users, double-click on the .hxproj file in the project's folder. For Sublime Text users, drag your project's folder into an empty Sublime window.
A number of Haxe classes with the file extension .hx will be created. These are the base files you need to get a basic HaxeFlixel project up and running. We'll be going over the project's structure throughout the book, so it's not important to know what everything means right now.
Running the project
Now that we have a project set up, we can run it to see what we get out of the box.
If you're running FlashDevelop, select Debug from the drop-down list next to the play button and then select flash from the drop-down list next to that. After this, hit the play button to run your project.
For Sublime Text users, you can press Ctrl + Enter to run the project using the Haxe package that was installed earlier.
To create a build using the command line, navigate to your project's folder and enter this command:
lime test flash
The project should build and then open with your operating system's default application for running .swf files. When the .swf file loads, you'll briefly see the HaxeFlixel logo and then you'll be presented with a blank screen.
Copying assets
We're going to need the image that we want to display, so let's get that now. In the assets provided for this chapter, there is an image named HelloWorld.png. Copy it to the images folder under assets in your project's directory.
Making changes
Now that we have the image copied to the template project, let's add the traditional Hello World image to the screen.
Open MenuState.hx and navigate to the Create function. It will look like this:
override public function create():Void
{
  super.create();
}
After super.create();, add the following lines:
var helloWorldText = new FlxSprite();
helloWorldText.loadGraphic(AssetPaths.HelloWorld__png);
add(helloWorldText);
This will create a new variable of the FlxSprite class. It will then load in the image we just copied over, and then finally add the image to the screen. We'll go into more detail about how to use the FlxSprite class and work with loaded assets later, but that's a quick rundown of what's happening.
All that's left to do is to run the project to see your changes! In FlashDevelop, you just need to press the play button. For Sublime Text users, press Ctrl + Enter.
To create a build using the command line, enter the test command again:
lime test flash
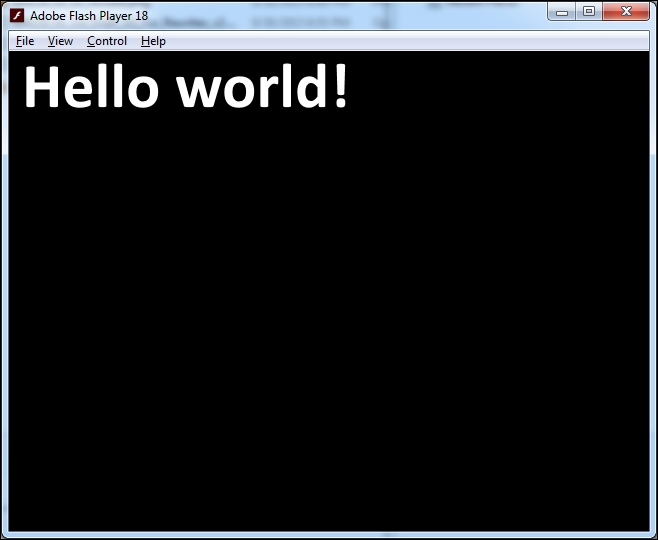
That's it! You should see your SWF load and display the text Hello world!. If something along the way didn't work, take some time to review the chapter to see where things went wrong.


