Creating a container instance
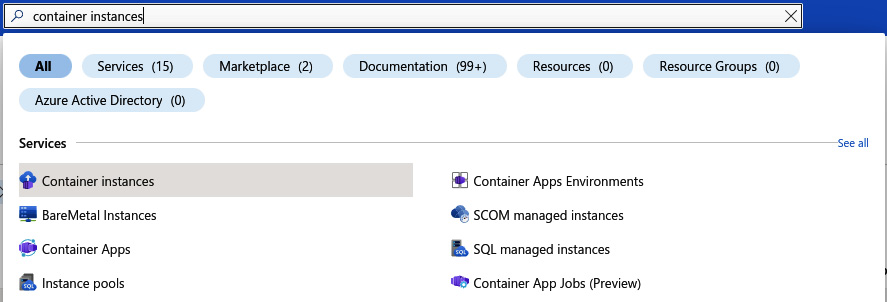
In the previous section, you performed all the steps to eventually create a container instance in Azure. You created a container registry and an image and uploaded the image to a repository inside the registry. In this section, we are going to create a container instance that uses the uploaded image of the Cargo Tracker application. Using the Search bar at the top of the Azure portal, search for container instances:

Figure 9.11 – Searching for container instances
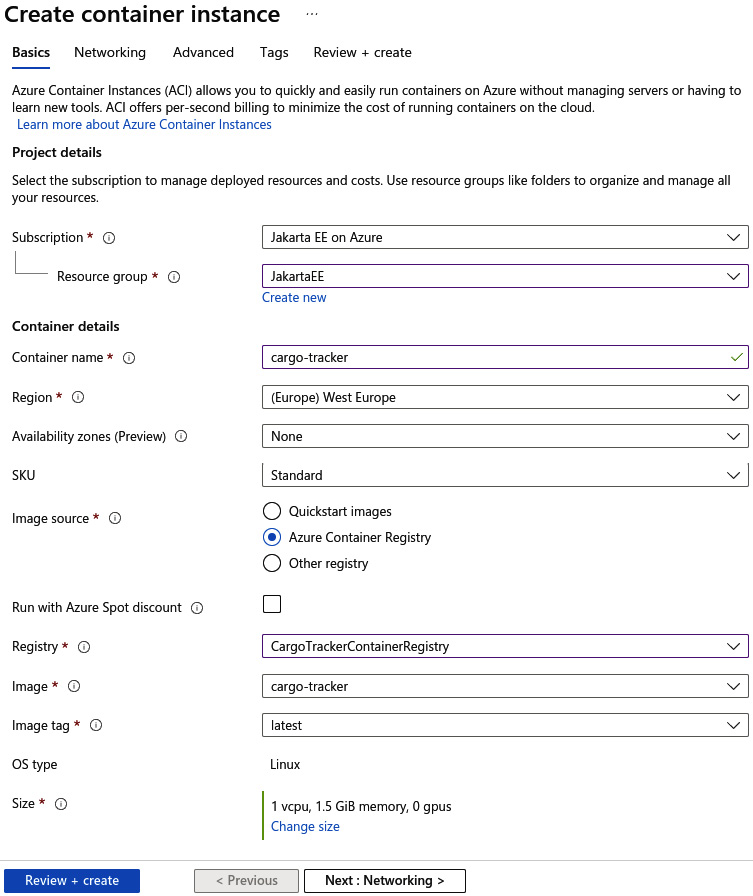
Click on the selected result, Container instances, as this will bring you to the Container instances overview. Inside this overview, click on the Create button in the top-left corner of the overview screen. This will bring you to a series of forms that you need to fill out to create a container instance. It looks like this:

Figure 9.12 – Overview of the basics of the container instance
You need to fill out the following...


