The installation of Cacti on a Windows system is quite different from Linux. Most of the prerequisites that are already available on a Linux platform need to be installed on a Windows system. The MySQL database is an example of such a prerequisite. Here you can find more information about the Windows installation and how you can overcome most of the manual installation procedures by making use of the community-built Windows installer.
Installing Cacti on a Windows system
The community-built Windows installer
Instead of installing every prerequisite by hand, the community-built Windows installer provides a convenient way of installing them together with Cacti. It was built by a long-term Cacti user and forum member BSOD2600. The installer contains all the software and is also compatible with running Cacti on an IIS web server.
For Cacti 1.x, there will not always be an up-to-date Windows installer available. Nevertheless, the main goal of the installer is to provide you with a convenient way of installing all required software with a single installer. Afterwards, you can download the latest Cacti version from the Cacti website and manually update.
Time for action - starting the Windows setup
Let's have a closer look at installing Cacti on a Windows system:
- Download the Windows installer to the system on which you want to install Cacti. To retrieve the latest version, go to http://forums.cacti.net/viewtopic.php?t=14946 and click the download link at the end of the first post. Save the installer to your desktop.
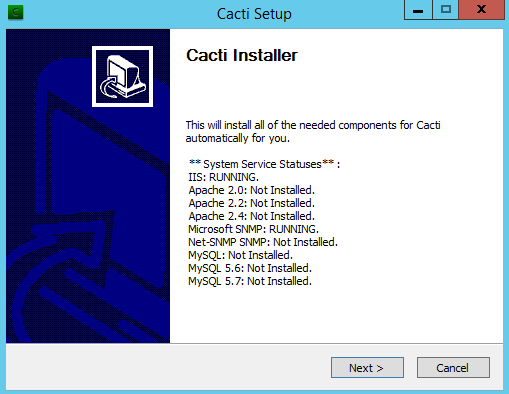
- Double-click on the setup file. The installer will check what has already been installed and give you a report. Click Next > after you have read the information:

- The next screen shows the GPL license. Accept it and click Next >:
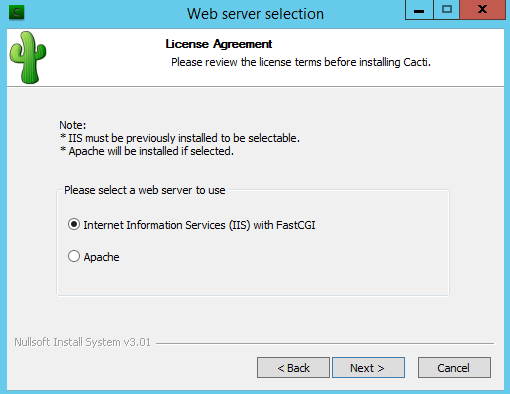
- Then you must select a web server. If you have IIS installed you can select it here, otherwise Apache will be installed:

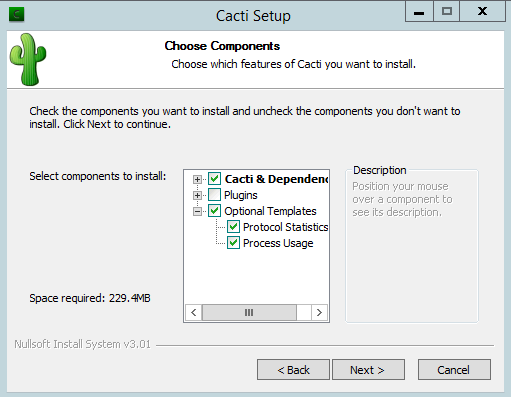
- In the next step you can choose the components to install. Select all available options. The Plugins section is empty as most plugins have been added to Cacti 1.x. Now click Next >:

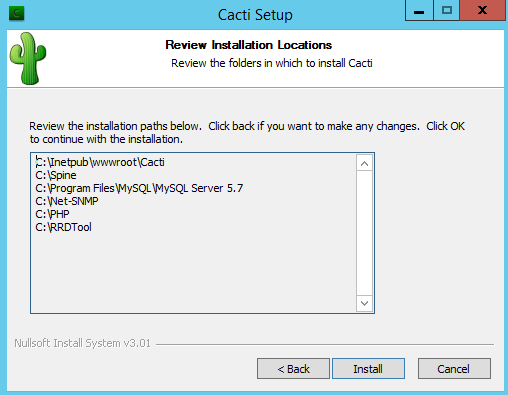
- Keep the defaults for the installation locations and click Next >:
- The final step provides an overview of the paths to be created. Click Install to start the installation process:

- Please note the default Cacti admin and MySQL root passwords.
- Open the Post-Install instructions and follow the tasks.
What just happened?
You installed Cacti on Windows, along with all the prerequisites.
Installing the Spine poller under Windows
Unlike Linux, where compilation from source is the preferred method, the community-based installer already comes with pre-compiled binaries for Windows. This greatly eases the installation part of Cacti on a Windows system, so you can concentrate on the actual configuration of Cacti.


