Creating our first HelloWorld-JNI
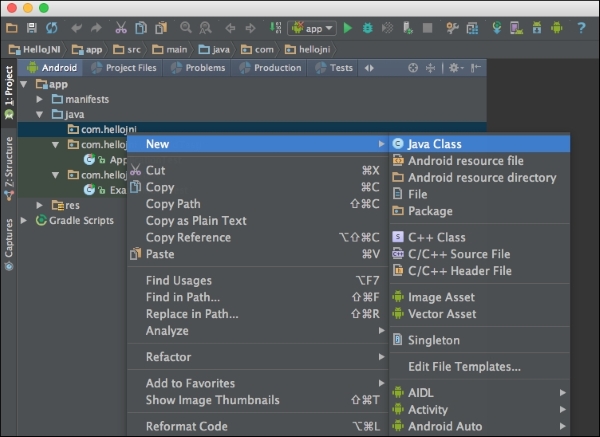
Let´s create a project with Android Studio with a minimal setup. In order to do so, navigate to Project | New | New Project. Create the most minimalistic setup available—typically just a project; do not add Activity from the beginning. This adds a lot of boilerplate code that we do not need at this moment. When the project has been created, add a new Activity by right-clicking on your source folder, and clicking on New | Java Class. Name the class Main Activity:

When the file has been created, add this very basic code for Activity:
public class MainActivity extends Activity {
    @Override
    protected void onCreate(Bundle savedInstanceState) {
        super.onCreate(savedInstanceState);
    }
}
And remember to add it to the AndroidManifest.xml as well as your default activity:
<activity
    android:name="com.hellojni.MainActivity">
    <intent-filter>
      <action android:name="android.intent.action.MAIN" />
        <category android...


