Building your first Vue.js 3 app
Vue.js can be integrated into projects in multiple ways depending on the requirements because it is incrementally adaptable.
We will create a completely blank new Vue 3 project, or you can use the migration guide (https://v3.vuejs.org/guide/migration/migration-build.html#overview) to migrate your Vue 2 project to Vue to follow along.
In this section, we are going to cover how to build our Vue 3 application using the Vite command-line interface (CLI).
Creating a Vue 3 app with Vite
To create our first Vue 3 application, we will use the recommended Vite web development tool. Vite is a web development build tool that allows for lightning-fast code serving due to its native ES Module import approach.
In this book, we will be building an enterprise-ready Pinterest clone project, and all the backend data management of the project will be developed and hosted with Strapi.
Type along with these simple commands:
npm init @vitejs/app pinterest-app-clone
cd pinterest-app-clone
npm install
npm run dev
// If you're having issues with spaces in username, try using:
npx create-vite-app pinterest-app-clone
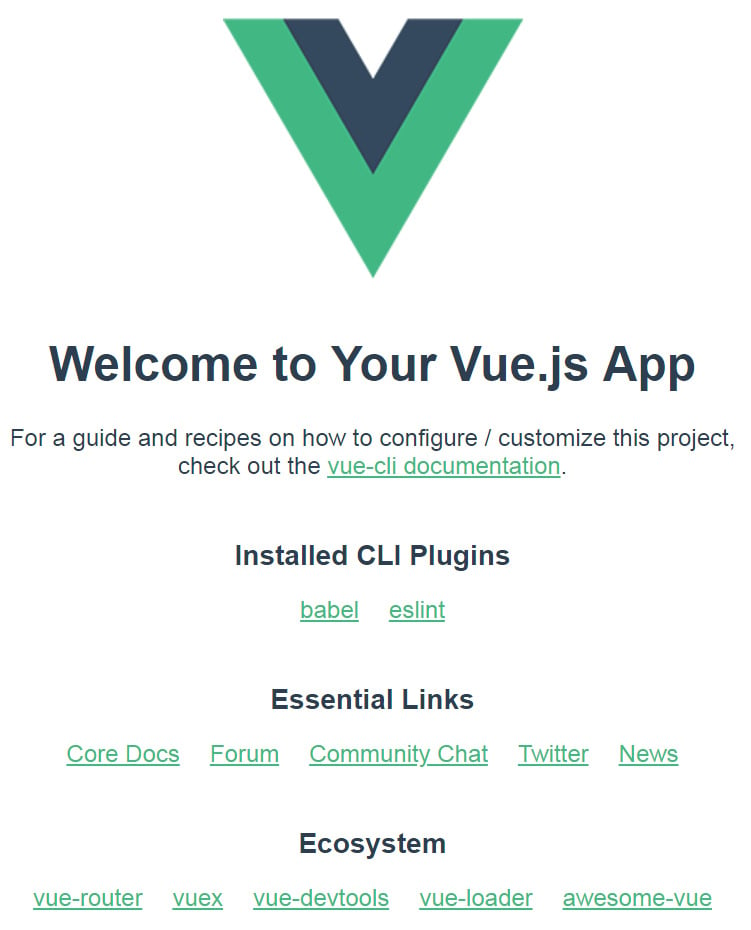
The preceding commands will create a pinterest-app-clone folder with Vue 3 installed and set up properly. Once done, open your favorite browser and access the web page with localhost:3000. This is what the web page will look like:

Figure 1.1 – A screenshot of the newly installed Vue 3
In this section, we explored Vue 3, the Composition API, and how to get started building your first application with Vue 3. In the next section, we will learn about the Strapi CMS that we will use for data and content management.
What is the Strapi CMS?
Strapi is an open source headless CMS based on Node.js that is used to develop and manage content or data using RESTful APIs and GraphQL.
With Strapi, we can scaffold our API faster and consume the content via APIs using any HTTP client or GraphQL-enabled frontend.
Scaffolding a Strapi project
Scaffolding a new Strapi project is very simple and works precisely like installing a new frontend framework. Follow these steps to scaffold a new Strapi project:
- Run either of the following commands and test them out in your default browser:
npx create-strapi-app strapi-api --quickstart
# OR
yarn create strapi-app strapi-api --quickstart
The preceding command will scaffold a new Strapi project in the directory you specified.
- Next, run
yarn buildto build your app and, lastly,yarn developto run the new project if it doesn’t start automatically.
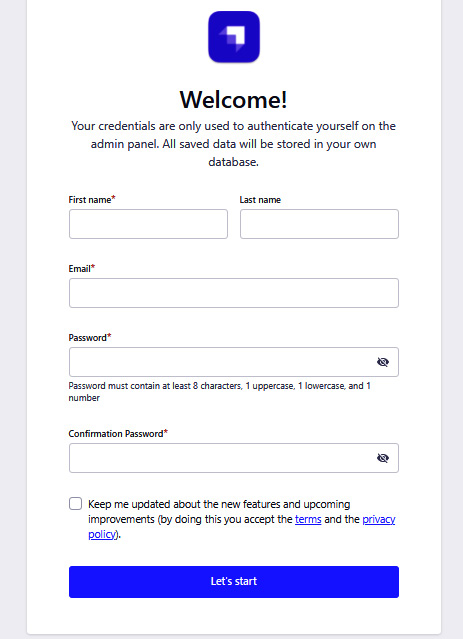
The yarn develop command will open a new tab with a page to register your new admin of the system:

Figure 1.2 – The registration page
- Go ahead and fill out the form and click on the Submit button to create a new admin.
As we progress in this book, we will customize our Strapi backend instance to reflect Pinterest data modeling.


