Working with the Mail application (Must know)
The Mail application could be one of the most-used applications on iPad. It's full of customizable features and makes handling multiple e-mail addresses a breeze. Many of us have at least two e-mail addresses, work and personal. Let's set up our mailbox.
Getting ready
You must have an e-mail address to proceed.
How to do it...
Open up the Settings application and select Mail, Contacts, Calendars from the left-hand menu, as shown in the following screenshot:

To the right, we see Accounts. Select Add Account…, as shown in the following screenshot:

We're taken to a menu with a variety of options as shown:

For this example, we're going to select Gmail. Setting up other e-mail addresses is very similar and requires the same information. The exceptions are setting up iCloud, Exchange, or Other accounts. The task of setting these up is a bit more advanced.
Let's set it up for a Gmail address. After selecting Gmail, we're taken to a screen with the fields Name, Email, Password, and Description, as shown in the following screenshot:

We'll enter our name as we'd like it to appear in our outgoing messages. Then, we'll enter our e-mail address, password, and a description of the account. Hitting Next will finish up the process, verifying the e-mail address.
When complete, we're given the options of turning this address ON or OFF. Keeping it ON will allow our e-mail messages to appear on the iPad. We definitely want this e-mail address ON; whether or not we decide to enable calendars and notes isn't relevant to this task. Having either turned on will sync our Calendar and Notes data associated with this e-mail address. Tap Save:

Now that we've got an e-mail address, let's set up a VIP inbox. New in iOS 6, this filtered inbox is a mix of contacts from all of our e-mail addresses allowing us to create a special inbox with contacts we deem important. This ensures that they don't get overlooked when going from device to device and e-mail address to e-mail address.

How it works...
The Mail app organizes multiple e-mail addresses, e-mail threads, and adds the feature of a VIP inbox for our most important contacts. The setup is fairly simple.
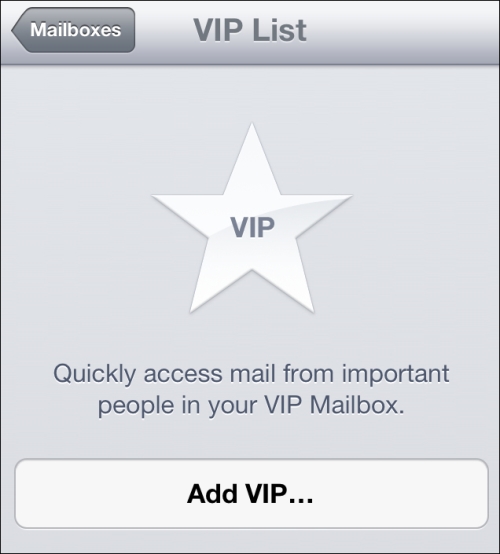
We begin by tapping Add VIP…, as shown in the following screenshot:

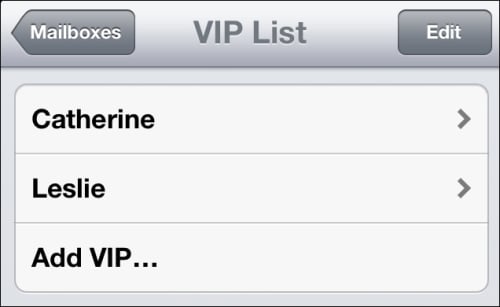
This brings up all of our contacts associated with our e-mail address. Selecting a contact adds them to the VIP List, as shown in the following screenshot:

There's more...
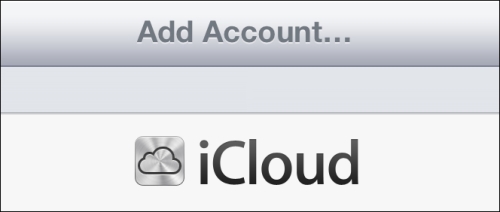
Within the settings for Mail, we saw iCloud as an optional e-mail account. Setting up an iCloud e-mail address is important for all of our future iCloud usage. iTunes, iBooks, App Store, and other apps where content can be auto-synced to iCloud all require an iCloud e-mail address that's tied to one master Apple ID.

In the following recipe, we'll learn all about iCloud and will set up our very own iCloud e-mail address.


