
Installing Arduino IDE
ESP8266 can be used with the official EspressIf's SDKs that contain the NonOS and FreeRTOS SDKs writing code in C/C++, but other companies and people add other programming languages to it, such as Lua, Javascript, or MicroPhyton.
This book will use the NonOS SDK and as a development IDE, the Arduino IDE. In this part you will download the Arduino Software (IDE), configure it and install the ESP8266 SDK.
Downloading the Arduino Software IDE
To download the Arduino IDE, go to https://www.arduino.cc/en/Main/Software and download the latest version:
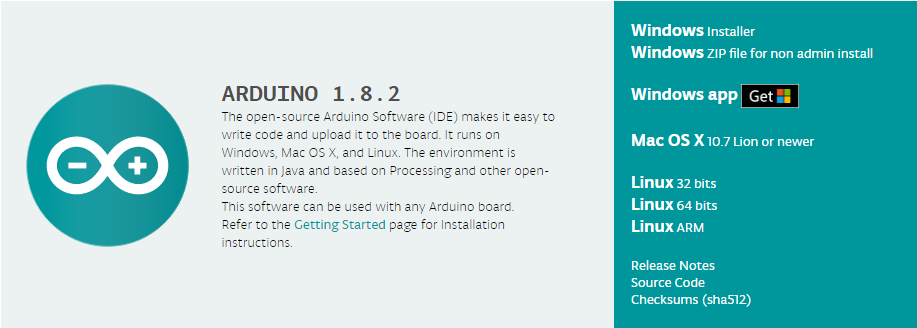
Now, you can download the version you want depending on your operating system. There are versions for Windows with and without admin rights, macOS X, and Linux for 32 bits, 64 bits, or ARM processors so that you can install and work, even on a Raspberry Pi.
After you have downloaded the Arduino IDE, you need to install it on your local computer.
If you are on Linux, you need to use the xz and tar command to open the Arduino IDE archive, then you can go into Arduino-1.8.2 and start it with sudo ./arduino.
In Windows, just launch the Arduino executable file, as follows:

Congratulations! You have installed the Arduino IDE and now it is time to configure it for ESP8266.
Configure Arduino IDE
To configure the Arduino IDE for ESP8266 you need to go to File | Preferences. The initial screen looks as follows:
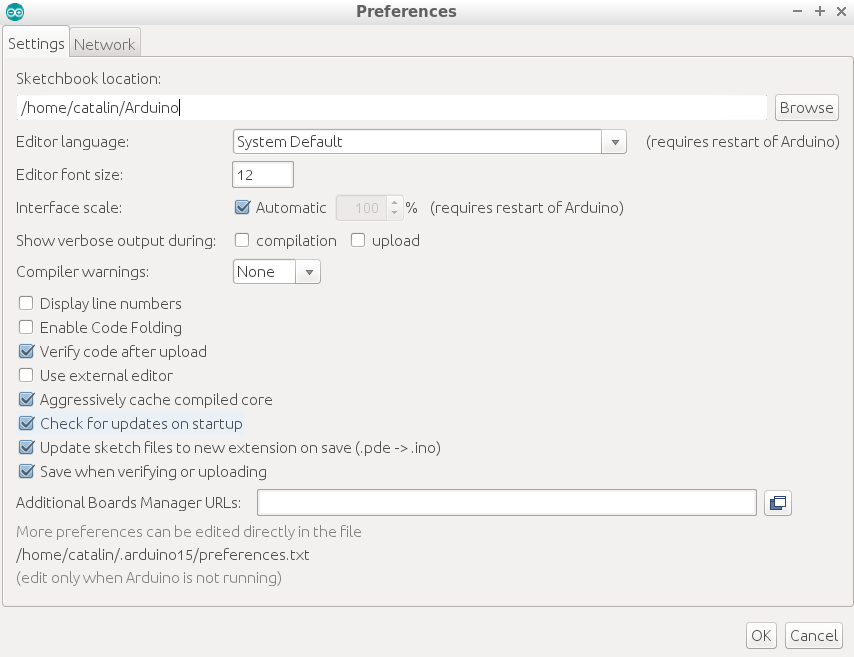
In this screen, you can customize some fields as follows:
Sketchbook location: Here you can choose where your project files are stored.Editor language: If you prefer another language to the default one, you can change this field here; but after this, you need to restart the IDE.Editor font size: This is the font size used in the IDE.Show verbose output during: compilationandupload: I suggest you check both of them to have a detailed output during compilation, where you can see files and their paths and also the upload.Display line numbers: This field is good to see the line number in the right part of your IDE number.Enable Code Folding: This field gives you more space on the screen.Additional Boards Manager URLs: Here is the field that allows us to get and install the ESP8266 Xtensagcc compiler, required tools to flash the obtained firmware into the ESP8266 flash memory along with other board types. In this field, you need to add http://arduino.esp8266.com/stable/package_esp8266com_index.json and thePreferencesscreen will look as follows:
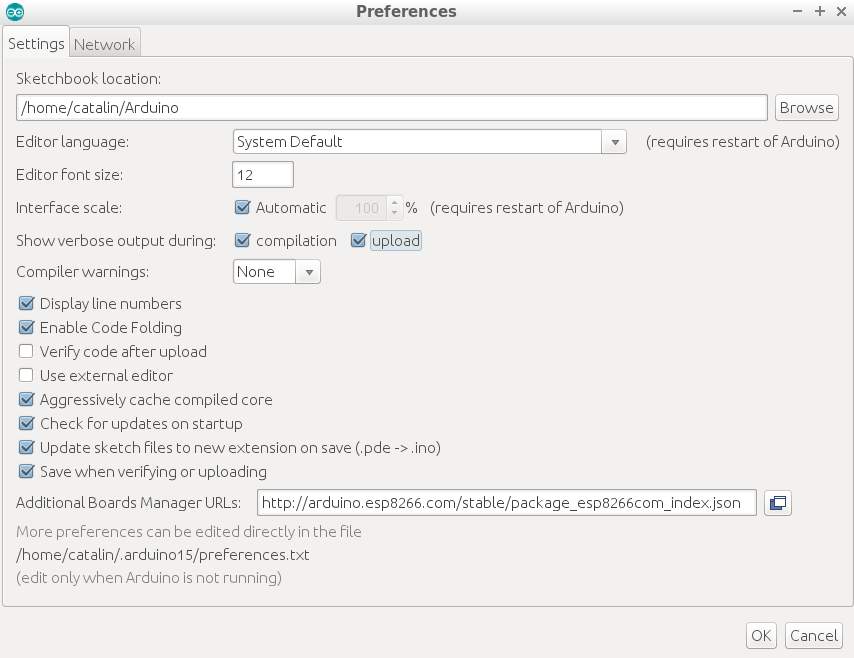
After you set up your preferences, you can click on the OK button. Don't forget that you are behind a proxy server; you need to fill in the details required in the Network tab.
Installing the ESP8266 SDK
After the preferences have been configured, now it is time to actually get the ESP8266 SDK and tools.
For this, you need to go to the following path and follow these steps:
- Go to
Tools|Board: "Arduino/Genuino Uno"|Boards Manager... :
- Subsequently, the
Boards Managerwill be opened.
- Go to the end of the list and select the ESP8266 board and click on
Install:
- Now, depending on your internet connection, this can take some time. Sit back and relax, you are about to enter into the IoT world.
- Look for the
INSTALLEDmessage, as in this picture:
- Now, go back to
Tools|Board: "Arduino/Genuino Uno"and you should see a lot of ESP8266-based boards in the lower section:
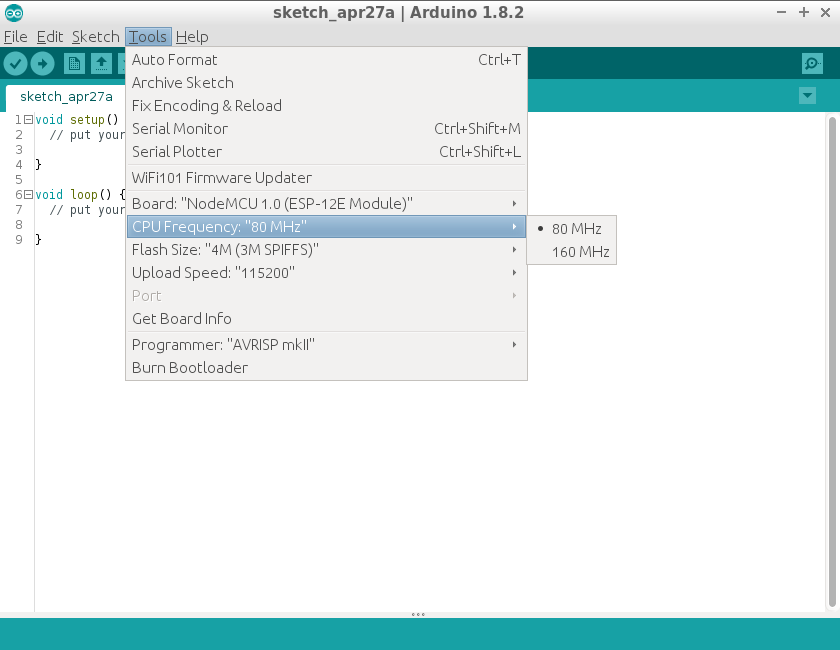
- Select
NodeMCU 1.0 (ESP-12E Module)and go back to theToolsmenu, where you will see other configurations that you can perform for ESP8266:CPU Frequency: "80 MHz": This can be changed from80 MHzto160 MHz- The memory size of your module and the size of SPIFFS (1 or 3 MiB)
- The upload speed for the UART interface between your computer and the ESP8266 module. Select from
Upload Speed: "115200"so that the binary file will be flashed 8 times faster than the default value of115200:
- If you now have a module, you can connect it to your computer. Going again to
Toolsmenu now, you will see this from thePortmenu and you can go and select your serial interface connected to the ESP8266 module. For Linux, you can select/dev/ttyUSB0and for Windows, one of your COM ports.
Before starting any program, let's look at the IDE buttons:

Let's start from left to right:
Verify: This allows you to compile and check your code for errorsUpload: This does whatVerifydoes plus uploads generated firmware into ESP8266's flash memoryNew: This opens a new window so that you can create another programOpen: This opens an existing program from your local diskSave: This saves your files on the diskSerial Monitor: This opens a window where you will be able to see and debug what you add into your program