


Reverse engineering with NetBeans
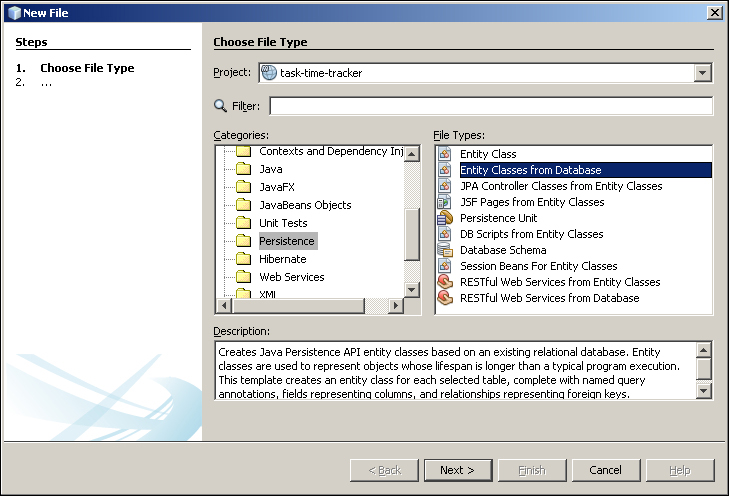
The New Entity Classes from Database wizard is one of the most helpful and time-saving wizards in NetBeans. It generates a set of entity classes from an existing database connection, extracting and annotating all the fields and defining relationships between the classes. To access the wizard, navigate to File | New File. This will open the New File window, where you can then select the Persistence category followed by the Entity Classes From Database file type:
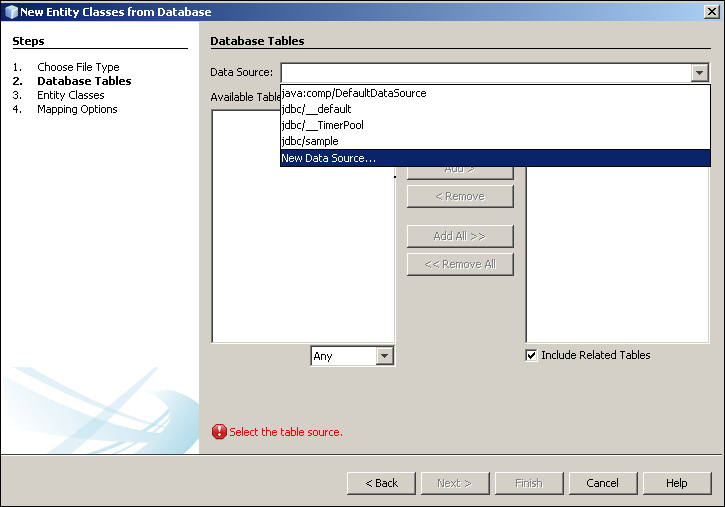
Click on Next to display the Database Tables screen where you can create a New Data Source:
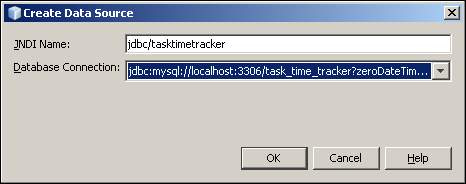
This will allow you to enter the JNDI Name and to select the Database Connection that was created in the previous chapter:
The wizard will now read all the tables and display them in the Available Tables list. Select all the tables and add them to the Selected Tables list as shown:
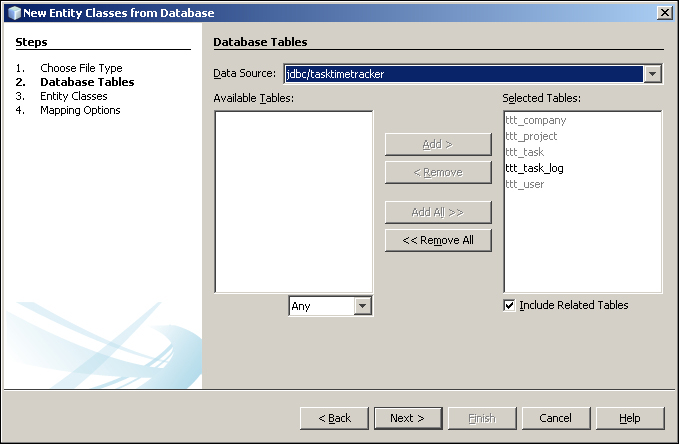
Click on the Next button. This will display the following screen with entity class generation properties. Change the Class Name for...


