


Getting ready
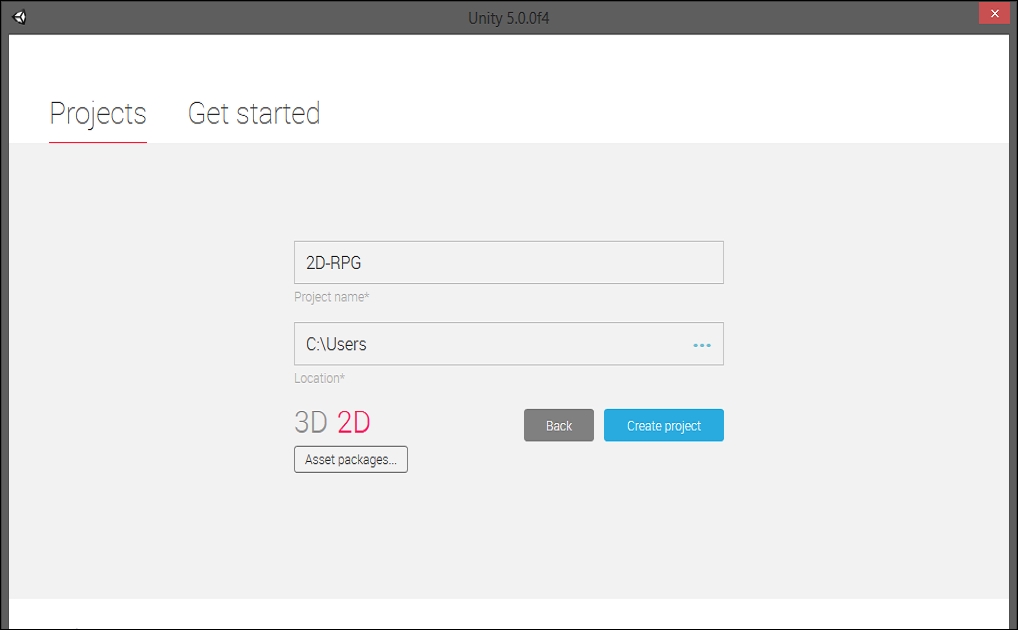
Let's open up Unity and create a new project, as shown in the following image:
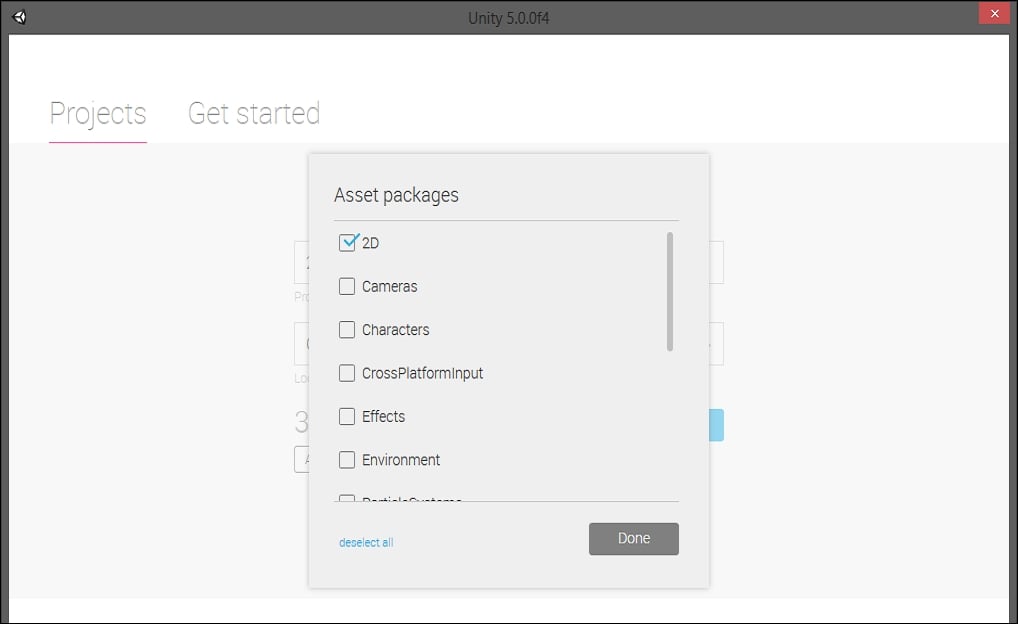
Make sure that the 2D mode is selected, click on Asset packages..., and select 2D, as shown in the following image:
Note
Keep in mind that the Standard Assets need to be downloaded from the Asset Store, as we did in Chapter 1, Sprites.
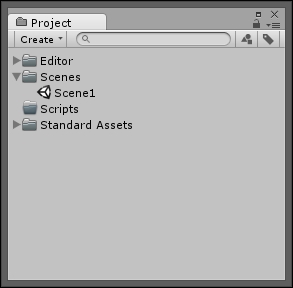
Press the Done button, and as a result the project is created. In the Project panel, create two new folders named Scripts and Scenes. Inside Scenes save an empty scene and name it Scene1, as shown in the following image:
One last thing to do is to import our assets. As we did in Chapter 1, Stripes, we can use the free assets from the http://kenney.nl website (just remember that we will also need software to decompress). In particular, we need the RPG packs. You can find them at the following link: http://kenney.nl/assets?s=rpg.
Of course, don't forget to import them into Unity before continuing on with the chapter. Furthermore, you can also reorder them, so that they...


