Implementing Cube Runner
After experimenting a bit with SceneKit, let's start implementing our game.
The game skeleton
As usual, let's start by selecting the correct Xcode project template, the Game template in this case, which looks like this:

In the next screen, we add the requested data and select SceneKit as the technology, as shown here:

After selecting only Portrait as the allowed orientation, as shown in the following screenshot, we can run the example project:

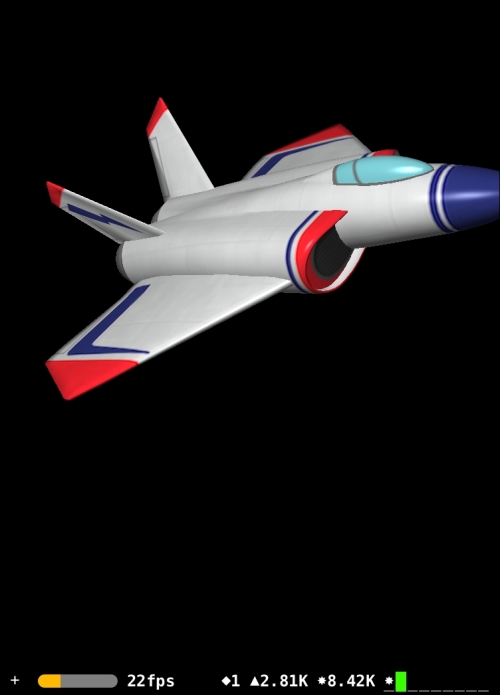
The demo app shows a gorgeous rotating 3D airplane, thus showing us what we can achieve using this framework. Here is a screenshot of the plane:

Implementing the menu
For the first task in building the app, we prepare the Podfile, which contains a few pods that we'll use to build the menu view:
inhibit_all_warnings!
use_frameworks!
target 'CubeRunner' do
   pod 'Cartography', '~> 0.5'
   pod 'HTPressableButton', '~> 1.3'
   pod 'BitwiseFont', '~> 0.1.0'
end
After running the usual pod install command, we are ready to implement...


