Talking of robots, there are a few basic tangible components that they are made up of, which are as follows:
- Computing Unit
- Sensors
- Actuators
- Chassis
- Power source
Firstly, we will be discussing the microcontroller and, during the course of book, we will be discussing the rest of the tangible components in detail as and when required.
Whenever you have been to buy a laptop or a computer, you must have heard the word microprocessor. This is the primary unit that has to make all the decisions. I call it the king, but what is a king without an empire? For the king to work, he needs some subordinates that can do the things for him, the same way in which the microprocessor needs a few subordinates such as RAM, storage, I/O devices, and so on. Now, the problem is that when we put in all these things the overall unit gets expensive and bulky. But, as we know, subsequently weight and size are very important factors when it comes to robots, so we cannot afford to have a big bulky piece of system running a robot.
Hence, we made something called a SoC. Now, this is a one man show as this small chip, has all the necessary systems for it to work inside that small little chipset itself. So, now you don't need to add RAM or storage or any other thing for it to work. These small microcontrollers can get really powerful but a downside is, once a manufacturer has made an SoC, thereafter no changes can be done to it. The size of storage, RAM, or the I/O cannot be changed. But we generally can live with these limitations as when programming the robots, you might not be using the entire juice of the microcontroller until the time you are running some serious artificial intelligence or machine-learning code.
One such great piece of hardware is Raspberry Pi. Yes, it sounds very tasty, but there is so much more to it. This is a super small yet extremely powerful microcontroller. It is often referred to as a prototyping board because of the fact that it is used by roboticists everywhere to bring out their ideas and to make them a reality in a quick time span. It is available all across the globe and is extremely cheap. You can literally stream HD movies, surf the internet, and do much more on just a $10 device. I can't think of something as ludicrous as this. It is fairly easy to use and you can use Python to program it.
So, basically, it ticks all our boxes. This will be the primary weapon we will be using throughout the book.
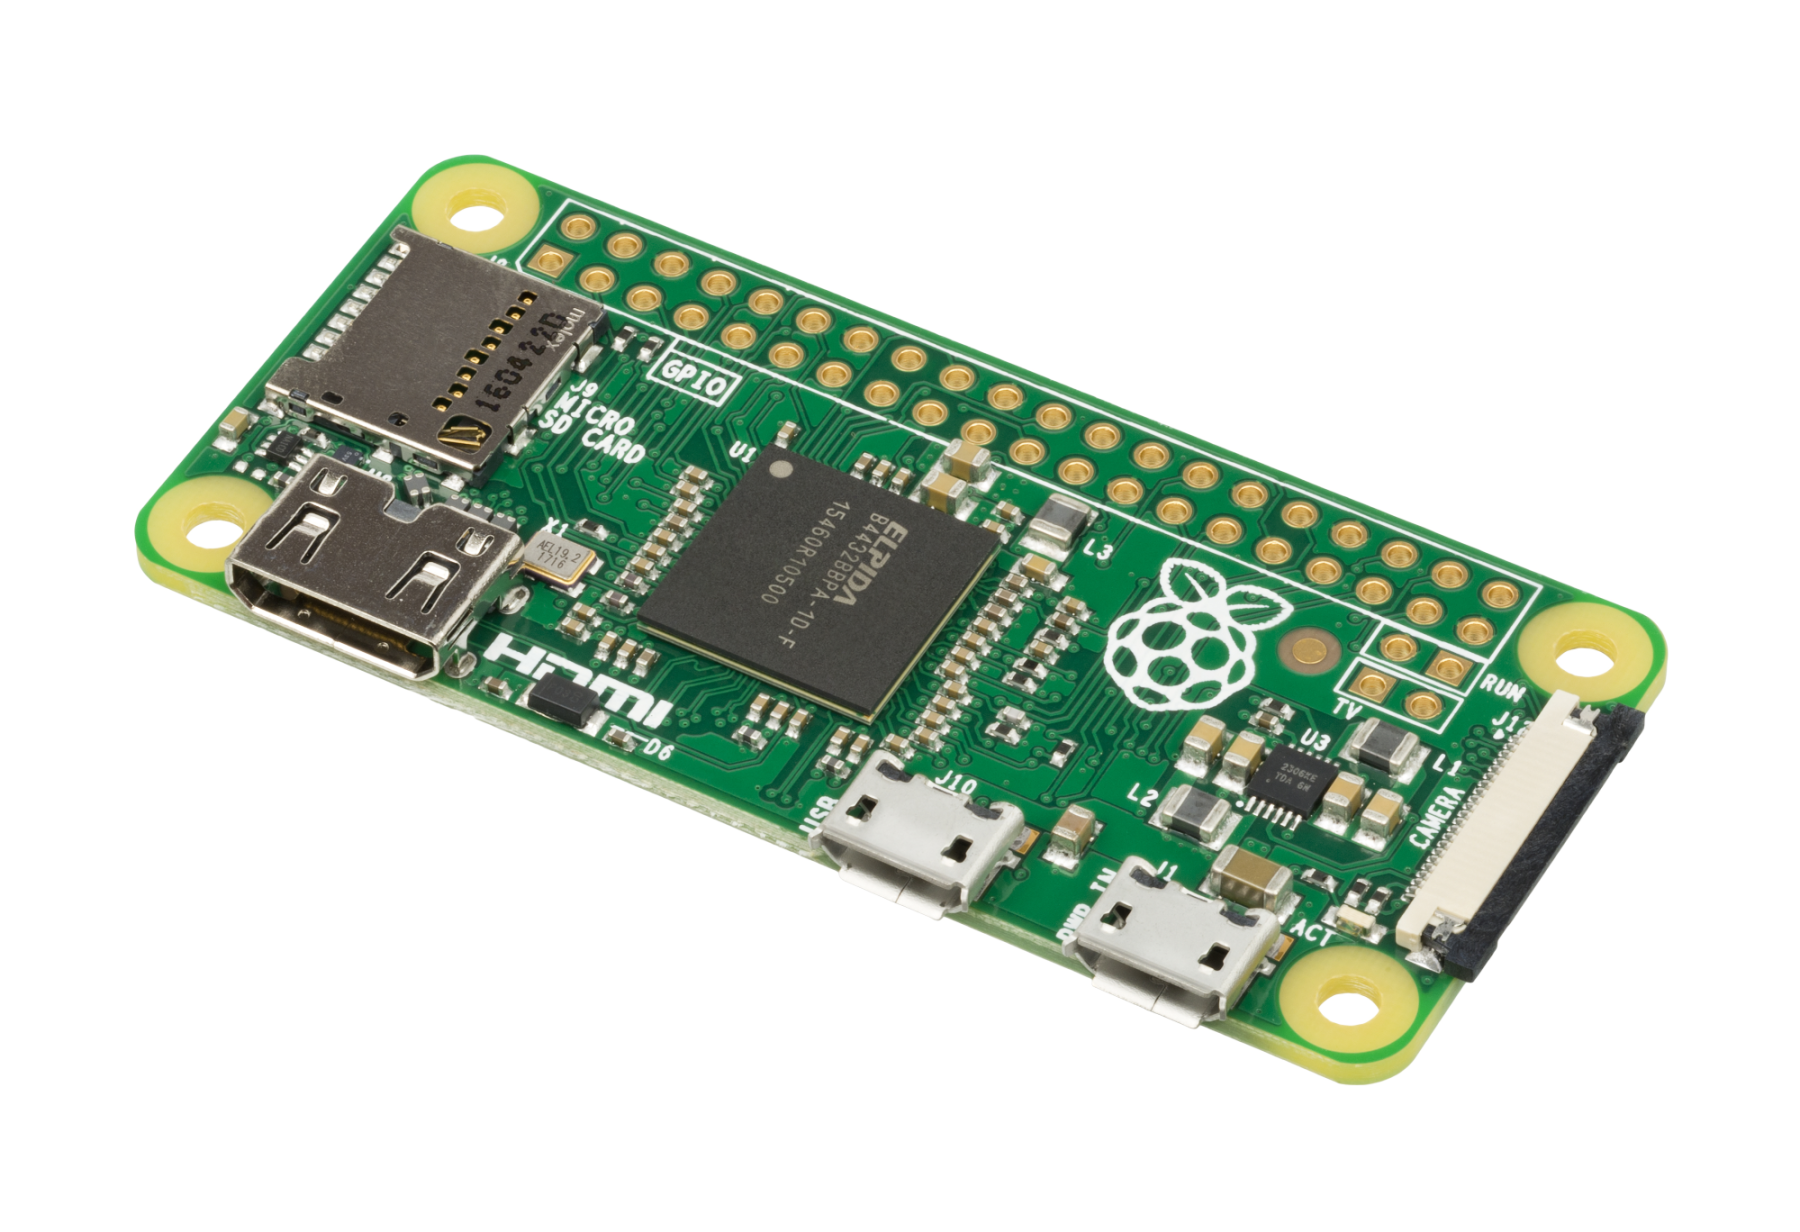
So let me introduce you to Raspberry Pi! This is what it looks like:

There are various models of Raspberry Pi available on the market. But we will be using Raspberry Pi Zero W; this will cost you around $10 and it is easier to purchase than a Big Mac burger. Do make sure you buy the Raspberry Pi Zero with a W, which supposedly stands for wireless capabilities such as Wi-Fi and Bluetooth. There are a few more things that you will have to order or arrange for it to work. Here is a list of items:
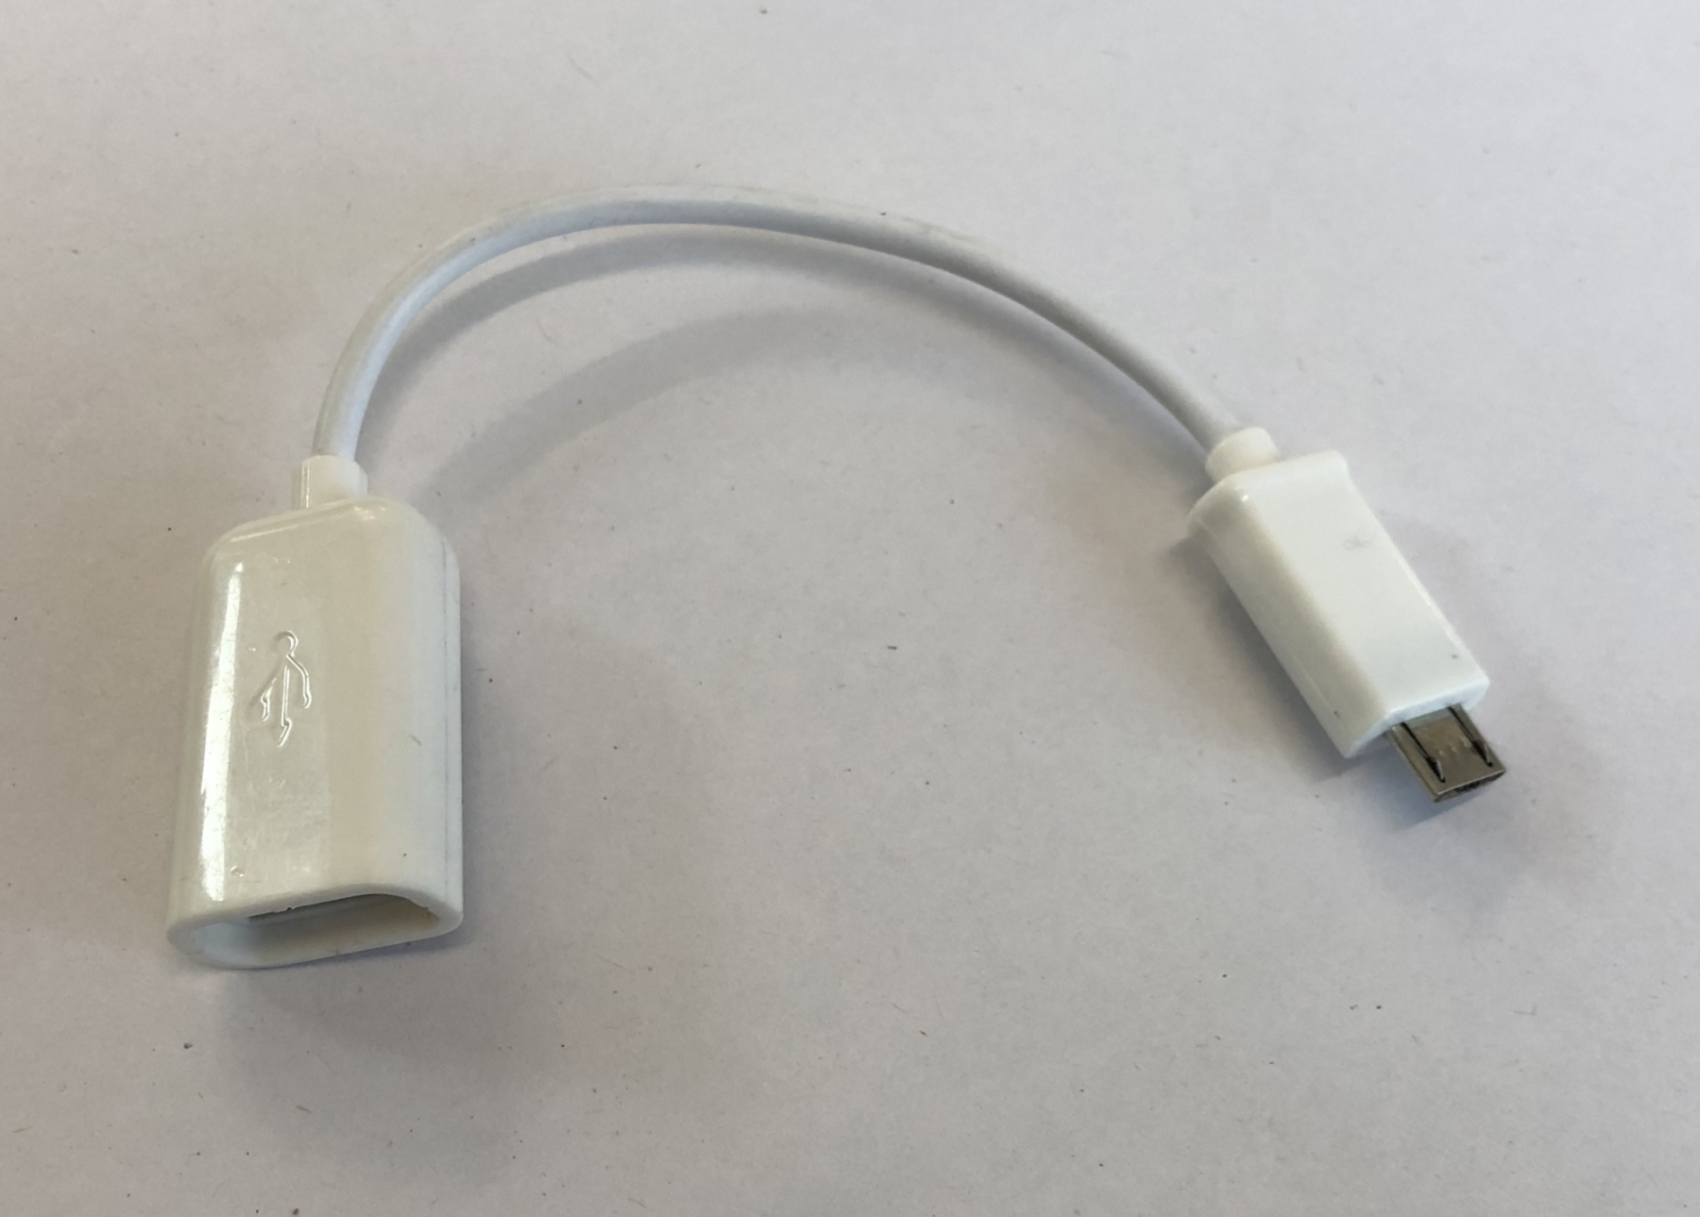
- Micro USB to standard USB adapter
- Keyboard
- Mouse
- Micro SD memory card, 16 or 32 GB
- Micro SD card reader
- Micro USB power adapter (2 amp or more)
- Micro HDMI to HDMI port
- Breadboard
- Bunch of jumper wires (male to male, male to female, and female to female)
- 3V LEDs

As you will instantly make out from the image, there is a micro HDMI port onboard, over which you can hook up your HD monitor or a TV screen. Second there is a micro SD card slot. This will be the primary storage device for this computer. Other than that, you will also find two USB sockets and a camera bus. You may think this is it, but the best is yet to come. Raspberry Pi has something called GPIO, which stands for general purpose input/output. These are disguised as small 40 through-hole ports on one corner of the Raspberry Pi; this is what makes it super special.
Now, conventionally you would attach things to your computer that are compatible with it. So, hooking up a mouse, keyboard or a joystick is as easy as inserting a USB port, but what if you need to connect your computer to your light bulbs or your air-conditioner? Exactly, you can't. That's where GPIO comes in to save the day. These are pins which are very useful when it comes to robotics, as these can be used to connect various components such as sensors/motors. The beauty of these pins is that they can be used as either input or output based on what we program them for. So, as we will later see, each of these pins can be defined in the program to be either input or output based on our needs.
Now, out of these 40 pins, 26 are GPIO. The rest of the pins are generic power or ground ports. There are two more ports called ID EEPROM which at this point of time we do not require:

As you can see, Raspberry Pi is capable of giving us two types of power supply: 3.3V and 5V. These basically cater for most of our purposes.


