


Installing and setting up the Zenarmor plugin
To install the Zenarmor plugin, we will follow the same steps we used for OPNsense’s other plugins:
- Go to System | Firmware | Plugins and click on the + icon on the right-hand side of
os-sunnyvalley. This will install SunnyValley’s repository, which will allow you to install Zenarmor:

Figure 16.1 – Sunny Valley repository installation
- Once you’ve installed Zenarmor, click on the Status tab and click the Check for updates button to update the newly installed repository:
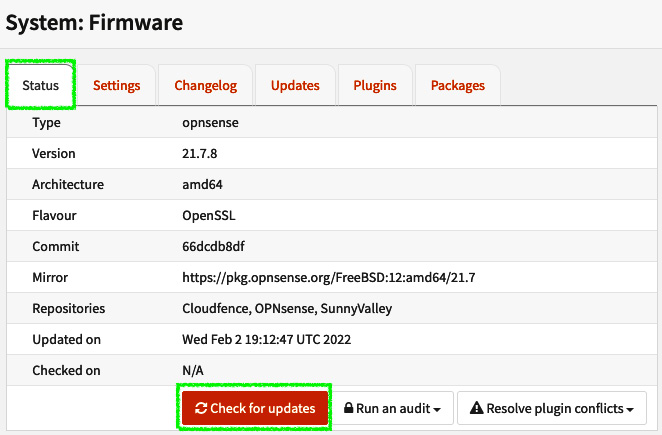
Figure 16.2 – Updating the packages from the newly installed repository
- Go back to the Plugins tab, find the os-sensei package, and click on the + icon to install it. The search box can be found at the top left:
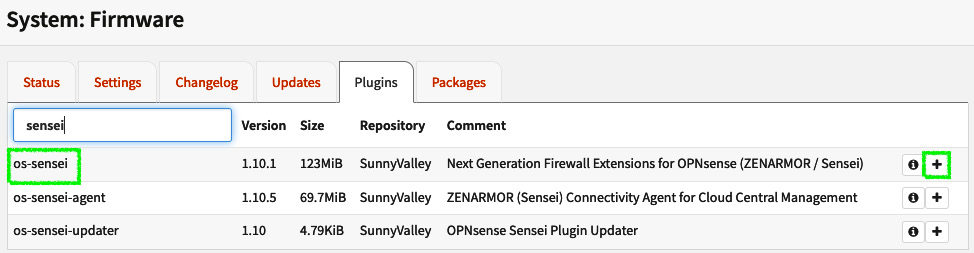
Figure 16.3 – Adding the os-sensei package
Important Note
Remember that the plugin was called Sensei...


