The Creating an Azure resource group workflow is the first in a series of basic workflows, but also the most important. Why? Simple answer: an Azure resource group is the central element of the Azure resource manager concept. Without an existing resource group, nothing works, and I mean not only individual services, but your complete Azure subscription. To create an Azure resource group, perform the following steps:
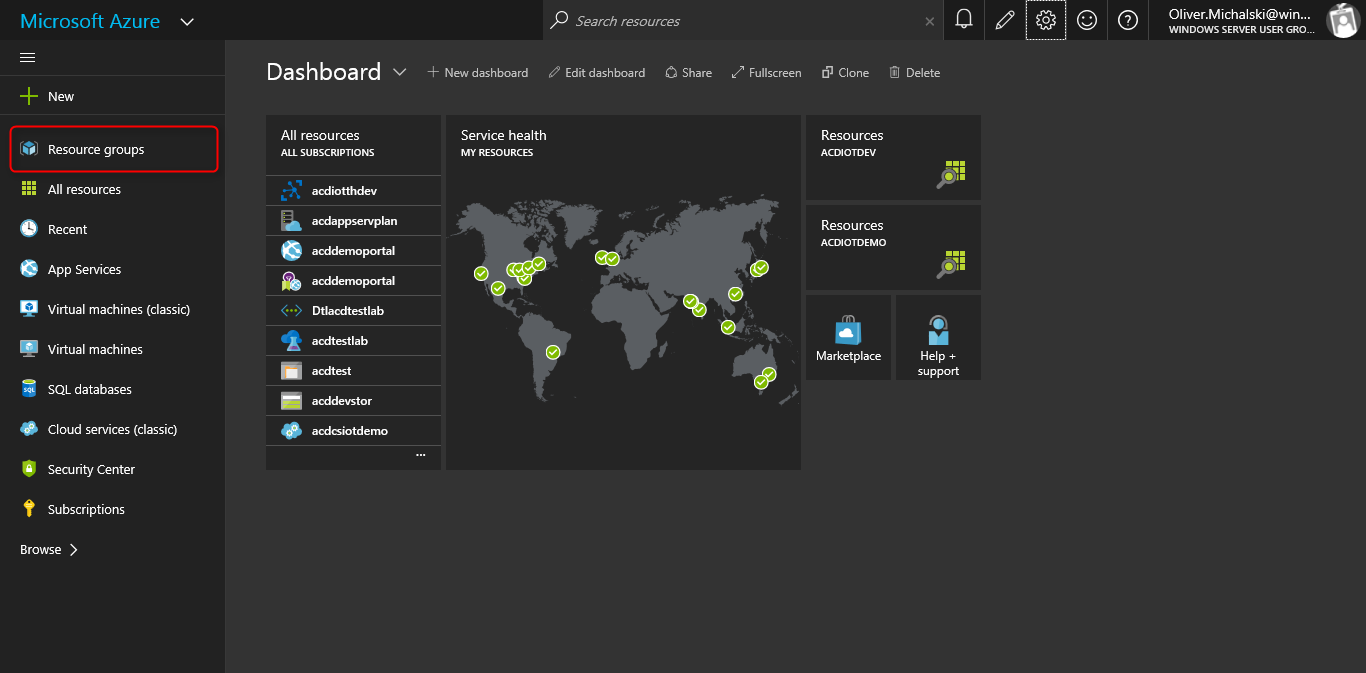
- Open your Azure management portal at https://portal.azure.com.
- In the portal, click on Resource groups:
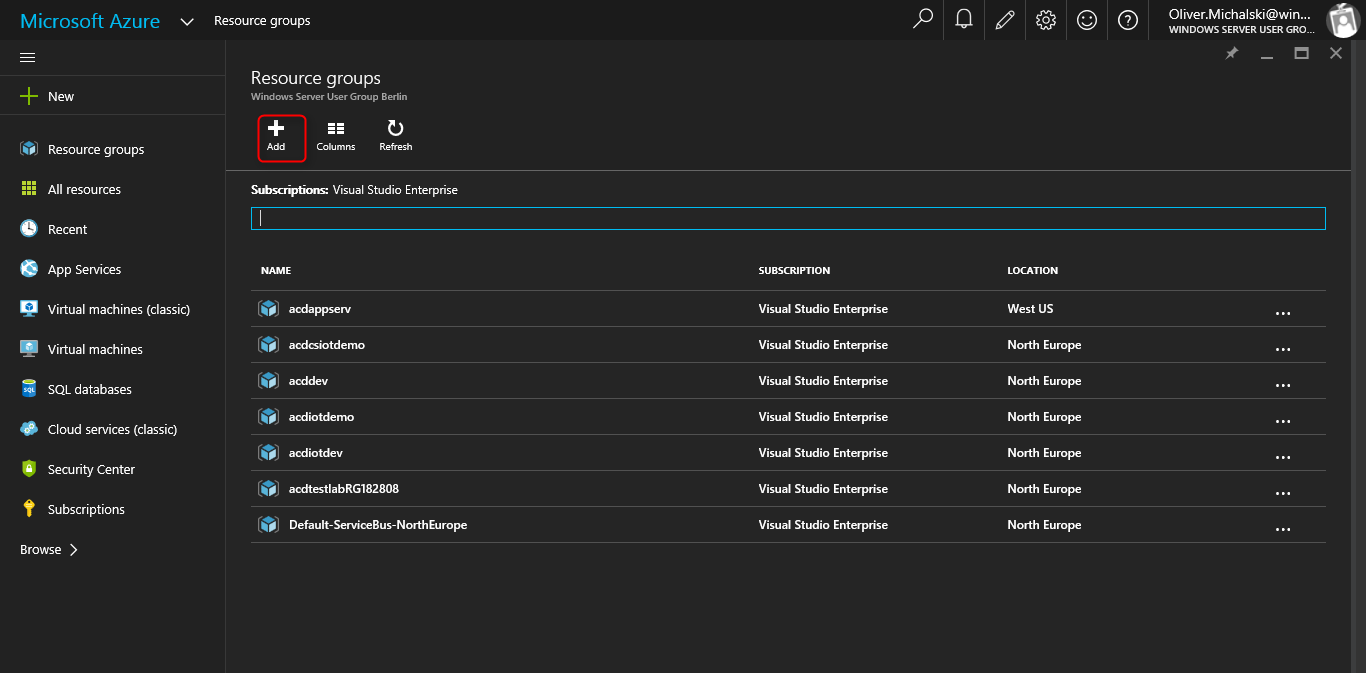
- On the Resource groups blade, click on theAdd option:
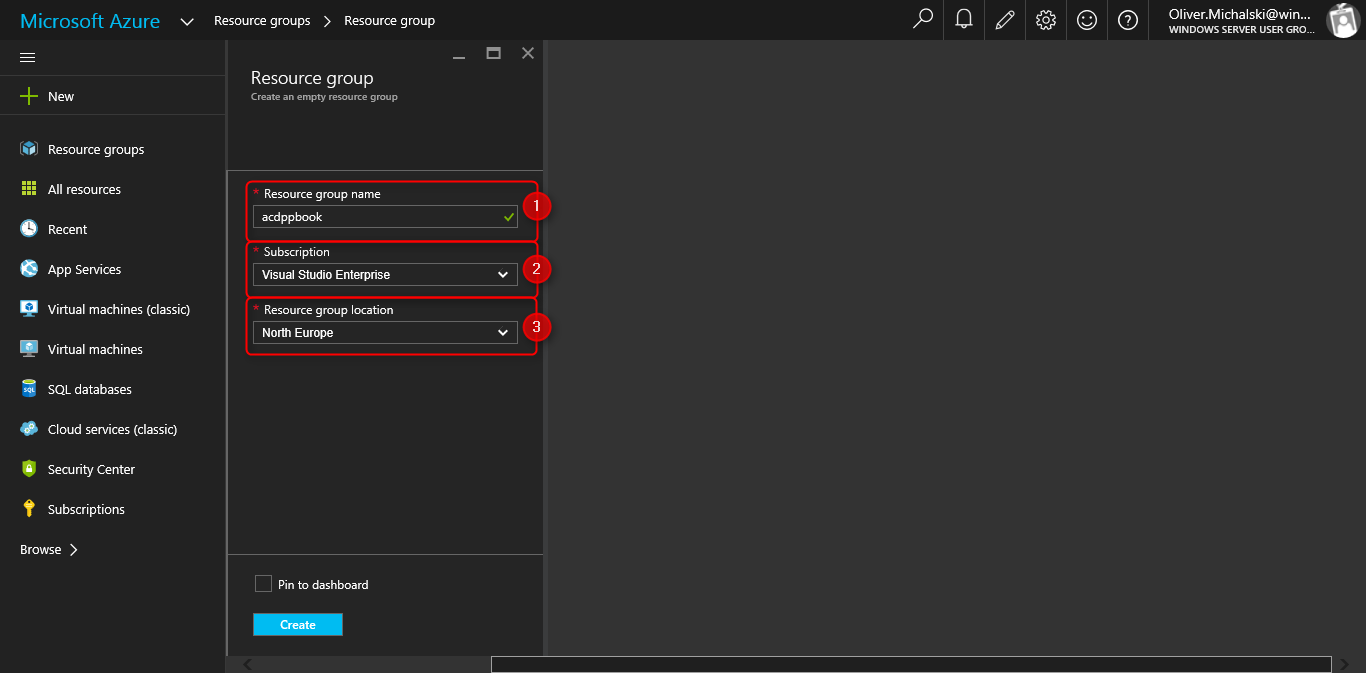
- On the Resource groups blade, type the following values, and then click on the Create button:
- Resource group name: acdppbook (or the name of your choice)
- Subscription: Use the default subscription
- Resource group location: Select your preferred location:
- You can see the progress when creating the resource...