Linking document libraries to Dynamics AX records
Now that you have a document library configured, you can make it accessible directly from the Dynamics AX forms, and have it automatically filtered so that you just see the documents that are associated to the information that you are looking for.
In this recipe, we will show how you can link the document library that we just created to the Vendor form, and do just that.
Getting ready
This example requires that you access the development environment and make changes to forms. Before you start on this example, make sure that you have developer rights on your installation of Dynamics AX. To check this carry out the following steps:
Open up the form that you are going to modify.
Right-click on the form and navigate to the Personalize option.
Click on the Information tab and you should be able to see the system form name:

Click on the Edit button to the right of the form name and you should be taken into the AOT development environment.
How to do it...
To add a link to a SharePoint document library within a form, follow these steps:
Create a new development project in AOT, AccountsPayableSharePointDocs. Add the VendorTable form to the project:

We are going to add a new tab group to the VendorTable form to show the documents that relate to the Vendor record. To do that expand the Designs group and find the Design form definition. Expand MainTab and TabPageDetails, and then right-click on the Tabs group, navigate to New Control, and then TabPage:

Rename TabPage to AccountsPayableDocuments and also add a caption for TabPage in the properties box of Vendor Documents.
We need to add a browser to the form so that we can display the SharePoint documents window. To do this, right-click on the new tab that we created, navigate to the New Control menu, and then select the ActiveX control.
When the ActiveX control browser shows up, navigate to the Microsoft Web Browser control, and add it to the tab.
In the properties panel for the Web Browser control, set the Name property to
Documents, set the Width property toColumn width, and the Height property toColumn height, so that the control will fill the space that is available in the tab control:
Now that we have a control to show the SharePoint site with the documents, we just need to initialize it when entering the vendor form. To do this, right-click on the Methods group in the VendTable form, select the Override method menu, and then activate:

Code Snippet 1: VendTable Form activate method
This will open up the code editor for the activate method. We will change this by creating a URL string that references the Accounts Payable document library in SharePoint, and then navigate the browser control to the URL, as follows:
public void activate(boolean _active)
{
    String255 url = “http://intranet.contoso.com/
      Accounts%20Payable%20Documents/Forms/
        AllItems.aspx?IsDlg=1”;

    url = url + “&FilterField1=AccountNum&
      FilterValue1=” + VendTable.AccountNum;
    url = url + “&FilterField2=Company&
      FilterValue2=” + VendTable.dataAreaId;
    Documents.Navigate(url);

    super(_active);
}
Two items to note, we added the
IsDlg=1qualifier to the URL which removes all of the navigation and gutter options on the page, and also the Filter qualifiers will automatically add a filter on theAccountNumfield, and the Company indexes.Now we can save the project, and we are finished.
How it works...
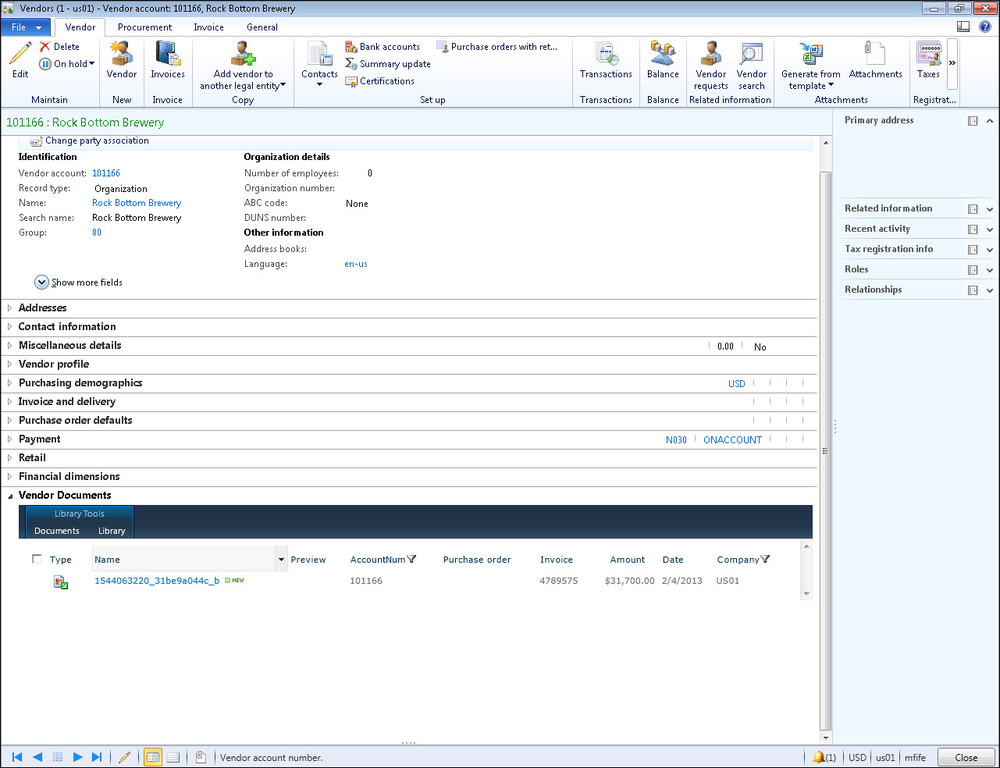
When we open up the Vendor Detail form, we will see a new tab at the bottom of the page that will list the documents that are indexed with Vendor Account Number:

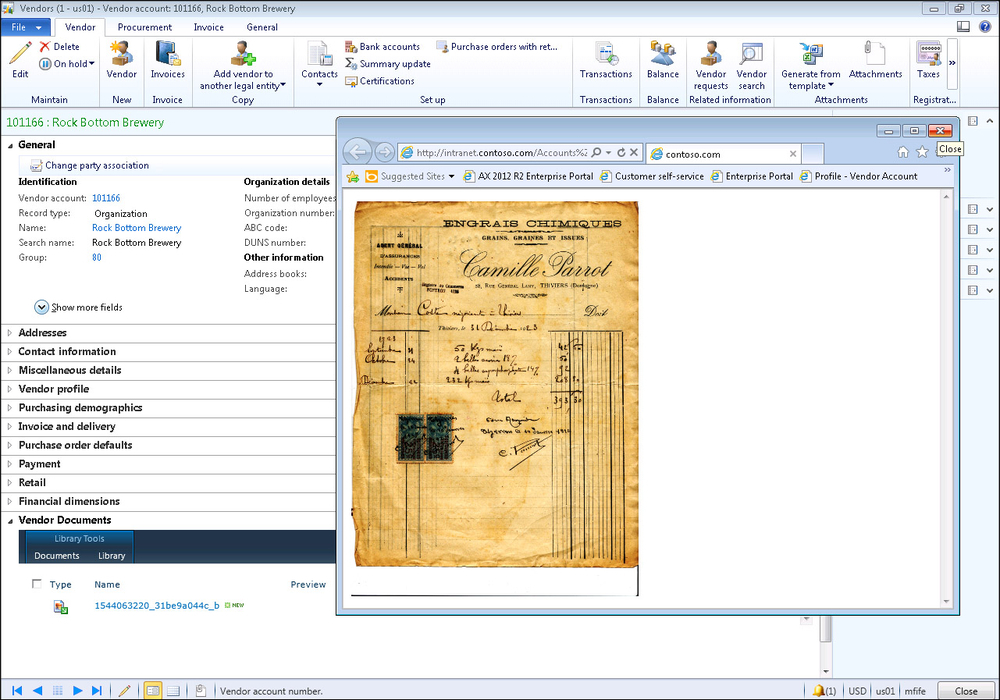
At any time, the users are able to open up the documents, and view the scanned images.


