Search icon CANCEL
Subscription
0
Cart icon
Your Cart (0 item)
Close icon
You have no products in your basket yet
Arrow left icon
Explore Products
Best Sellers
New Releases
Books
Videos
Audiobooks
Learning Hub
Free Learning
Arrow right icon
Arrow up icon
GO TO TOP
Democratizing Application Development with Betty Blocks

You're reading from   Democratizing Application Development with Betty Blocks Build powerful applications that impact business immediately with no-code app development

Arrow left icon
Product type Paperback
Published in Feb 2023
Publisher Packt
ISBN-13 9781803230993
Length 296 pages
Edition 1st Edition
Languages
Arrow right icon
Author (1):
Arrow left icon
Reinier van Altena Reinier van Altena
Author Profile Icon Reinier van Altena
Reinier van Altena
Arrow right icon
View More author details
Toc

Table of Contents (20) Chapters Close

Preface 1. Part 1: Citizen Development
2. Chapter 1: What Can You Build with Betty Blocks as a Citizen Developer FREE CHAPTER 3. Chapter 2: Collaboration between Citizen Developers and Coders Using Betty Blocks 4. Part 2: First Steps on the Betty Blocks Platform
5. Chapter 3: Governance on Betty Blocks 6. Chapter 4: An Introduction to Data Modeling 7. Chapter 5: The Page Builder 8. Chapter 6: Creating a New Application from a Template 9. Chapter 7: Prototyping an Application 10. Part 3: Building Your First Application
11. Chapter 8: The To-Do Application 12. Chapter 9: The ToDo Application – Actions and Interactions 13. Chapter 10: Case Management Application 14. Chapter 11: Case Management – Pages and Actions 15. Part 4: The Pro-Coder
16. Chapter 12: Pro-Coder Features 17. Chapter 13: The Back Office 18. Index 19. Other Books You May Enjoy

Delete tasks

Now we’ve completed our first functions of viewing and editing our records, we would also like to be able to delete the data. Therefore, we need to create a Delete form.

We want to show a confirmation dialog by clicking on a Delete button in the data table. To do this, we will first search for a data column (see Figure 9.13), and we’ll drag it to the rightmost part of the data table.When adding the Datatable column component, you will see a wizard where you can select a property.

Here, we’ll click the Add without configuration button, showing our new column in the data table. Let’s search for a Delete record button and drag it in our new data column (see Figure 9.15):
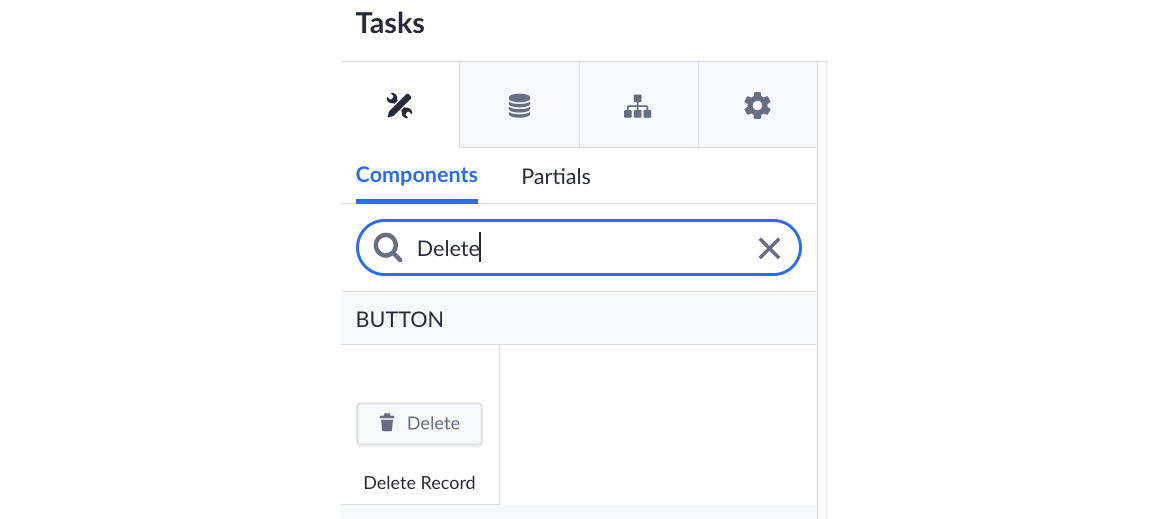
Figure 9.27 – The Delete button to delete a record

Figure 9.27 – The Delete button to delete a record

After dragging this button, a wizard will appear, where we can select our Task model (see Figure 9.28). After selecting this model, click on Save:

Figure 9.28 – Configuring the delete record button

Figure 9.28...

lock icon The rest of the chapter is locked
Register for a free Packt account to unlock a world of extra content!
A free Packt account unlocks extra newsletters, articles, discounted offers, and much more. Start advancing your knowledge today.
Unlock this book and the full library FREE for 7 days
Get unlimited access to 7000+ expert-authored eBooks and videos courses covering every tech area you can think of
Renews at $19.99/month. Cancel anytime
Banner background image