Downloading and installing the Engine
In this section, we will see how to download and install Unreal Engine 5. But first, we will need to install the Epics Game Launcher:
- Go to www.unrealengine.com.
- Create an Epic Games account by clicking on the SIGN IN option at the top right of the page:
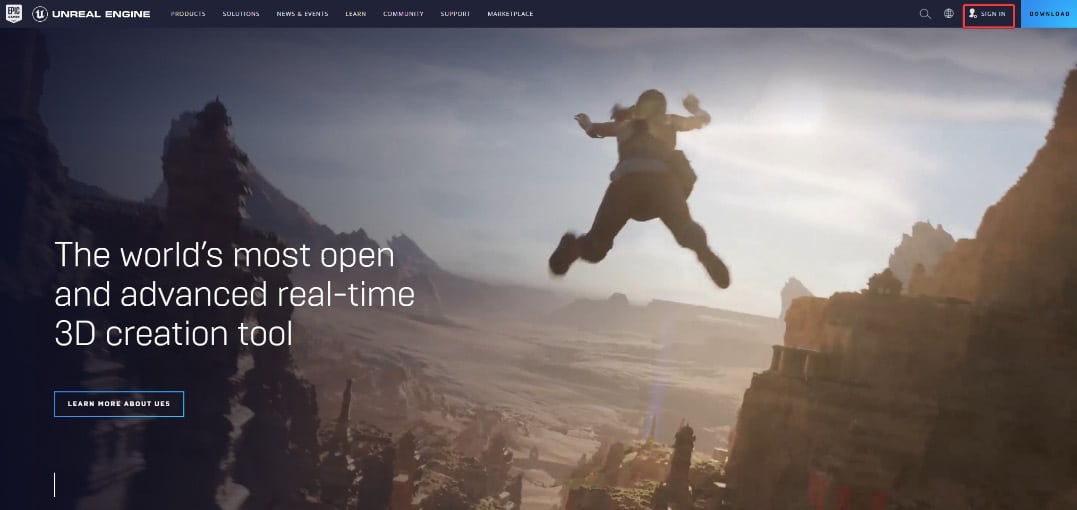
Figure 1.1 – Unreal Engine 5’s official web page with the SIGN IN link in the top-right corner
- Once you create an Epic Games account, click on the DOWNLOAD option at the top right of the page.
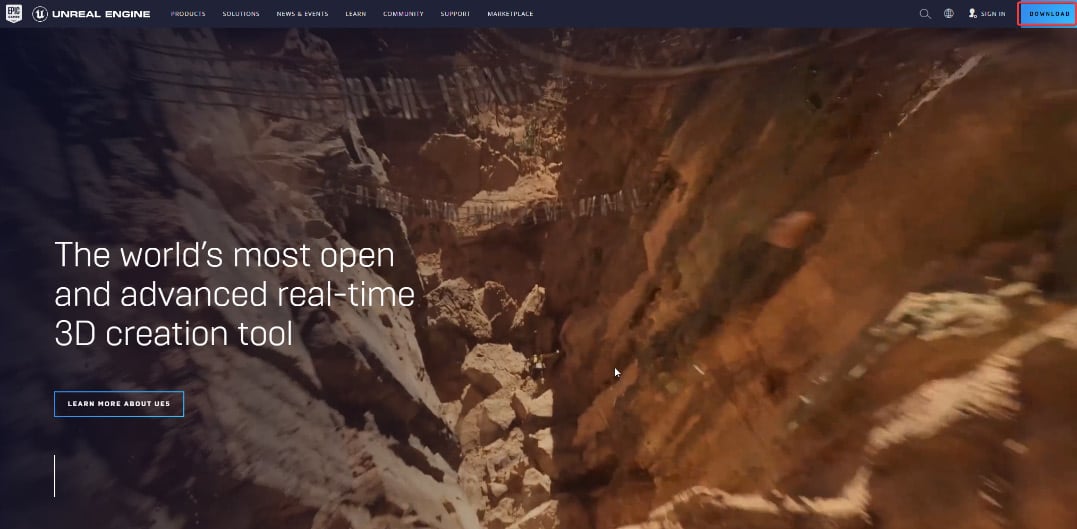
Figure 1.2 – Unreal Engine 5’s official web page with the DOWNLOAD link in the top-right corner
- Click on DOWNLOAD LAUNCHER and install it.
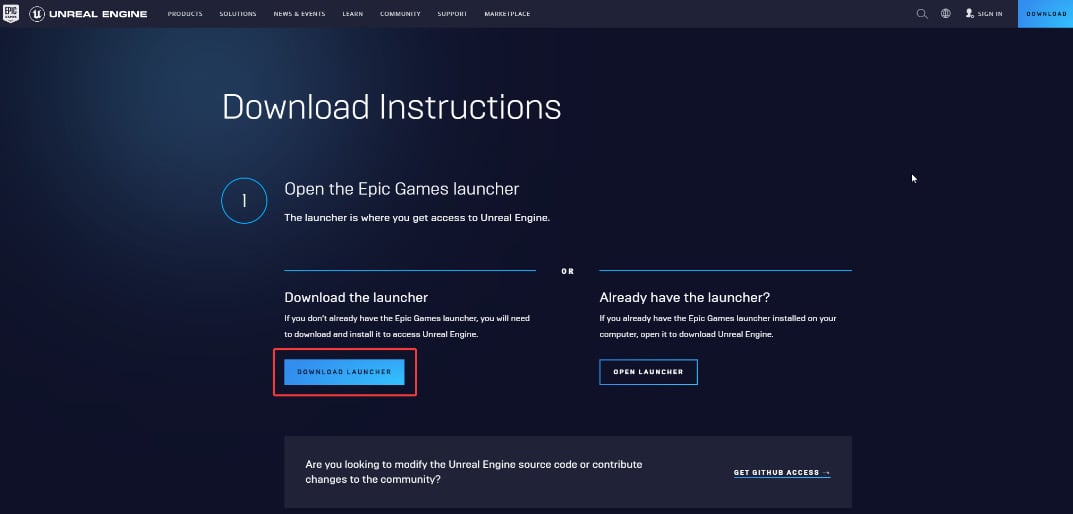
Figure 1.3 – The Epic Games Launcher download page
At the end of this page, you can also find System requirements for Windows, macOS, and Linux:
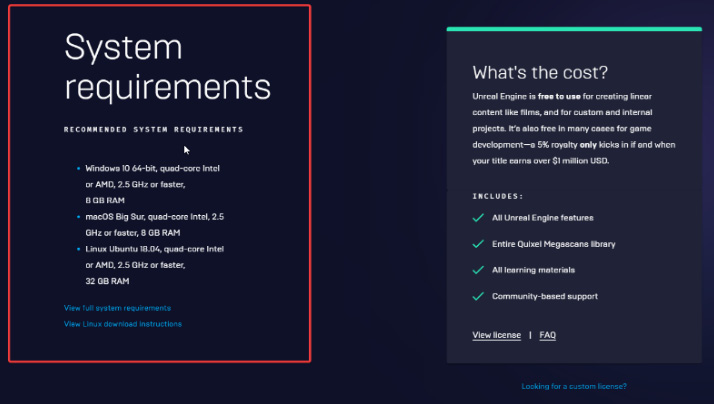
Figure 1.4 – Unreal Engine 5 System requirements – click on View Full system requirements to see the full list
Once you have installed Epic Game Launcher, you can launch it and log in with your Epic Games account.
Next, it’s time to install the Engine with the following steps:
- Open Epic Games Launcher and click on the Unreal Engine tab on the left-hand side.
- Click on Library at the top of the screen.
- To install the Engine, click on the plus (+) icon.
A rectangular thumbnail with a number and an Install button will appear. If you click on the number inside the thumbnail, you can choose the version of the Engine you want to install. In this book, we will use version 5.3.1. You can use later versions of the Engine as well.
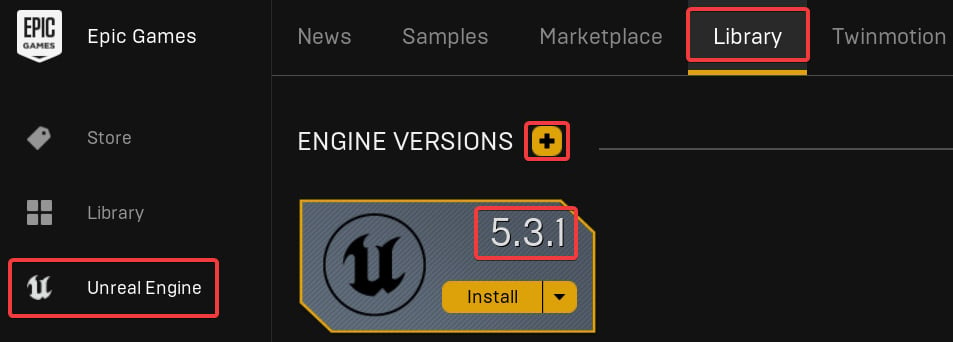
Figure 1.5 – This is how you will find the Library tab for the first time
- Click on Install. Alternatively, you can also click on the Install Engine button on the top right of the windows. This button will install the latest version of the Engine. It will take a while to end the process.

Figure 1.6 – The Library tab will be shown in this way if you don’t have any version of the Engine installed
- Once you have installed the Engine, the install button becomes the Launch button. Click on the Launch button, and the Engine will be launched.

Figure 1.7 – This is how the Library tab will look when you’ve installed the Engine for the first time
If you click on the row near the Launch button, you can choose from different options:
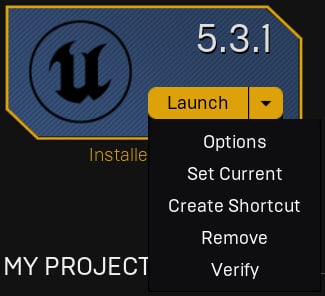
Figure 1.8 – Engine versions scroll-down menu
Let’s understand what these options are:
- Options: Here, you can change the installation options. You can save a lot of space on your local hard drive by deselecting some components that will be useless for our work such as Android, iOS, and Linux. This will take several minutes.
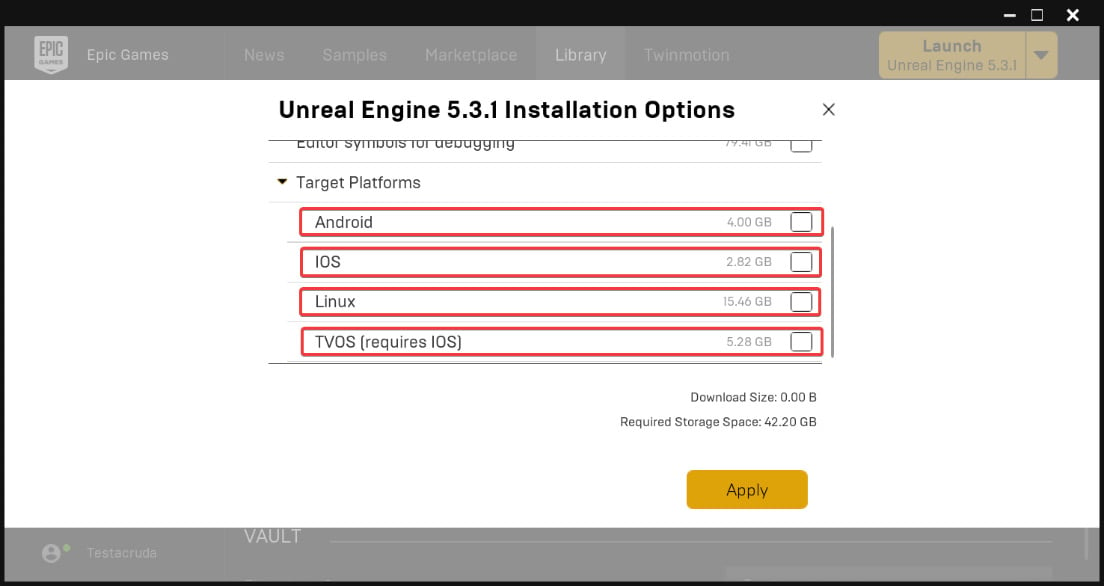
Figure 1.9 – Engine version installation options menu
- Set Current: Set this Engine version as the current version. This means that any time you launch the Engine from the Epic Games Launcher, it will be in the version selected by you. This also changes the version in the general Launch button on the top-right corner of the Epic Games Launcher.
- Create Shortcut: A shortcut of this specific Engine version will be automatically created on your desktop.
- Remove: This will delete a specific Engine version.
- Verify: This option will repeat the verifying process of the Engine installation. It can correct some Engine errors. This can help in case of some malfunction of the Engine. This process takes several minutes but can be lifesaving during projects.
Now that we have downloaded and installed the Epic Games Launcher and Engine, let’s move on to the next section, where we will learn more about the Epic Games launcher.


