Creating UI Modules and Components
One of the great things about working with Angular is that it promotes building your applications in a modular and componentized way.
In Angular, an NgModule (or simply Module) is a way to group your application into logical blocks of functionality.
A Module is a TypeScript class with the @NgModule decorator. In the decorator, we define how Angular compiles and runs the code inside the module.
In this lesson, we are going to build a module that groups together all the components we want to use in our user interface.
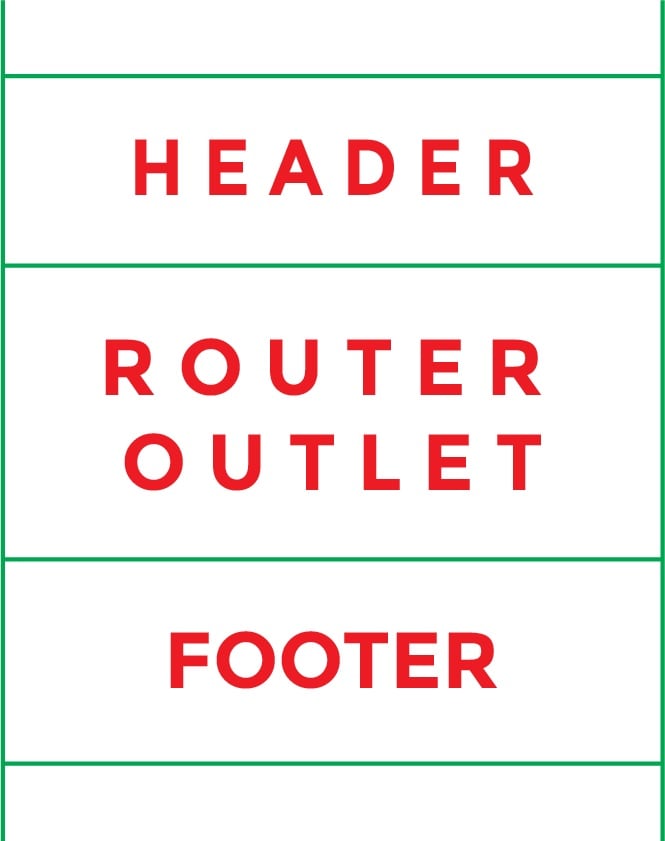
We will add a LayoutComponent that consists of our HeaderComponent and FooterComponent, and in-between those, we will define the space where our application code will be displayed using the RouterOutlet component:
Creating the UiModule
In this section, we will generate the UiModule using the ng command and import the UiModule in the AppModule.
Using the ng generate command, we can generate or scaffold out all sorts of code that can be used in our Angular application.
We will use the ng generate module command to generate our UiModule.
This command has one required parameter, which is the name. In our application, we will call this module ui:
Open your terminal and navigate to the project directory.
Run the following command from inside the project directory:
$ ng generate module ui
   create src/app/ui/ui.module.ts (186 bytes)
As you can see from the output of the command, our UiModule is generated in the new folder src/app/ui:
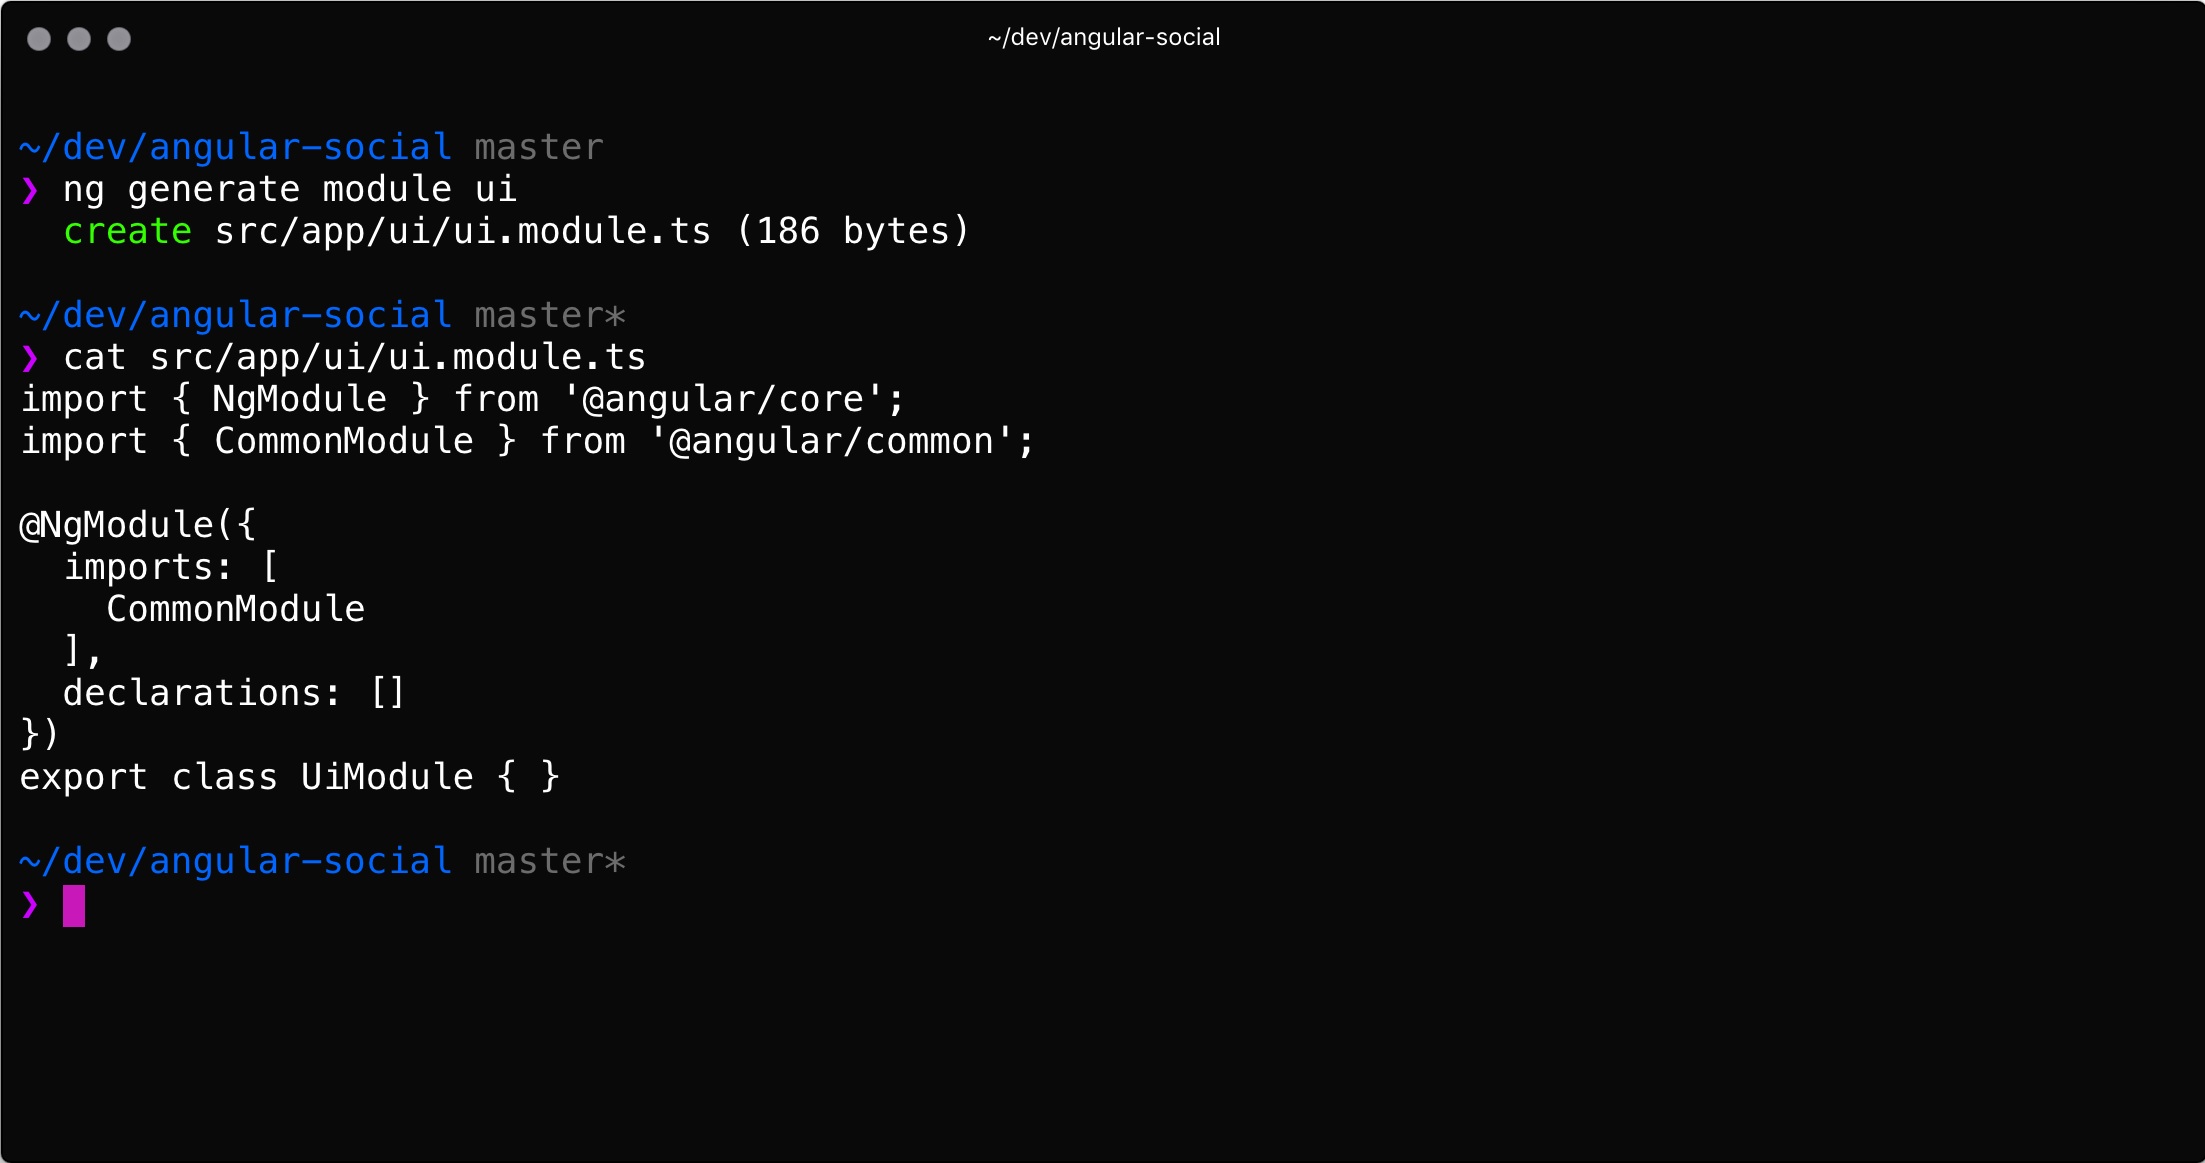
When we take a look at this file, we can see what an empty Angular module looks like:
   import { NgModule } from '@angular/core';
    import { CommonModule } from '@angular/common';

    @NgModule({
      imports: [
        CommonModule
      ],
      declarations: []
    })
    export class UiModule { }
Importing Our UiModule
Now that our UiModule is created, we need to import it from our AppModule. That way, we can use the code inside the UiModule from other code that lives inside the AppModule:
Open the project in your editor.
Open the
src/app/app.module.tsfile.Add the
importstatement on top of the file:import { UiModule } from './ui/ui.module'Add a reference to
UiModulein theimportsarray inside theNgModuledecorator:@NgModule({ ... imports: [ // other imports UiModule ], ... })
Our UiModule is now created and imported in our AppModule, which makes it ready to use.
Let's go ahead and create our first component inside the UiModule, and make it display in our app!
Displaying the Current Route
When building our app, we will heavily lean on Angular's router to tie all of our modules and components together.
Because we will build all the functionality in modules, we will use our main AppComponent only to display the current route. To make this work, we will need to update the AppComponent template and make sure we define the router-outlet:
Open the project in your editor.
Open the
src/app/app.component.htmlfile.Remove all of the content and add the following HTML:
<router-outlet></router-outlet>
After refreshing the app in our browser, we should see a blank page. This is because we don't have any routes set up and thus there is no way the Angular app knows what to display. Let's move to the next section to create our basic layout!
Creating the LayoutComponent
In this section, we will use ng generate to create the LayoutComponent inside the UiModule and add the LayoutComponent to the AppRoutingModule so it gets displayed.
The LayoutComponent is the main template of our application. Its function is to glue together the HeaderComponent and the FooterComponent and show the actual application pages in-between those two.
Now we will be using the ng generate command to create our LayoutComponent.
Open your terminal and navigate to the project directory.
Run the following command from inside the project directory:
ng generate component ui/components/layout
When we look at the output, we see that our component was created in the new src/app/ui/components directory:
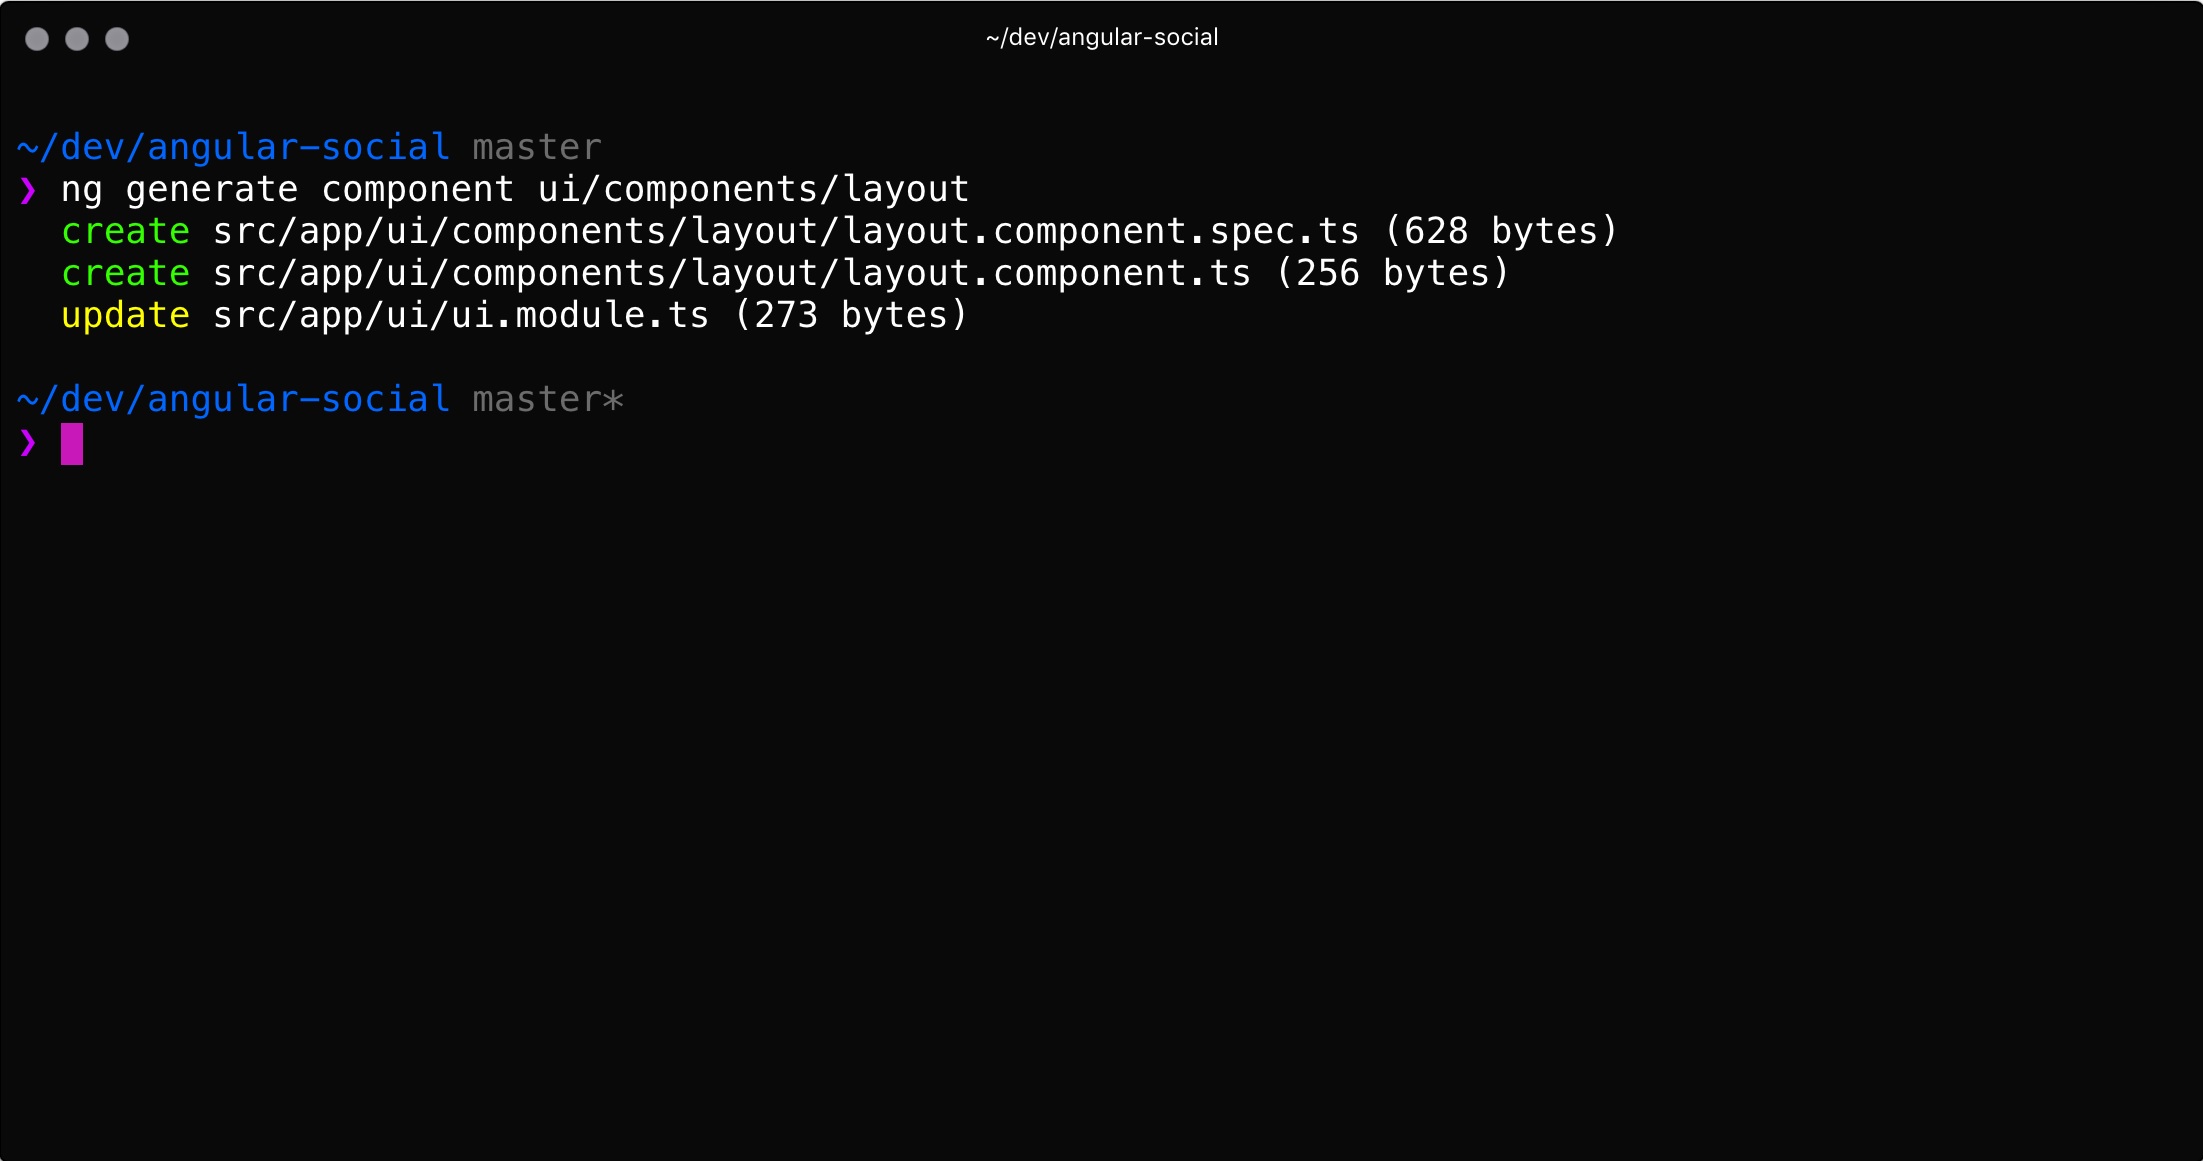
The last line of our output shows us that our UiModule was updated.
When we open our UiModule in our editor, we see that it added an import for our LayoutComponent and added it to the declarations array in the NgModule decorator.
The declarations array declares the existence of components in a module so Angular knows that they exist and can be used:
import { NgModule } from '@angular/core';
import { CommonModule } from '@angular/common';

@NgModule({
  imports: [
    CommonModule
  ],
  declarations: []
})
export class UiModule { }
Adding a New Route
As described earlier in this section, we will use our LayoutComponent as the base for the whole application. It will display our header, footer, and an outlet to show our actual application screens.
We will leverage Angular's built-in routing mechanism to do this. We will do this by adding a new route to the routing array, and reference the LayoutComponent in this route's component:
Open the
src/app/app-routing.module.tsfile.Add an
importto the list of imports on the top of the file:import { LayoutComponent } from './ui/components/layout/layout.component'Inside the empty array that is assigned to the
routesproperty, we add a new object literal.Add the
pathproperty and set its value to an empty string''.Add the
componentproperty and set its value to the referenceLayoutComponentthat we just imported. The line of code that we add to ourroutesarray is as follows:{ path: '', component: LayoutComponent, children: [] },
For reference, the complete file should look like this:
import { NgModule } from '@angular/core';
import { Routes, RouterModule } from '@angular/router';
import { LayoutComponent } from './ui/components/layout/layout.component'

const routes: Routes = [
  { path: '', component: LayoutComponent, children: [] },
];

@NgModule({
  imports: [RouterModule.forRoot(routes)],
  exports: [RouterModule]
})
export class AppRoutingModule { }
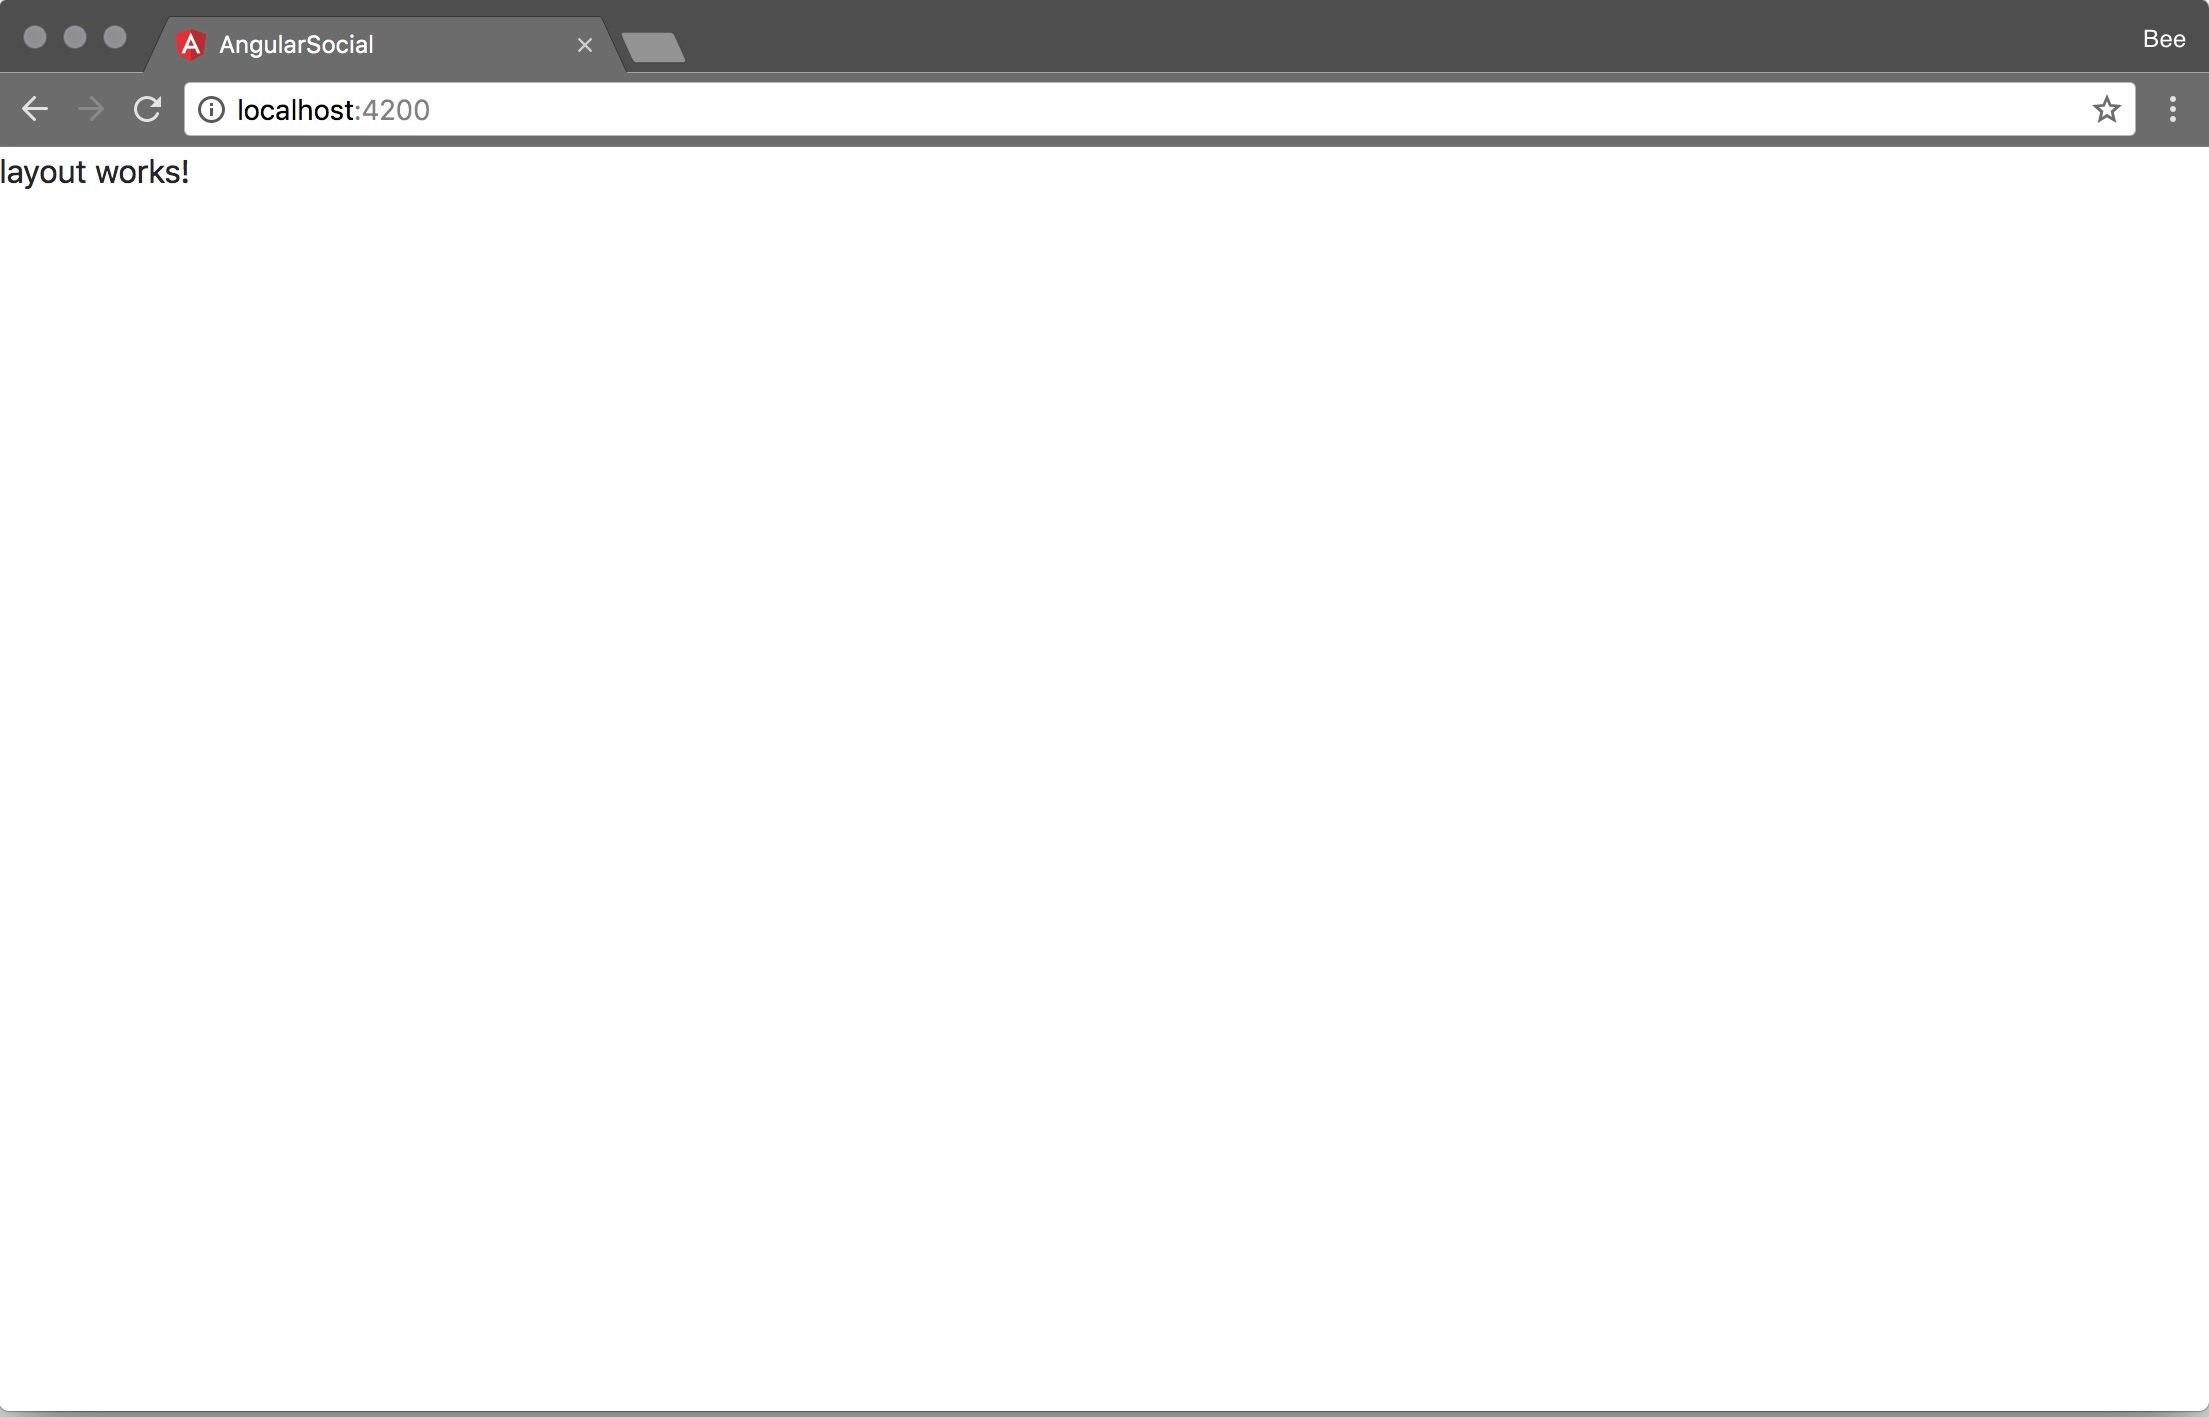
When our application refreshes, we should see the text layout works!:
Building Our Layout
Let's get rid of this default text and start building our actual layout:
Open the
src/app/ui/layout/layout.component.tsfile.Get rid of the contents of the
templateproperty.Add the following contents to the empty
templatestring:app-header placeholder <div class="container my-5"> <router-outlet></router-outlet> </div> app-footer placeholder
When we save our file, we see that our browser outputs a blank page.
Looking in the Console tab from Chrome Developer Tools, we see that we have an error stating Template parse errors: 'router-outlet' is not a known element:
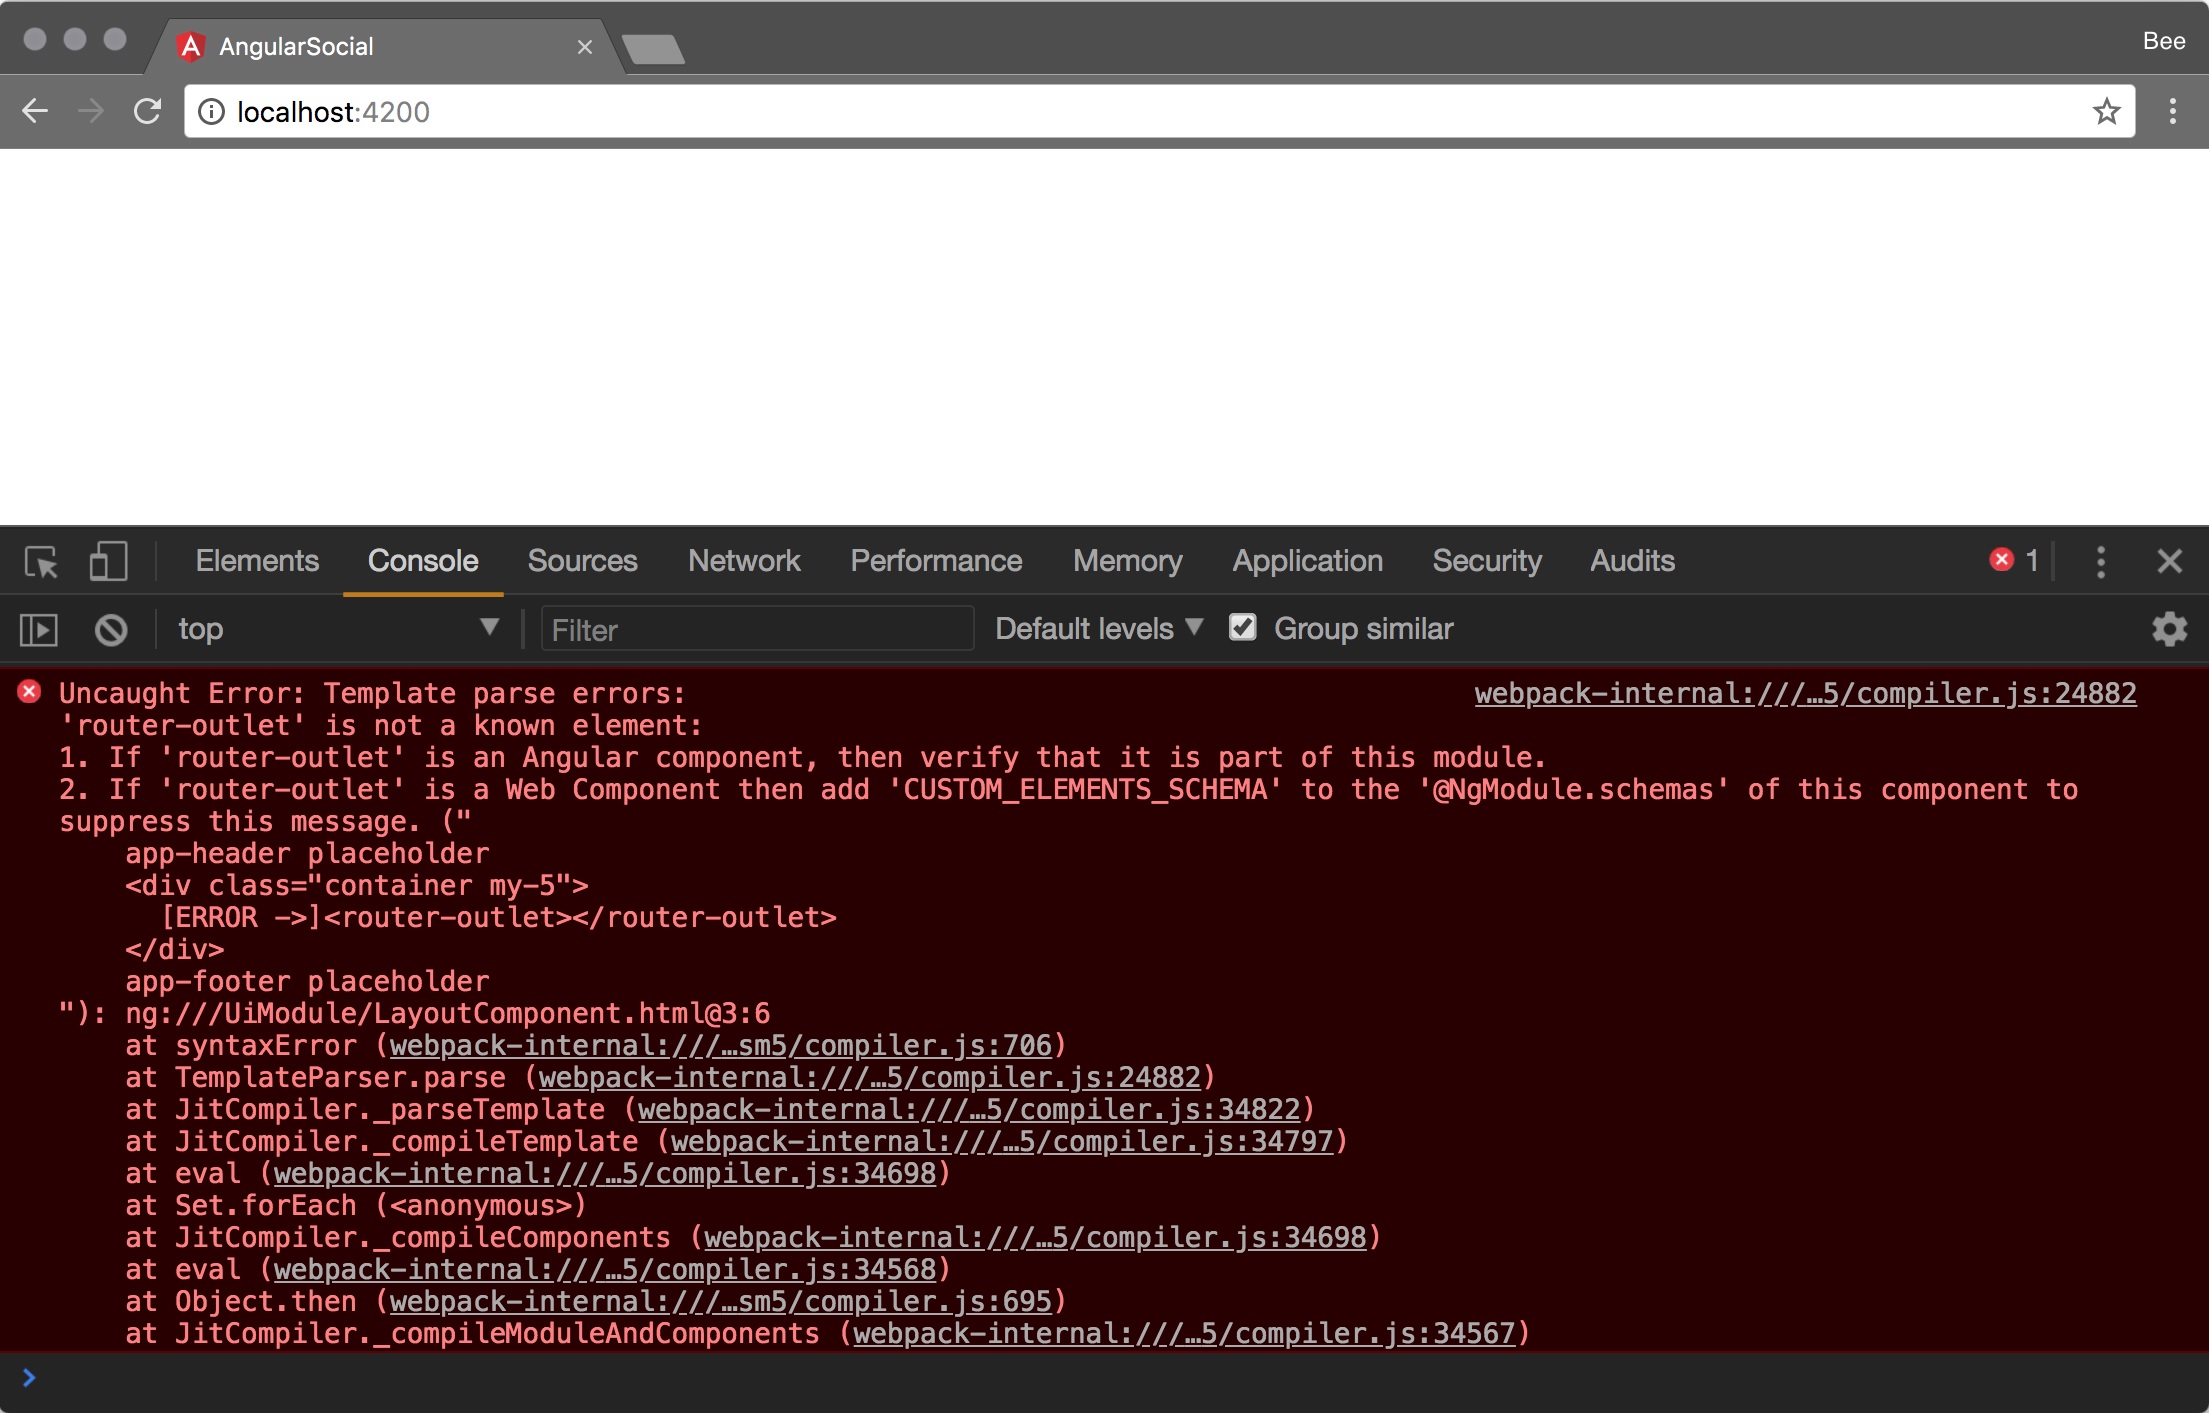
In order to make Angular aware of how to render the router-outlet, we need to import the RouterModule:
Open the
src/app/ui/ui.module.tsfile.Add an
importstatement to the list of imports on the top of the file:import { RouterModule } from '@angular/router';Add a reference to the
RouterModuleinside theimportsarray in theNgModuledecorator.
When we now save the file, we should see the placeholders for our header and footer, with some white space in-between and the router error is now gone from our console:
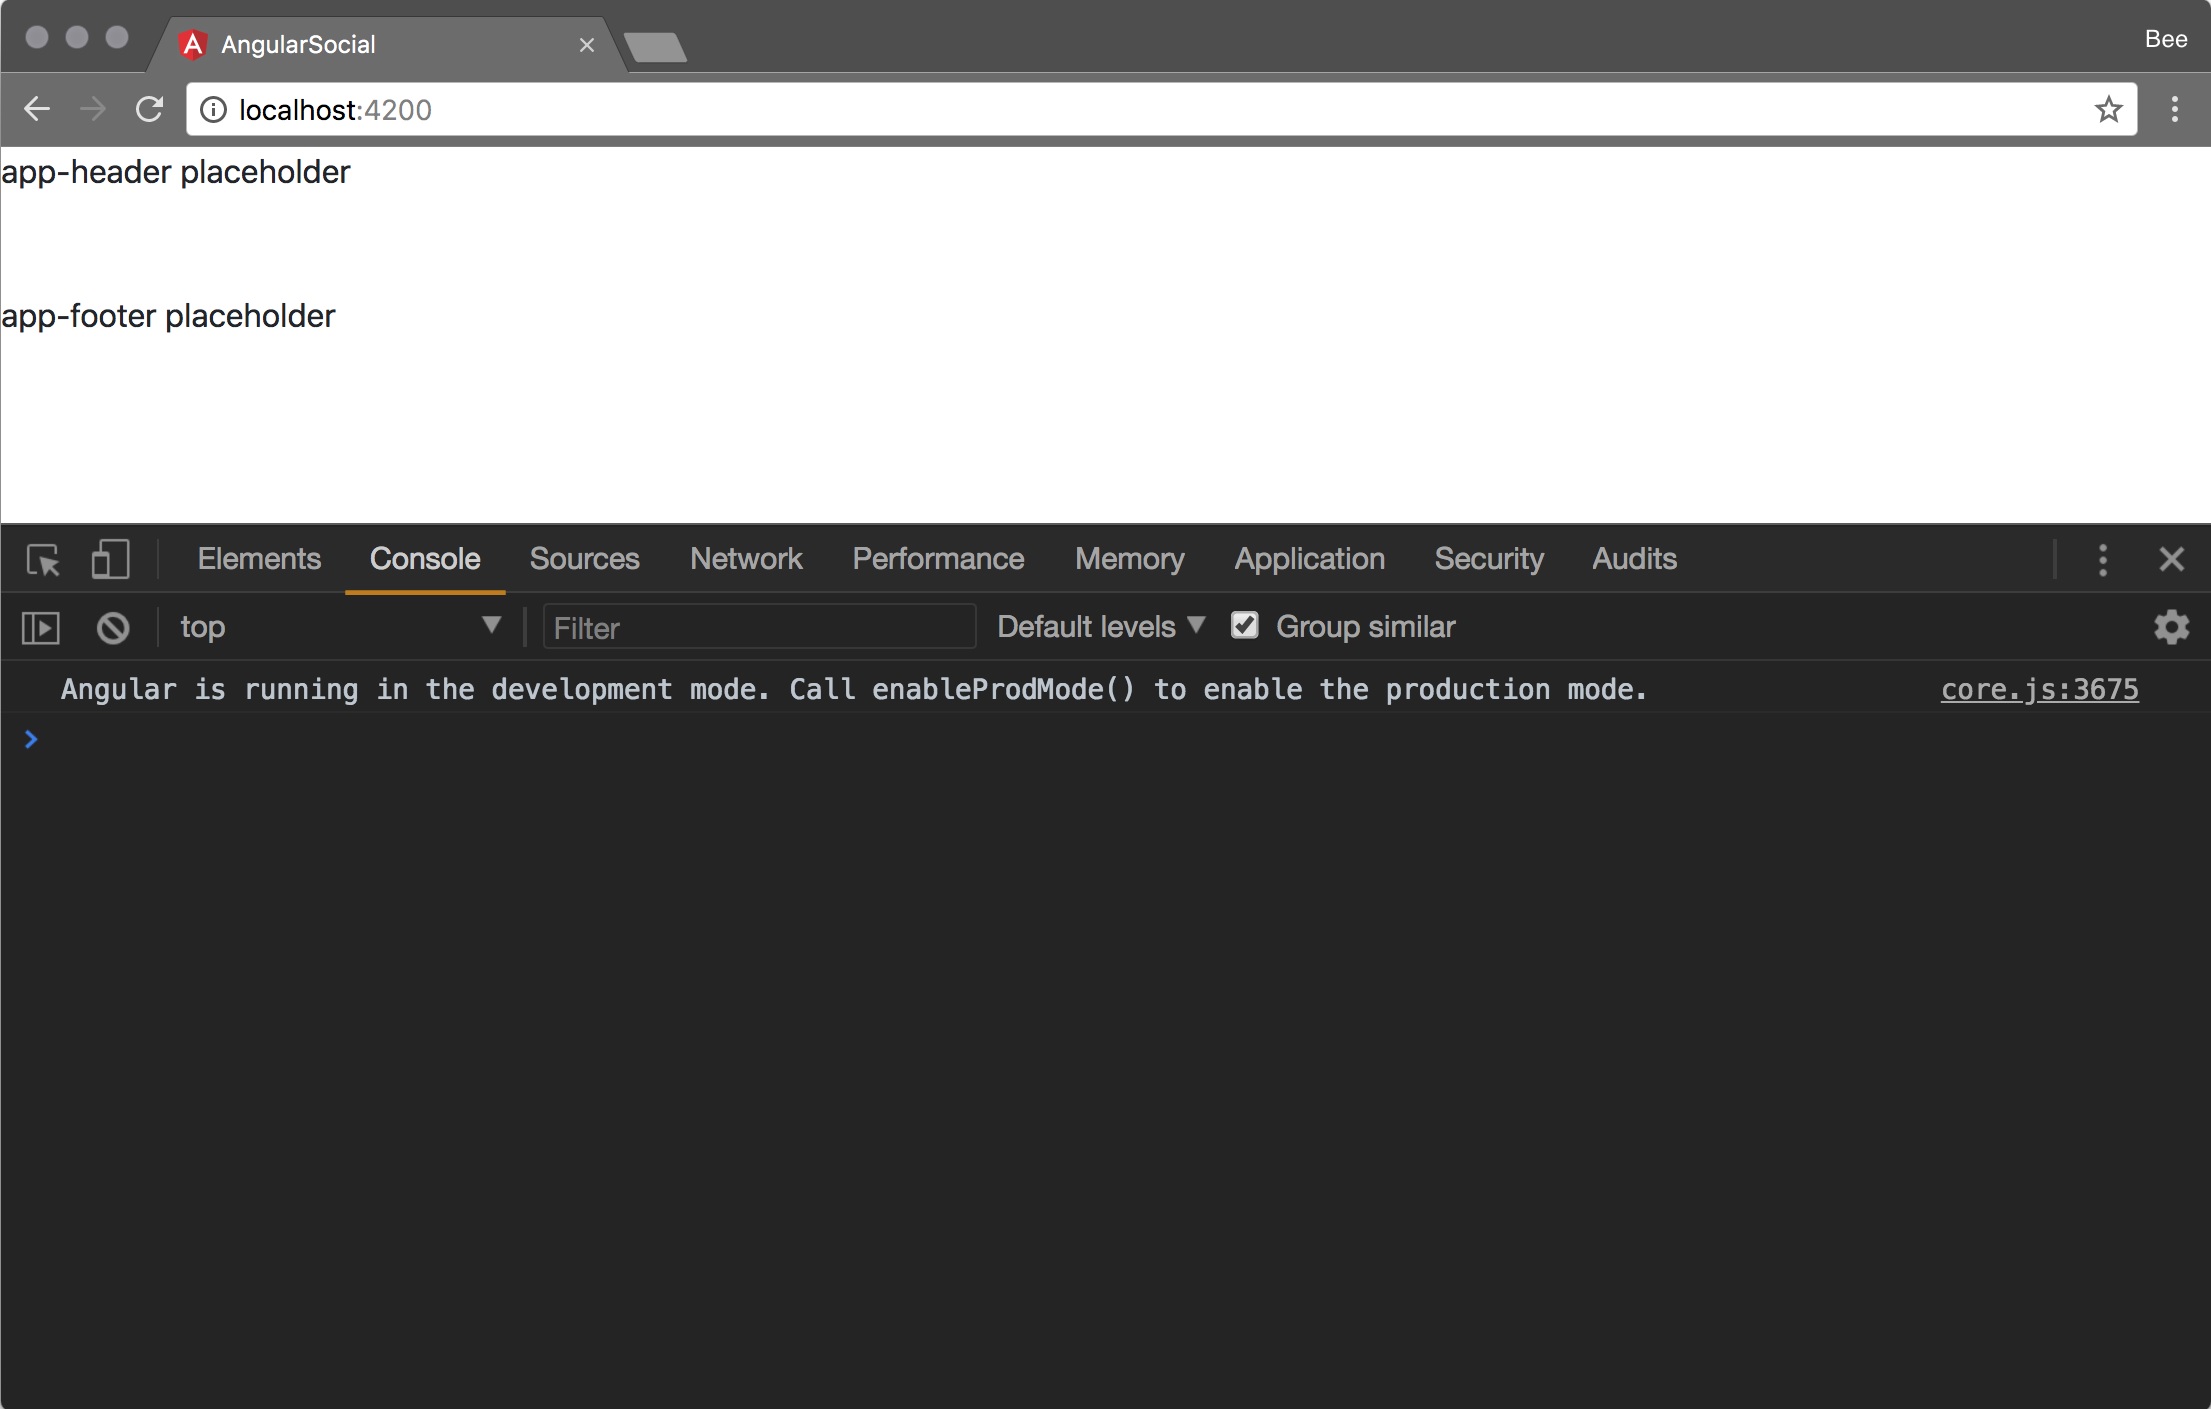
Now that that's done, let's add some content to the placeholders!
Creating the HeaderComponent
In this section, we will use ng generate to create the HeaderComponent inside the UiModule, reference the HeaderComponent from our LayoutComponent so it gets displayed, and implement the navigation bar with a dynamic title and items.
We will be using the ng generate command to create our HeaderComponent:
Open your terminal and navigate to the project directory.
Run the following command from inside the project directory:
ng g c ui/components/header
When we look at the output, we see that our component was created in the new src/app/ui/header directory and that our UiModule was updated, just as we would expect after having done the same for our LayoutComponent:
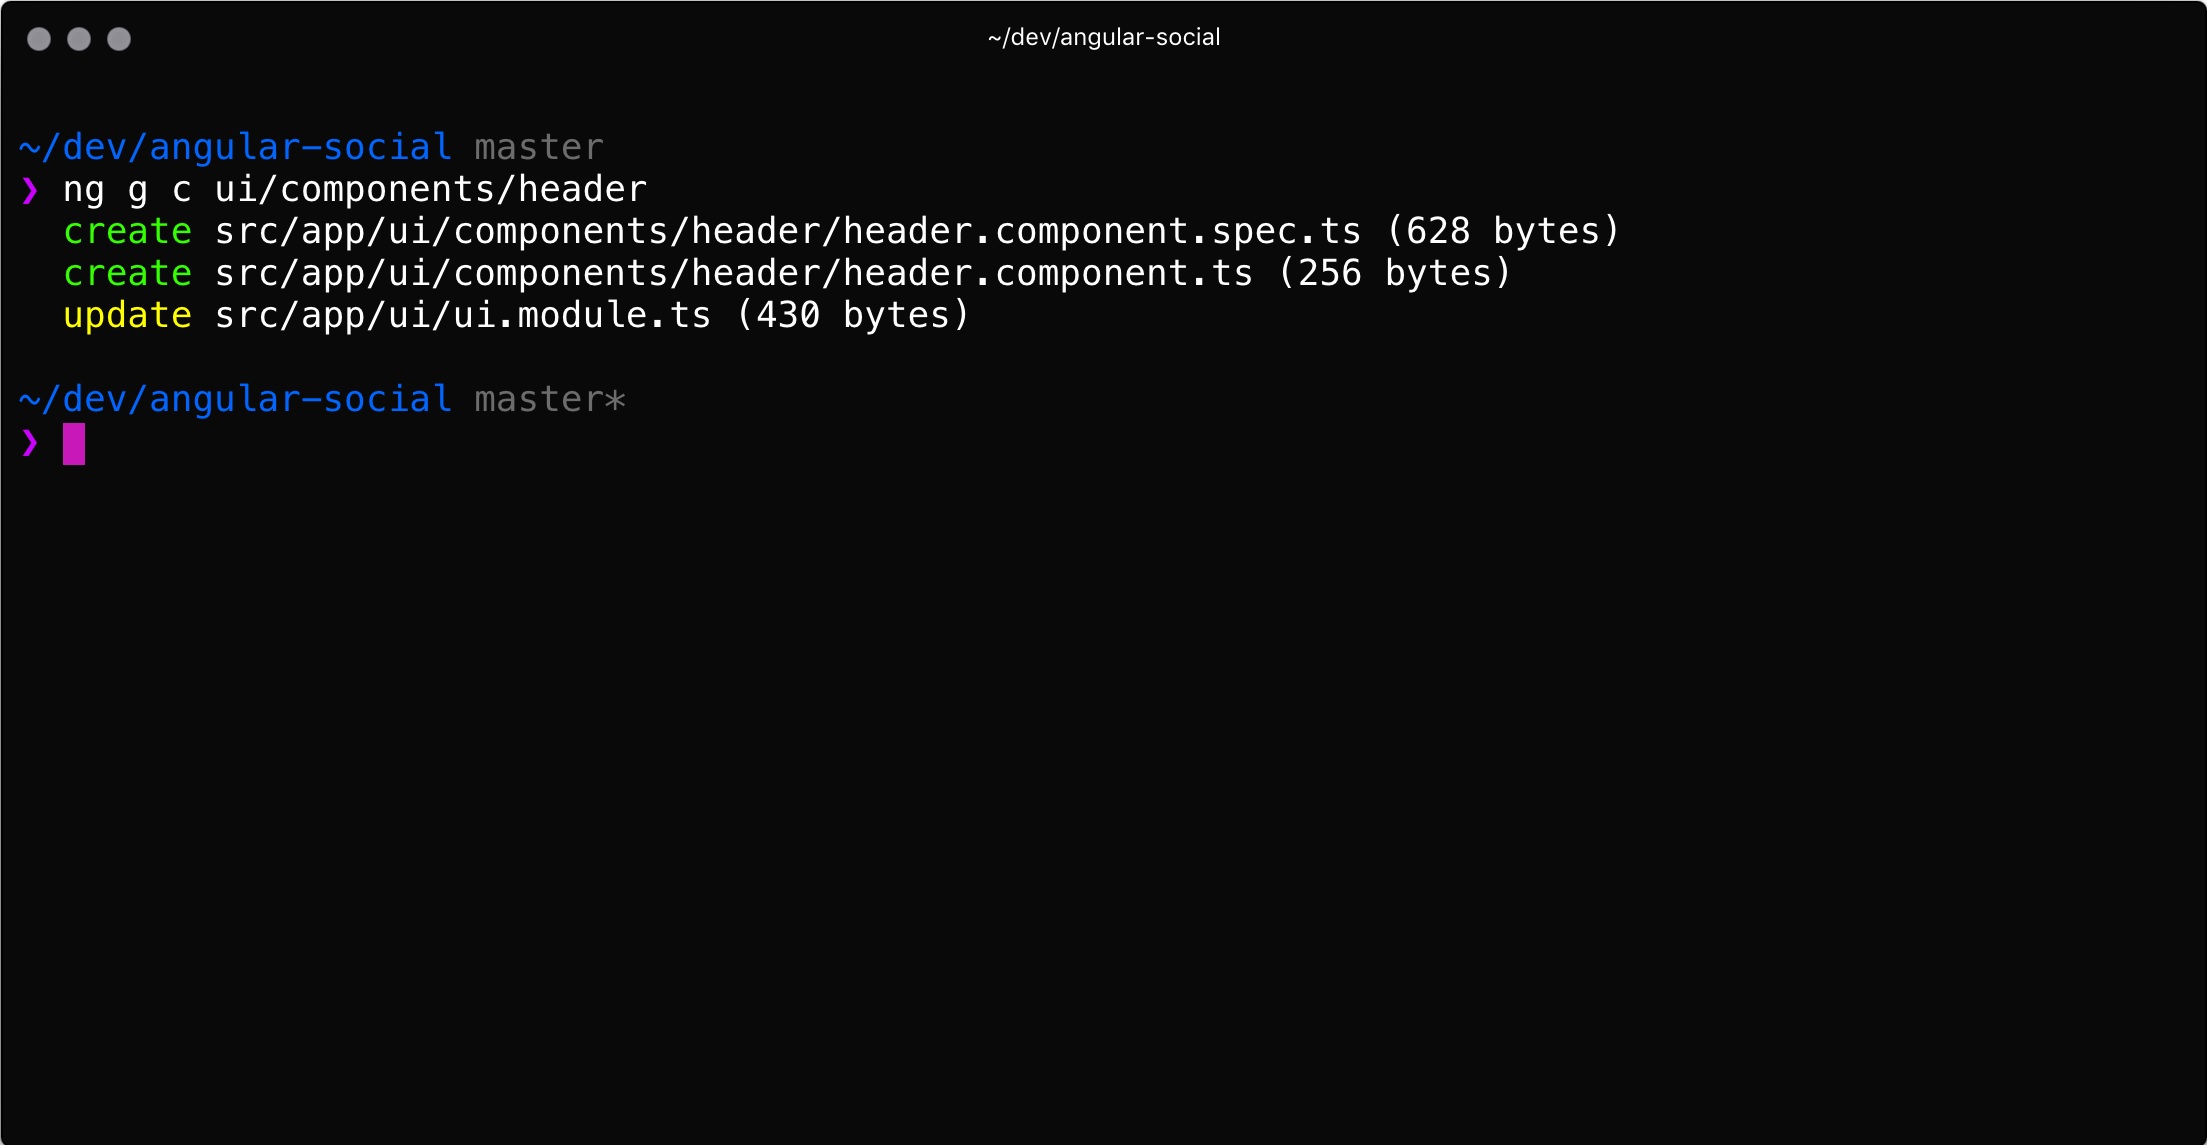
Updating the LayoutComponent to Reference Our New HeaderComponent
Now, we will update the LayoutComponent so that it references our new HeaderComponent instead of our app-header placeholder:
Open the
src/app/ui/components/layout/layout.component.tsfile.Find the
app-headerplaceholder and replace it with the following tag:<app-header></app-header>
When we see our application refresh in our browser, we see that we now have the string header works! instead of the placeholder:
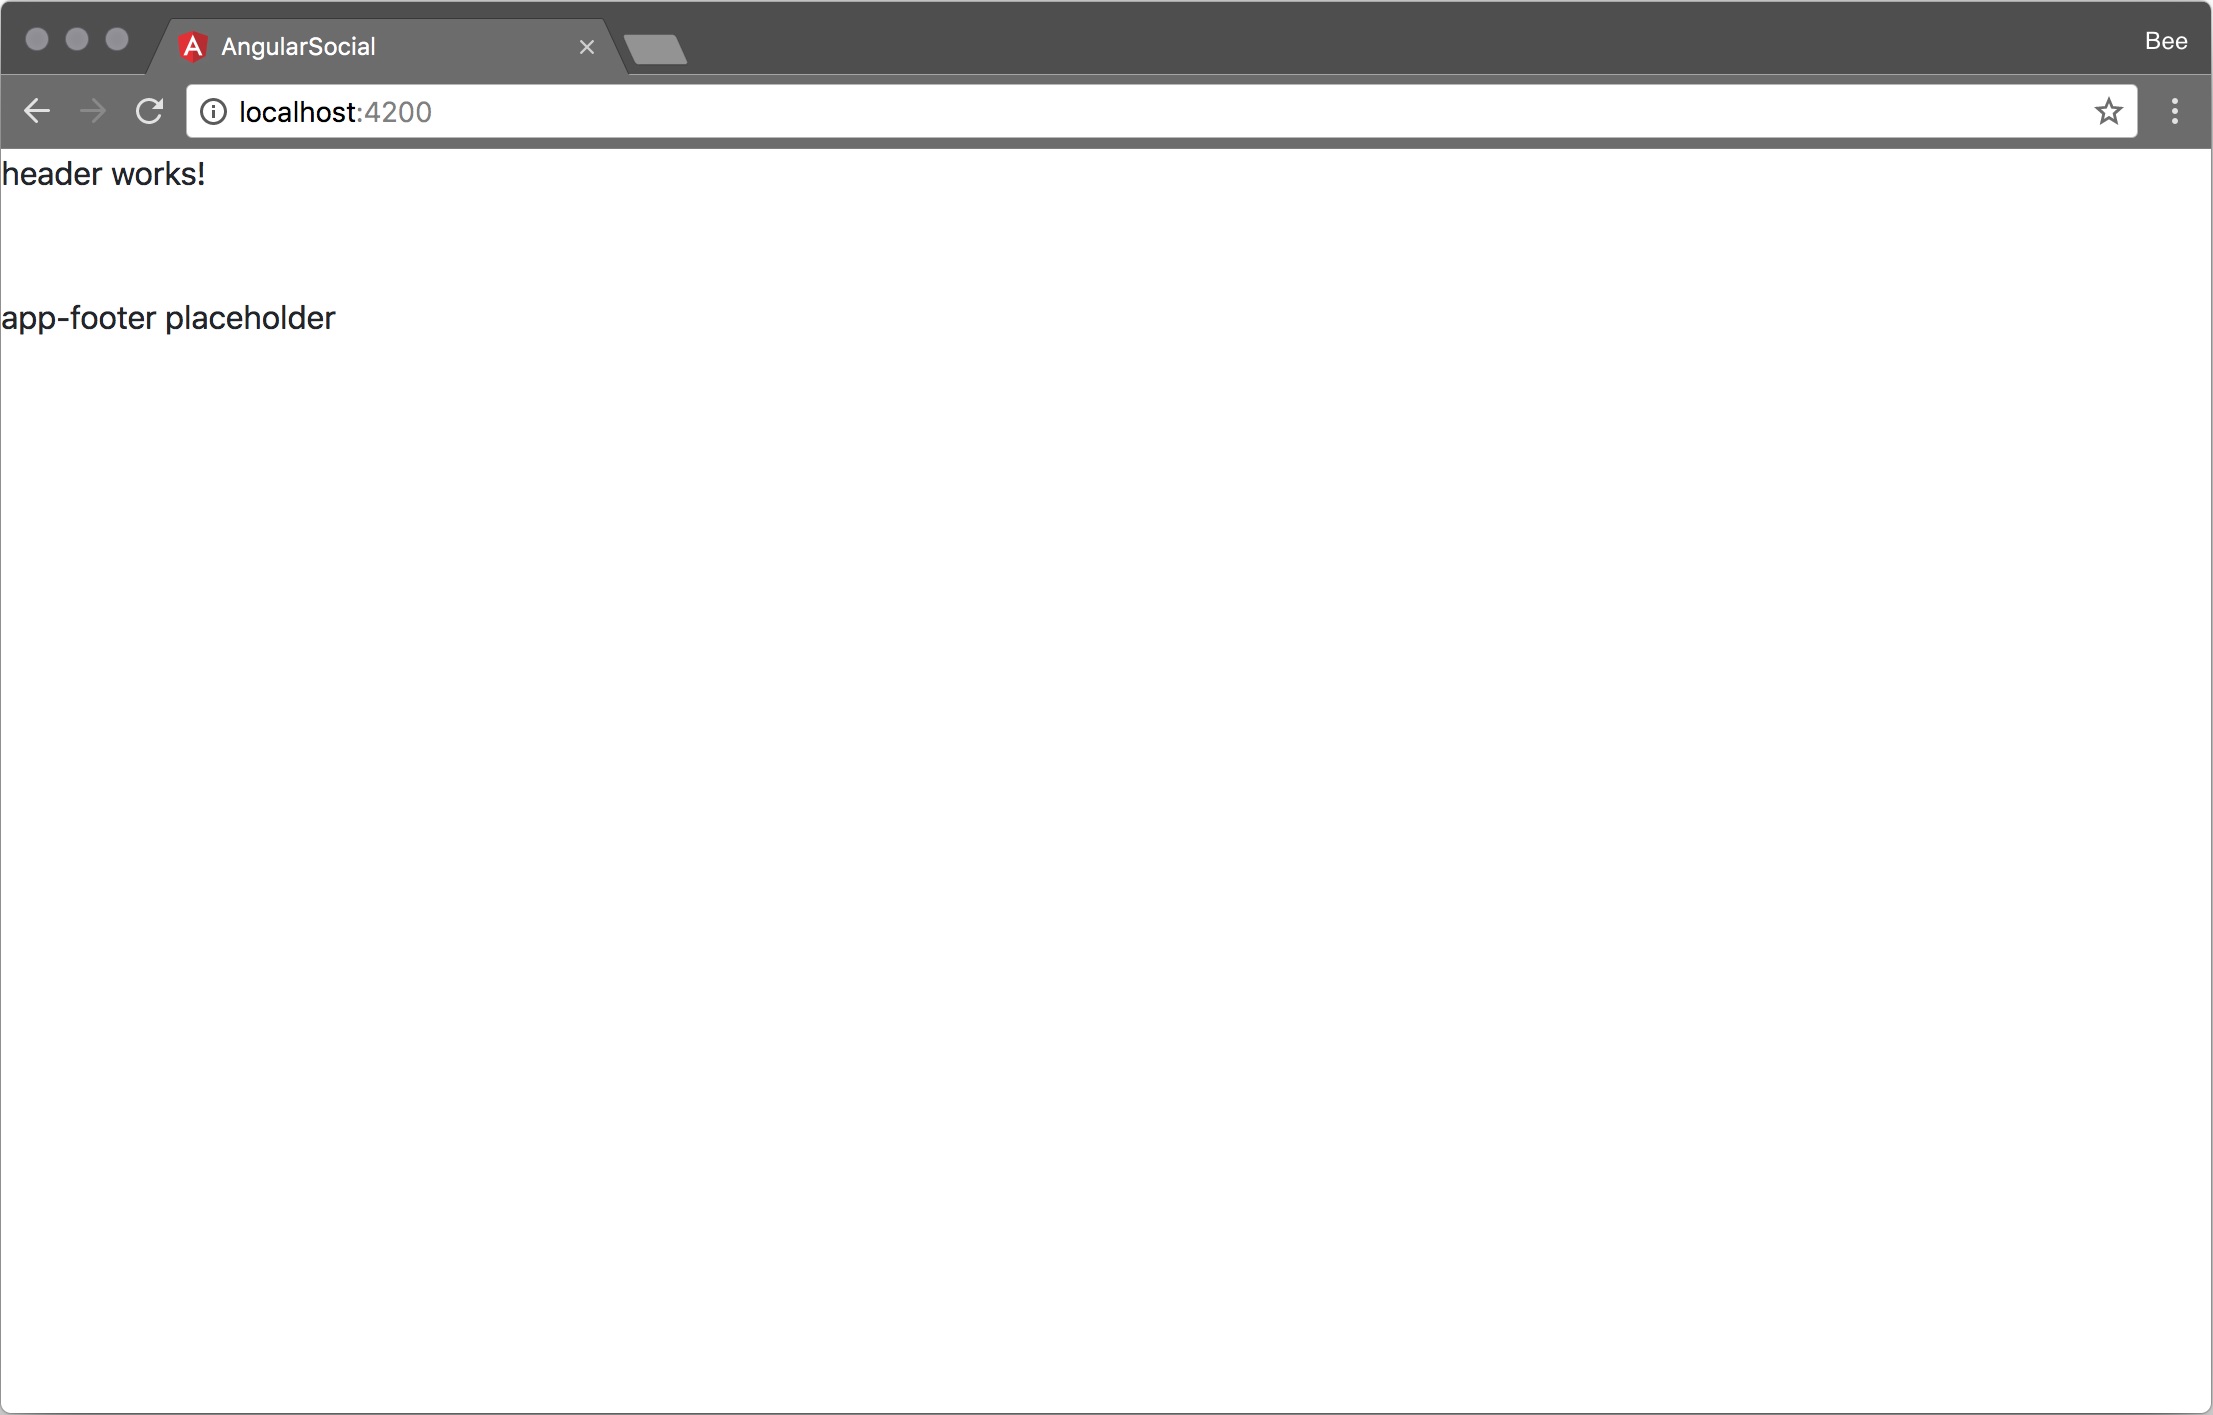
We can now start implementing our actual header so that our pages finally start to look like an app!
Creating the Actual Header
Now we will create the actual header. We will define three class properties, a string property for the application logo and title, and an array of objects that represent the links we want to display in our header.
In the template, we will create a Bootstrap navbar consisting of a nav element with some styles, a link with our logo and title, and the actual navigation links.
Note
More information on how to use the navbar can be found here: https://getbootstrap.com/docs/4.0/components/navbar/
Download the file from https://angular.io/assets/images/logos/angular/angular.svg and store it as
src/assets/logo.svg.Open the
src/app/ui/components/header/header.component.tsfile.Inside the
componentclass, we add three new properties:public logo = 'assets/logo.svg'; public title = 'Angular Social'; public items = [{ label: 'Posts', url: '/posts'}];Replace the contents of the
templateproperty with the following markup:<nav class="navbar navbar-expand navbar-dark bg-dark"> <a class="navbar-brand" routerLink="/"> <img [src]="logo" width="30" height="30" alt=""> </a> <div class="collapse navbar-collapse"> <ul class="navbar-nav"> <li class="nav-item" *ngFor="let item of items" routerLinkActive="active"> <a class="nav-link" [routerLink]="item.url">{{item.label}}</a> </li> </ul> </div> </nav>
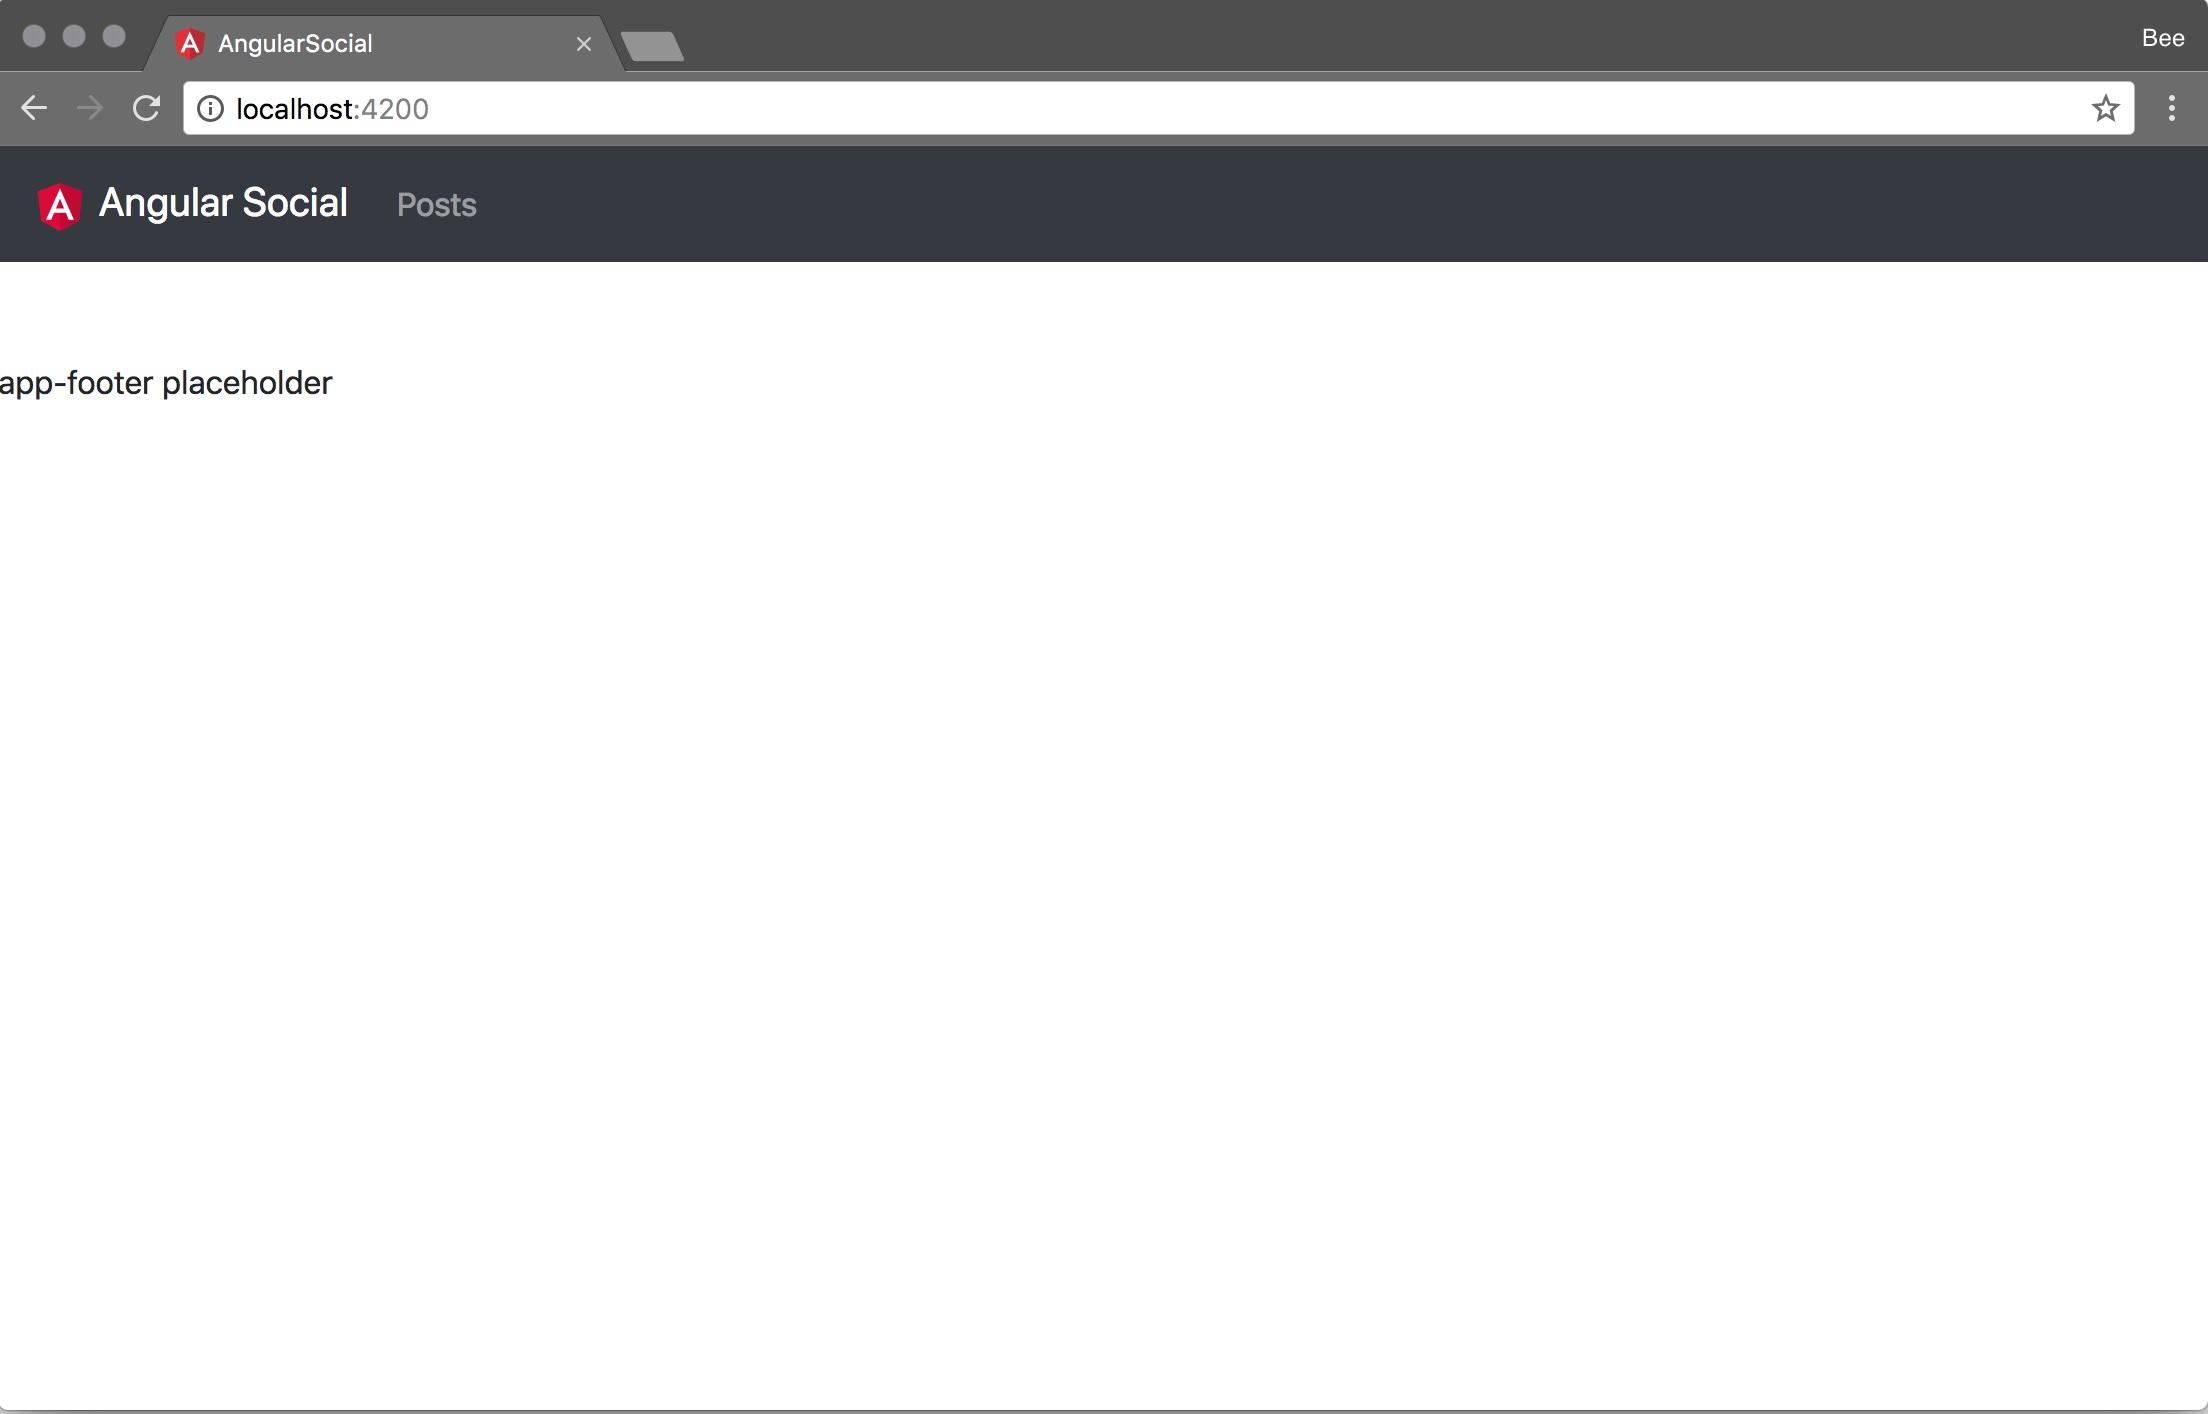
When we save this file and check in our browser, we finally see the first real part of the application being displayed. Things will move quickly from now on:
Let's apply the knowledge we have gained in this section to build the FooterComponent.
Creating the FooterComponent
In this section, we will use ng generate to create the FooterComponent inside the UiModule, reference the FooterComponent from our LayoutComponent so it gets displayed, and implement the footer and add a small copyright message.
We will be using the ng generate command to create our FooterComponent:
Open your terminal and navigate to the project directory.
Run the following command from inside the project directory:
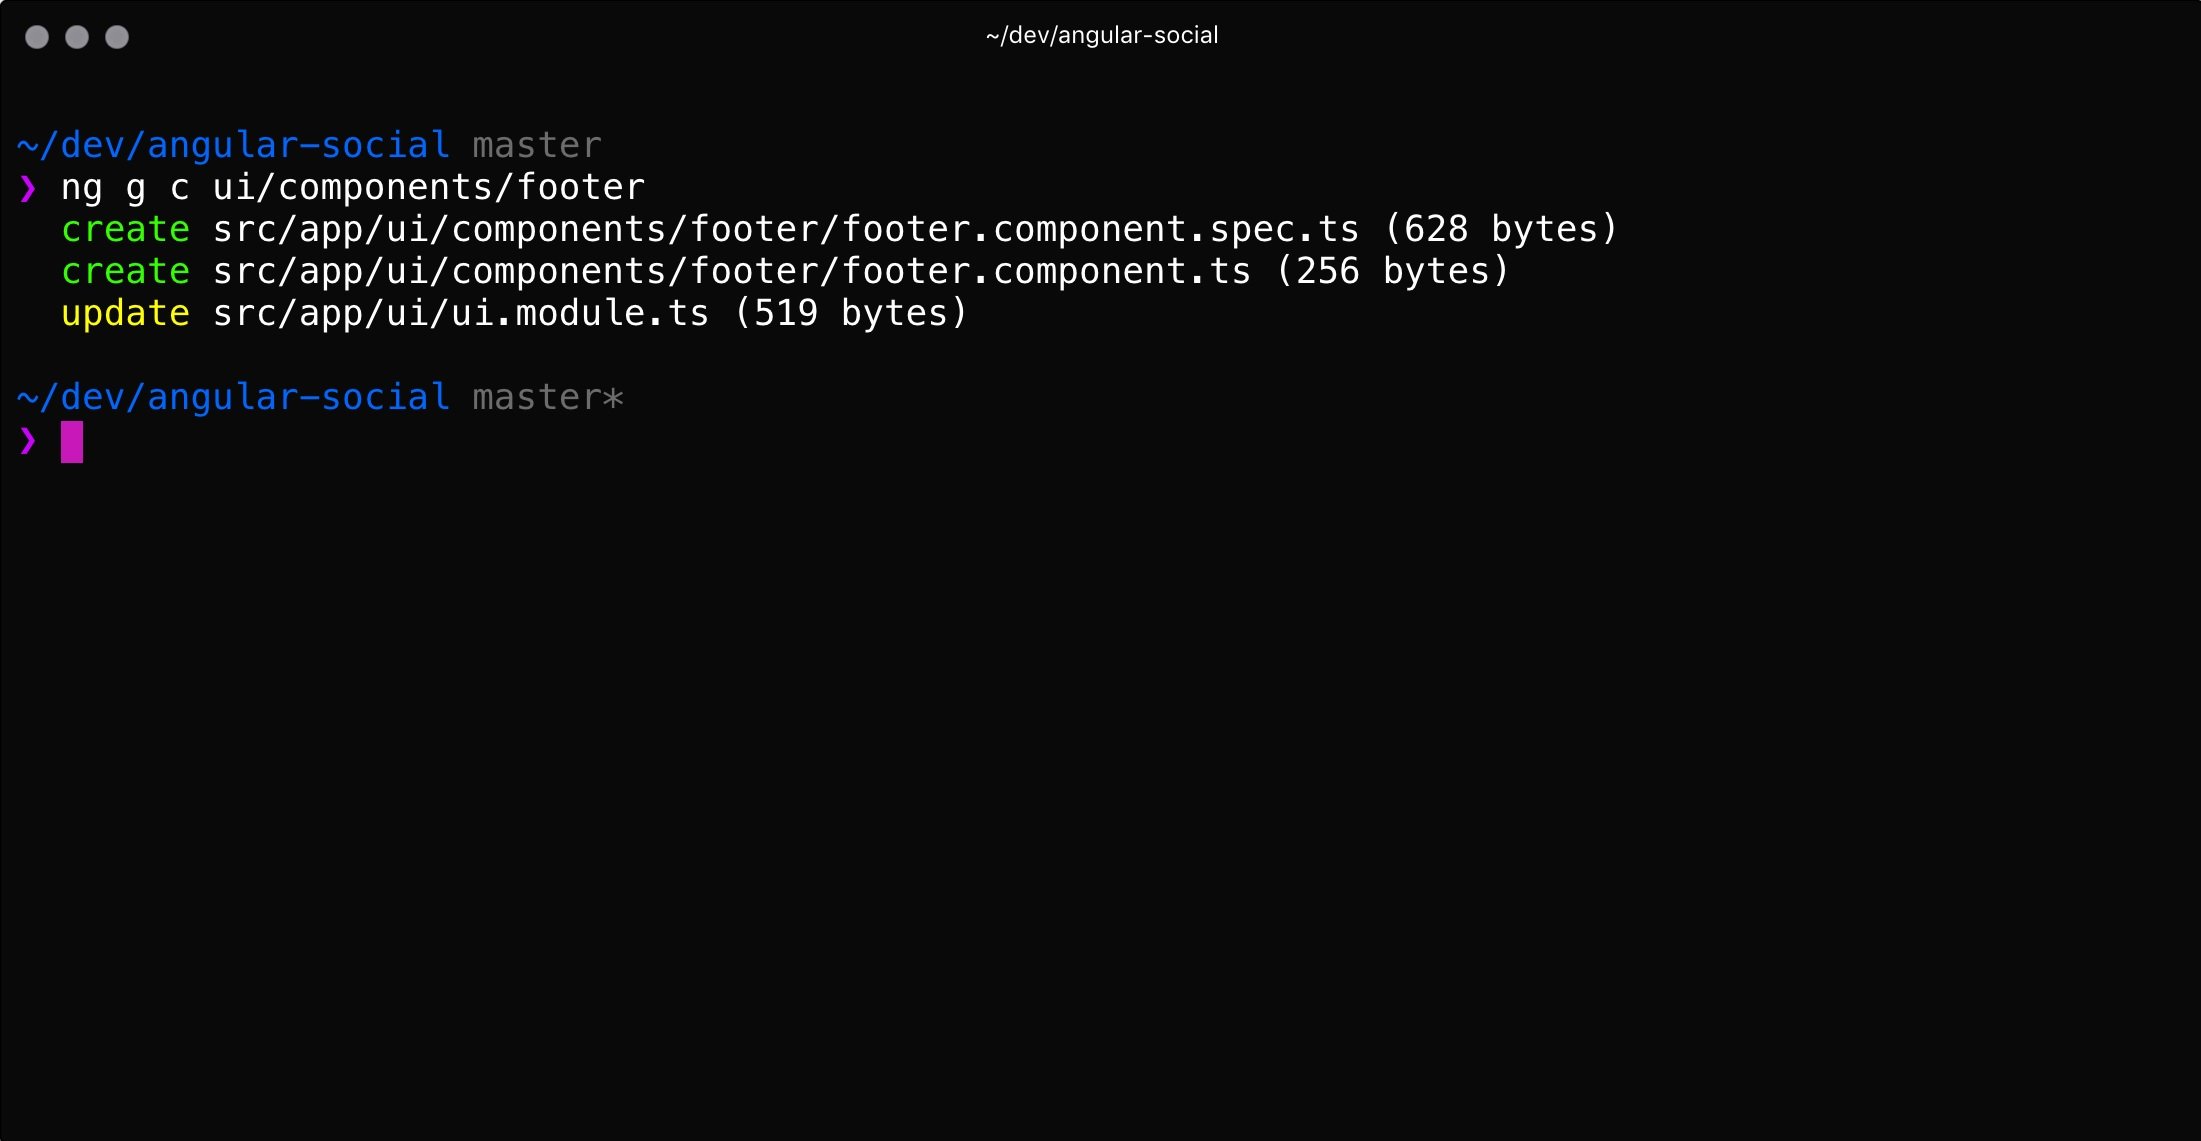
$ ng g c ui/components/footer
When we look at the output, we see that our component got created in the new src/app/ui/footer directory and that our UiModule was updated, similar to what happened in the previous sections:
Updating the LayoutComponent to Reference Our New FooterComponent
We will update the LayoutComponent so that it references our new FooterComponent instead of our app-footer placeholder:
Open the
src/app/ui/components/layout/layout.component.tsfile.Find the
app-footerplaceholder and replace it with the following tag:<app-footer></app-footer>
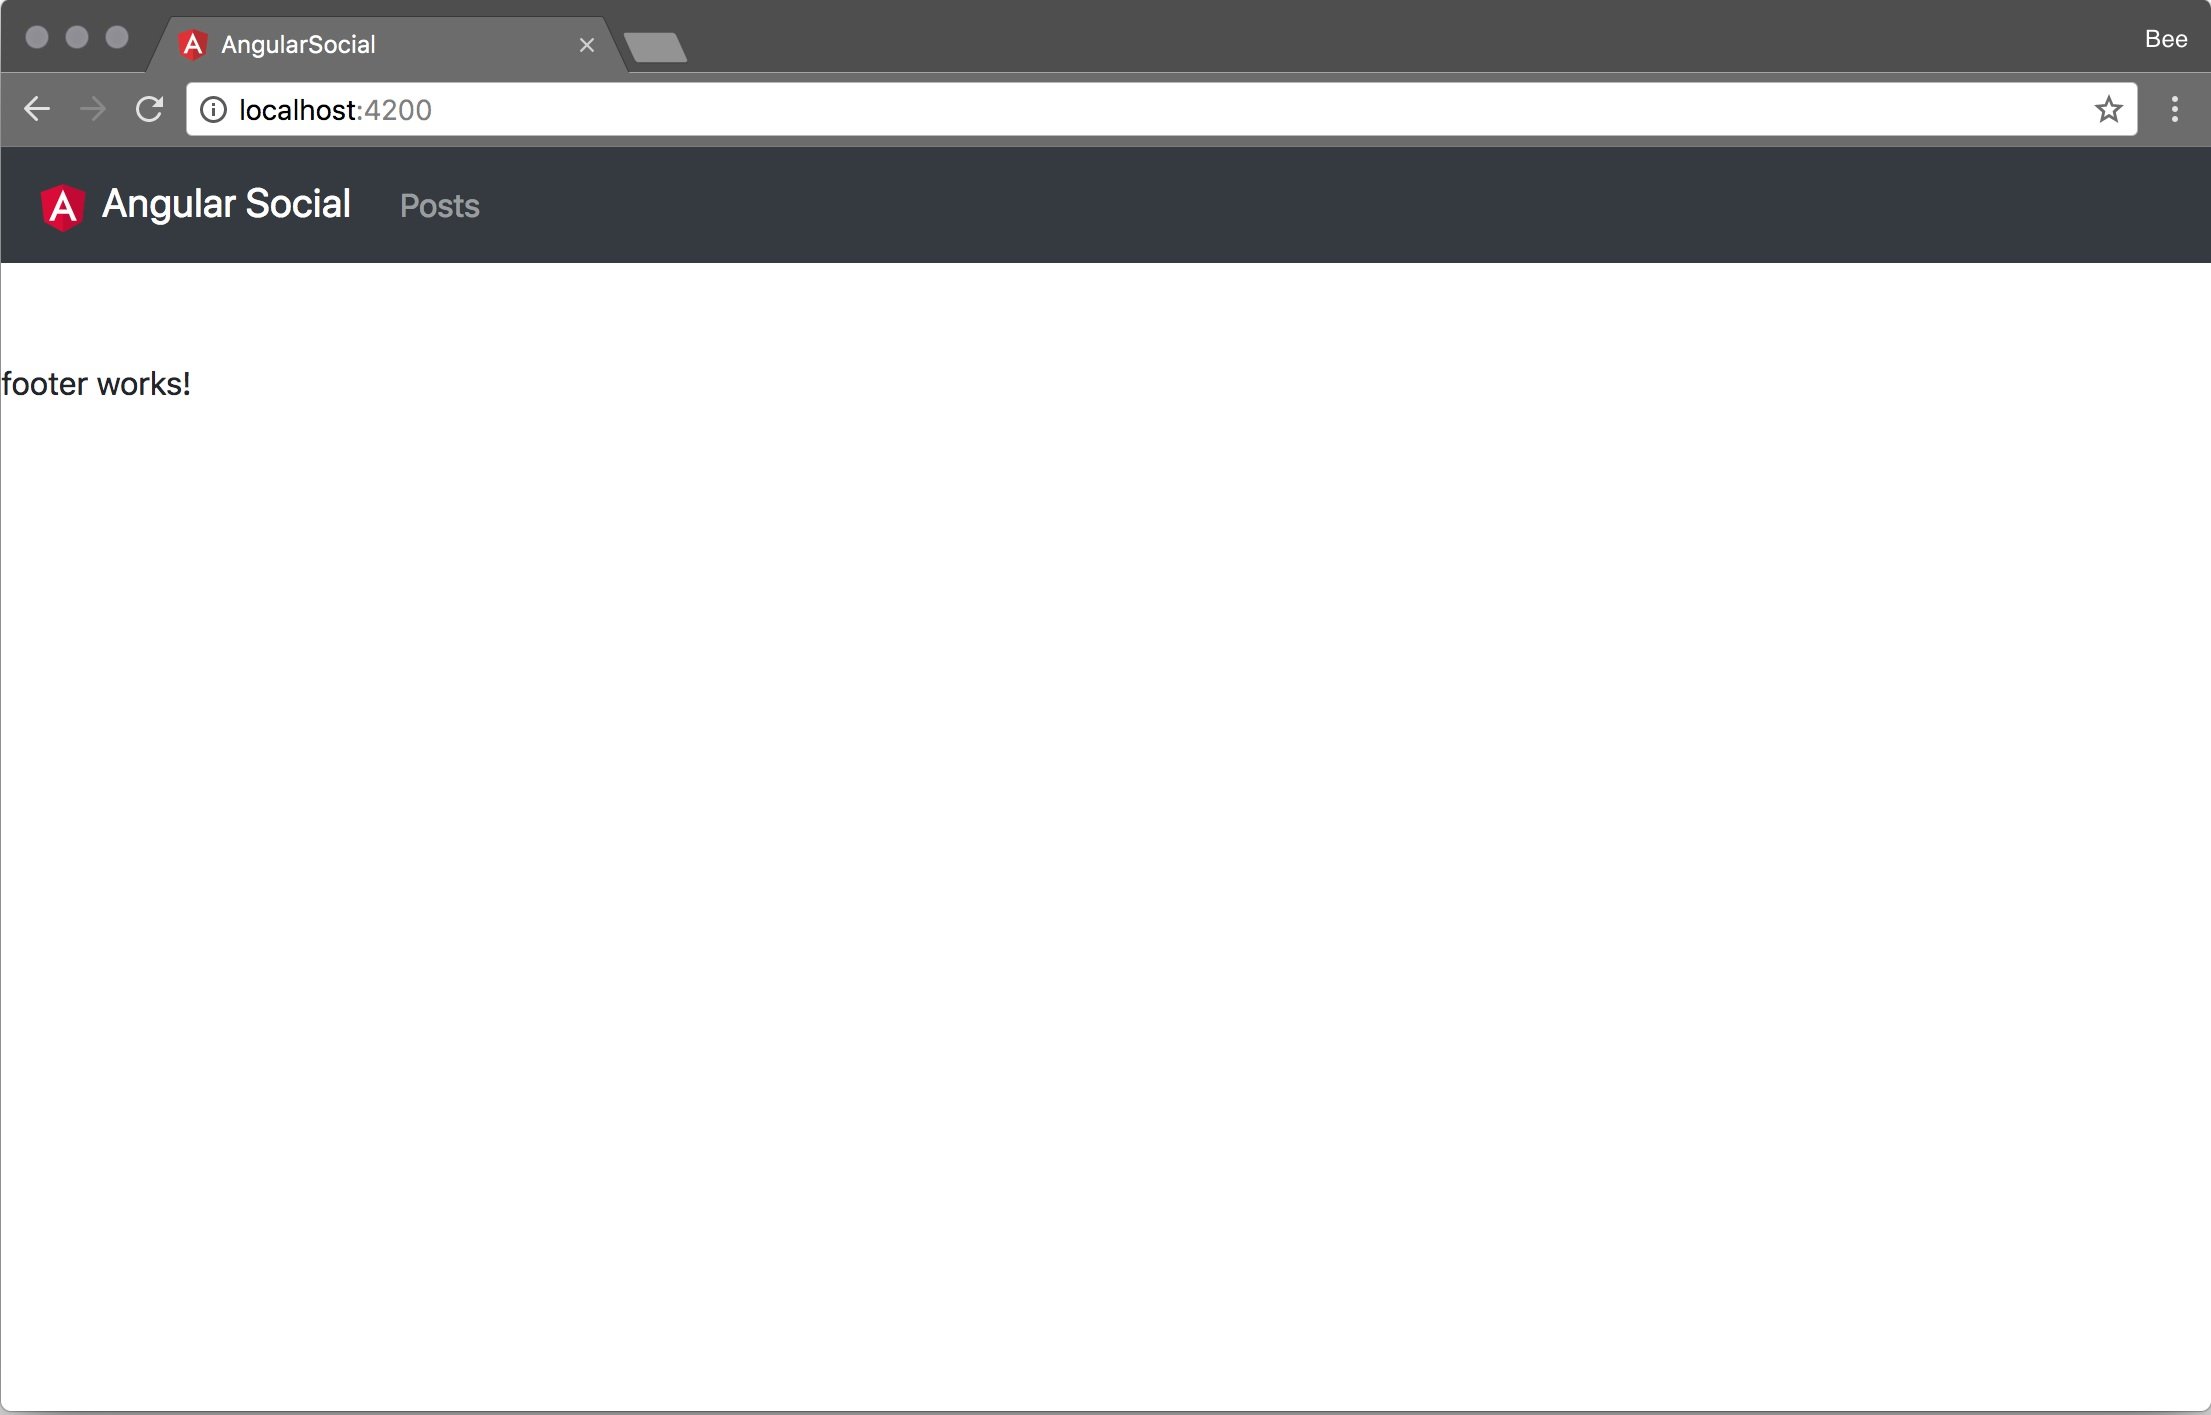
Just like with our header, we see after refreshing our application that we now have the string footer works! instead of the placeholder:
The last step is to implement the footer and our base layout is done!
Creating the Actual Footer
Now we will create the actual footer. We will define two class properties, a string property for the name of the developer, and the year.
In the template, we will create another Bootstrap navbar consisting of a nav element with some styles and the copyright message that uses both string properties we defined in our component class:
Open the
src/app/ui/components/footer/footer.component.tsfile.Inside the
componentclass, add the following property. Don't forget to update the two placeholders with the right data:public developer = 'YOUR_NAME_PLACEHOLDER'; public year = 'YEAR_PLACEHOLDER';
Get rid of the contents of the
templateproperty.Replace the contents of the
templateproperty with the following markup:<nav class="navbar fixed-bottom navbar-expand navbar-dark bg-dark"> <div class="navbar-text m-auto"> {{developer}} <i class="fa fa-copyright"></i> {{year}} </div> </nav>
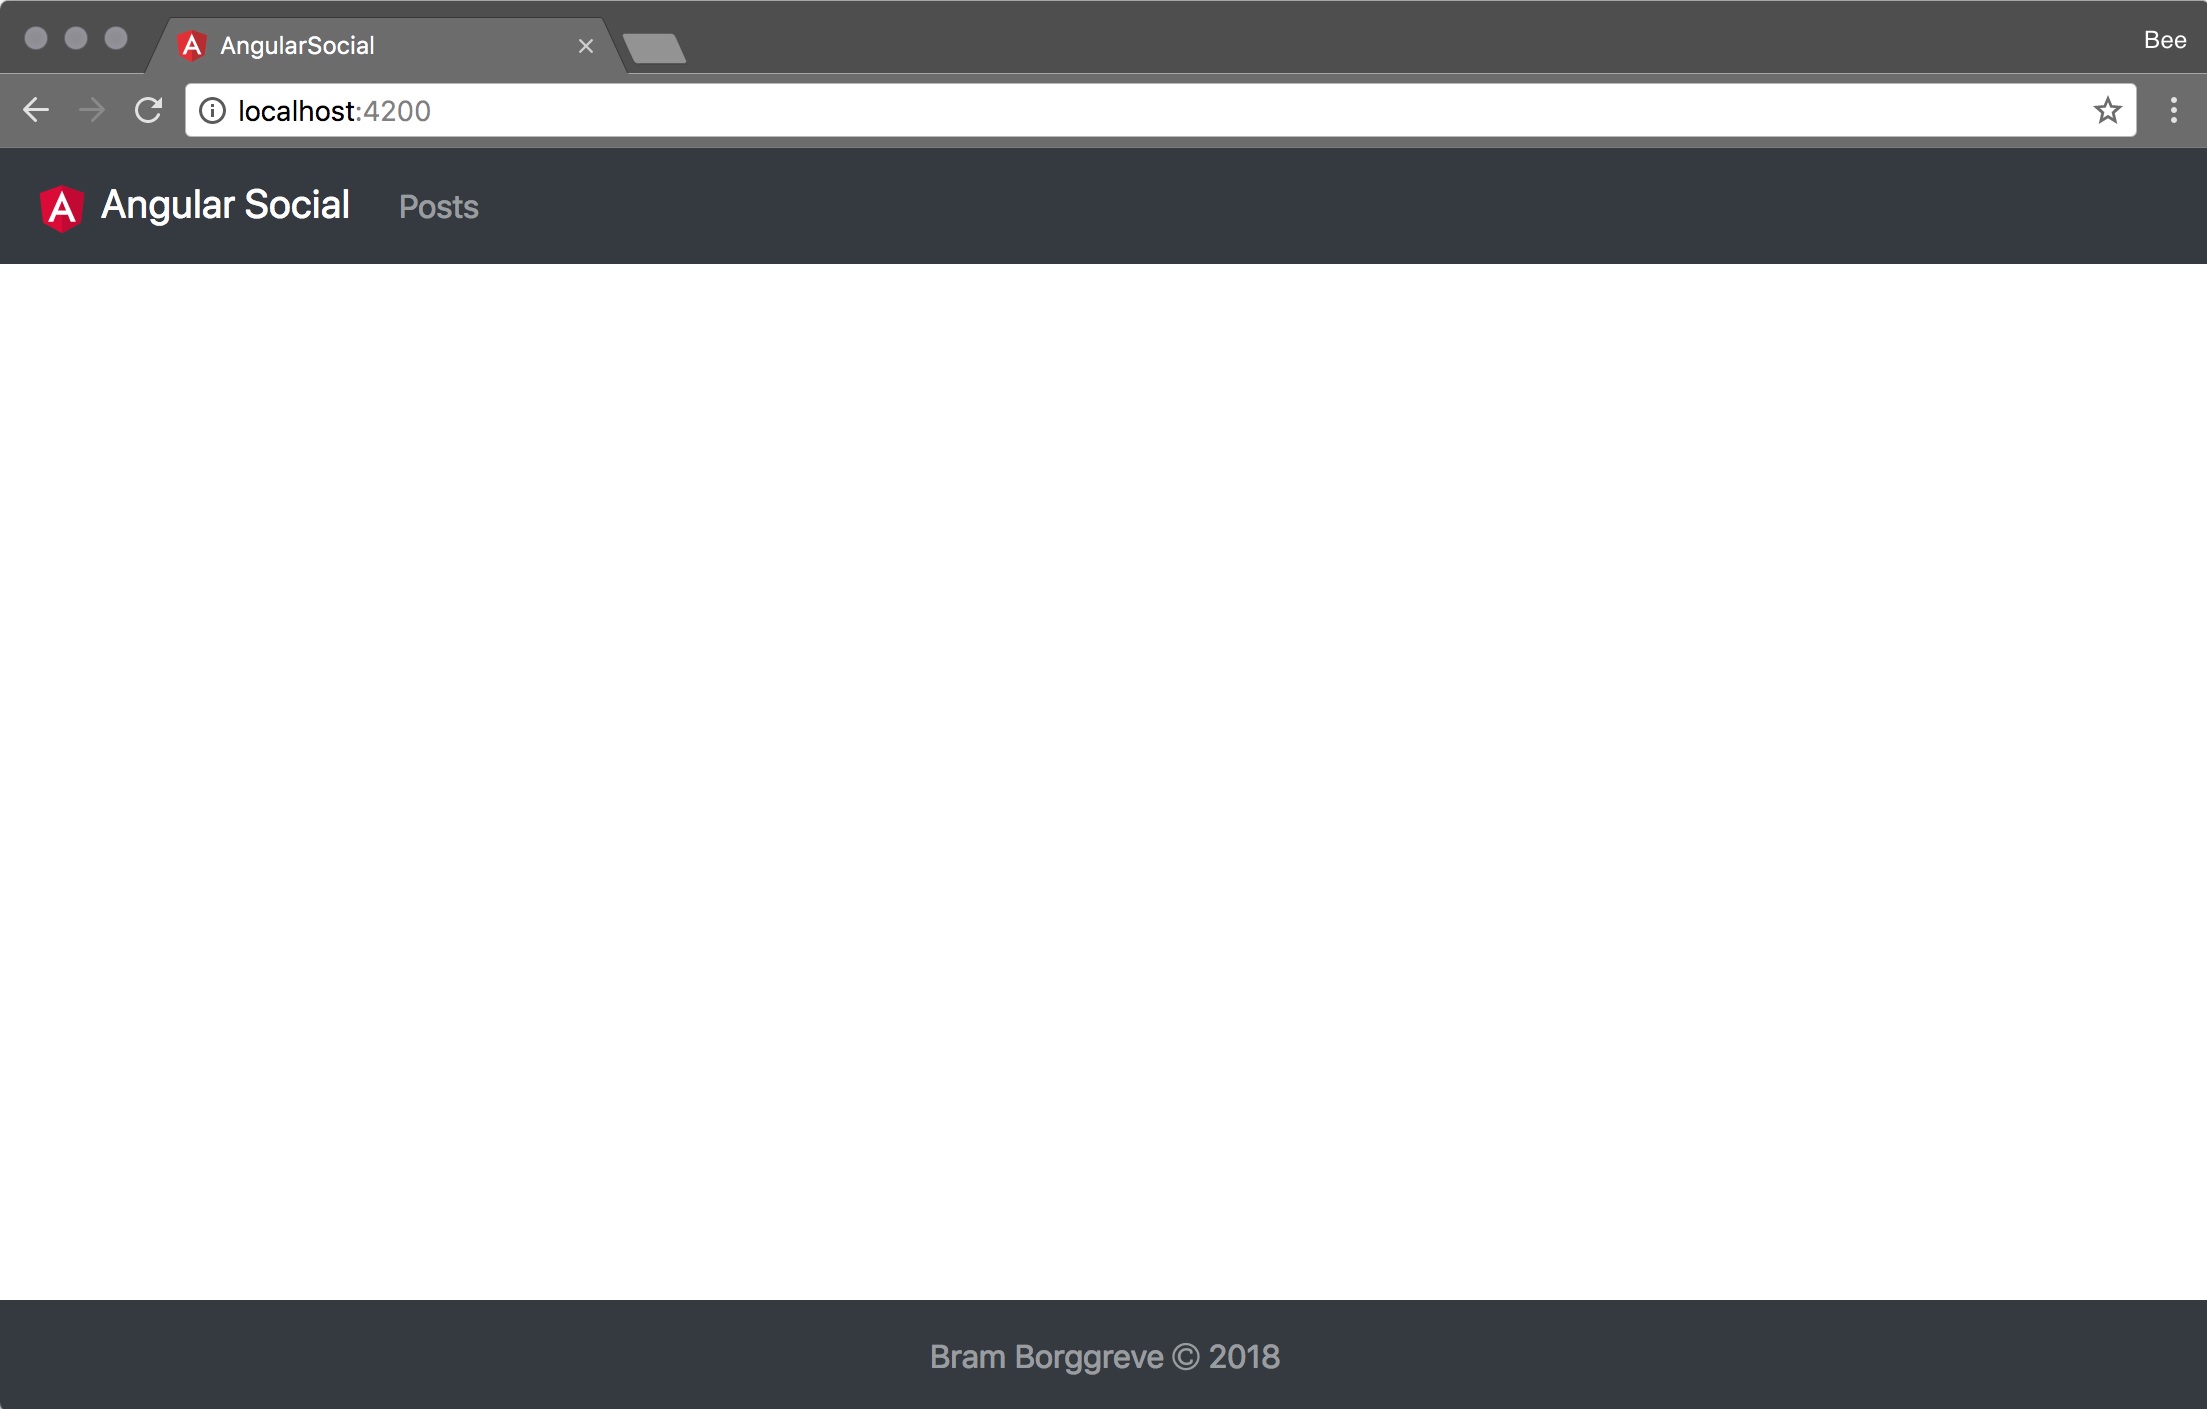
When we save this file and check in our browser, we finally see that the footer is being rendered:
We are done with our layout! In this section, we've built our header and footer components. We've also built our layout component and created a UiModule. Let's get to building our actual application logic.


