Setting up an Eclipse Java project
We need an integrated development environment (IDE) to write test scripts; in the market, there are a lot of open source IDE's such as Eclipse, NetBeans, IntelliJ IDEA, and others. Here we are going to use an Eclipse IDE. If you have downloaded the Android ADT bundle, then you will get Eclipse along with it. Otherwise, you can download it from http://www.eclipse.org/downloads/packages/eclipse-ide-java-ee-developers/lunasr1a.
Once you have downloaded the IDE, launch it by double-clicking on the eclipse.exe icon.
After this, you need to perform the following steps to set up the Java project:
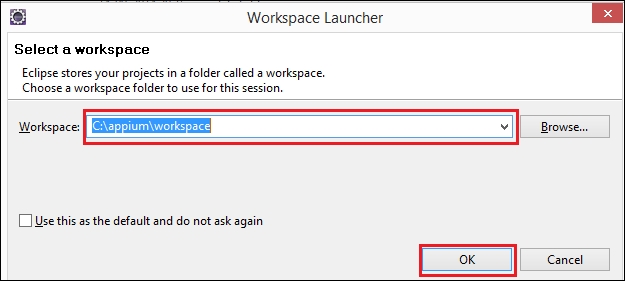
- After clicking on the icon, it will ask you for a Workspace location. Enter the location and click on the OK button, as shown here:

- Click on the Workbench icon on the welcome screen, which is at the top-right corner of the screen.
- Create a new project by clicking on the shortcut icon; you can also do this by navigating to File | New | Project. A dialog box will appear...


