In this chapter, we will develop our first GUI in Python. We will start with the minimum code required to build a running GUI application. Each recipe then adds different widgets to the GUI form.
We will start by using the tkinter GUI toolkit.
The old world of the DOS Command Prompt has long been outdated. Some developers still like it for development work. The end user of your program expects a more modern, good-looking GUI.
In this book, you will learn how to develop GUIs using the Python programming language.
We progress from the most simple code, adding more and more functionality with each following recipe, introducing different widget controls and how to change and retrieve attributes.
In the first two recipes, we will show the entire code, consisting of only a few lines of code. In the following recipes, we will only show the code to be added to the previous recipes because, otherwise, the book would get too long, and seeing the same code over and over again is rather boring.
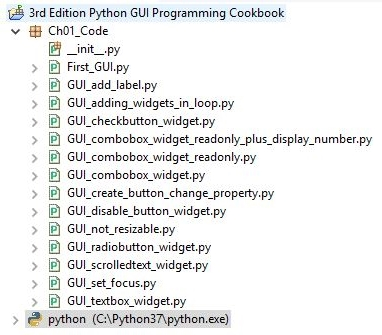
At the beginning of each chapter, I will show the Python modules that belong to each chapter. I will then reference the different modules that belong to the code shown, studied, and run.
By the end of this chapter, we will have created a working GUI application that consists of labels, buttons, textboxes, comboboxes, check buttons in various states, and radio buttons that change the background color of the GUI.
Here is an overview of the Python modules (ending in a .py extension) for this chapter:

In this chapter, we start creating amazing GUIs using Python 3.7 or later. We will cover the following topics:
- Creating our first Python GUI
- Preventing the GUI from being resized
- Adding a label to the GUI form
- Creating buttons and changing their text attributes
- Creating textbox widgets
- Setting the focus to a widget and disabling widgets
- Creating combobox widgets
- Creating a check button with different initial states
- Using radio button widgets
- Using scrolled text widgets
- Adding several widgets in a loop


