Creating your first graph with Neo4j
After the successful setup of Neo4j on an operating system of our choice, now it's time to say Hello World to Neo4j, which means it's time to create our first graph by using Neo4j.
We know that any graph consists of nodes and edges, where edges represent the relationships between nodes.
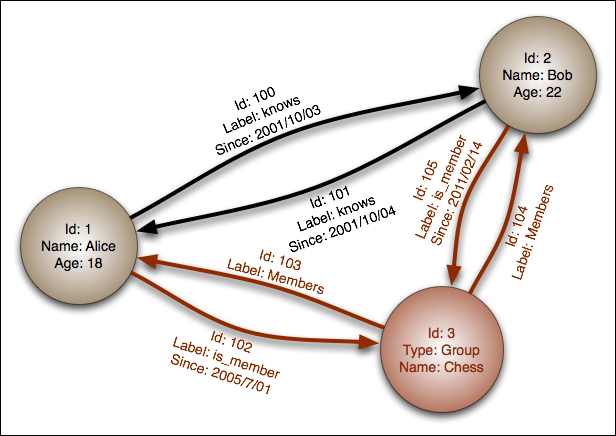
Consider an example where there are two persons, Alice and Bob, who know each other. So, in graph terminology, Alice will be node A and Bob will be node B. The technical representation of this example can be done as follows:
- Nodes: A and B
- Edges: A----------- knows -------------B

The preceding diagram shows nodes and edges, where edges represent the properties between the nodes.
Getting ready
To get started with this recipe, install Neo4j by using the earlier recipes of this chapter.
How to do it...
There are many ways to create a graph with Neo4j. However, in order to create our first graph, we will use the Neo4j shell that comes with Neo4j by default and can be intuitively operated from both the command line and the shell.
For our first graph, consider a scenario where London and Paris are two cities that are connected by the following flights:
- Airline X, which connects London to Paris daily (start time: 1400 hours)
- Airline Y, which connects Paris to London daily (start time: 2300 hours)
Let's gets started to create our first graph using the Neo4j shell. To do so, perform the following steps:
- Start the Neo4j server by using the following command:
${NEO4J_ROOT}/bin/neo4j startThe detailed steps to start the Neo4j server has been described in the previous recipes.
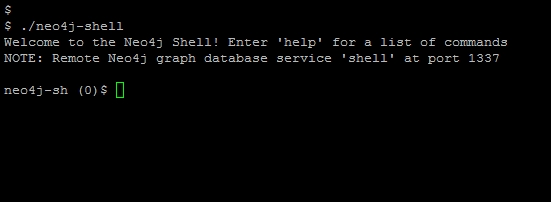
- The Neo4j shell can be invoked by two methods. The first method is to simply type in the following command (under the same
<neo4J_Home_Directory>/bindirectory):${NEO4J_ROOT}/bin/neo4j-shellThe output of this command is shown as follows:

The nodes are created using the
mknodecommand as follows:neo4j-sh (0) $ mknode London neo4j-sh (0) $ mknode Paris
- Let's create a node and enter this node by using the
cdoption withmknode:neo4j-sh (0) $ mknode --cd --np "{'name':'London'}"The
npoption can be used to specify as many properties as you want with that node. - Now, we will create another node with the name
Paris:neo4j-sh (0) $ mknode --np "{'name':Paris}" -v - Next, we will create a relationship between them by executing the following commands from the command line:
neo4j-sh (London,2)$  mkrel -d OUTGOING -t CONNECTED <nodeid from preceding command> --rp "{'Airline':'X','Start-Time':'1400'}"
neo4j-sh (London,2)$  ls
*name =[London]
(me)-[:CONNECTED]->(Paris,3)
The
mkrelcommand is used to create a relationship. To see the options in detail, typeman mkrelin the Neo4j shell.Let's create another relationship, as demonstrated by the following commands:
neo4j-sh (London,2)$  mkrel -d INCOMING -t CONNECTED <nodeid> --rp "{'Airline':'Y','Start-Time':'2300'}"
neo4j-sh (London,2)$  cd 3
neo4j-sh (Paris,3)$  ls
*name =[Paris]
(me)<-[:CONNECTED]-(London,2)
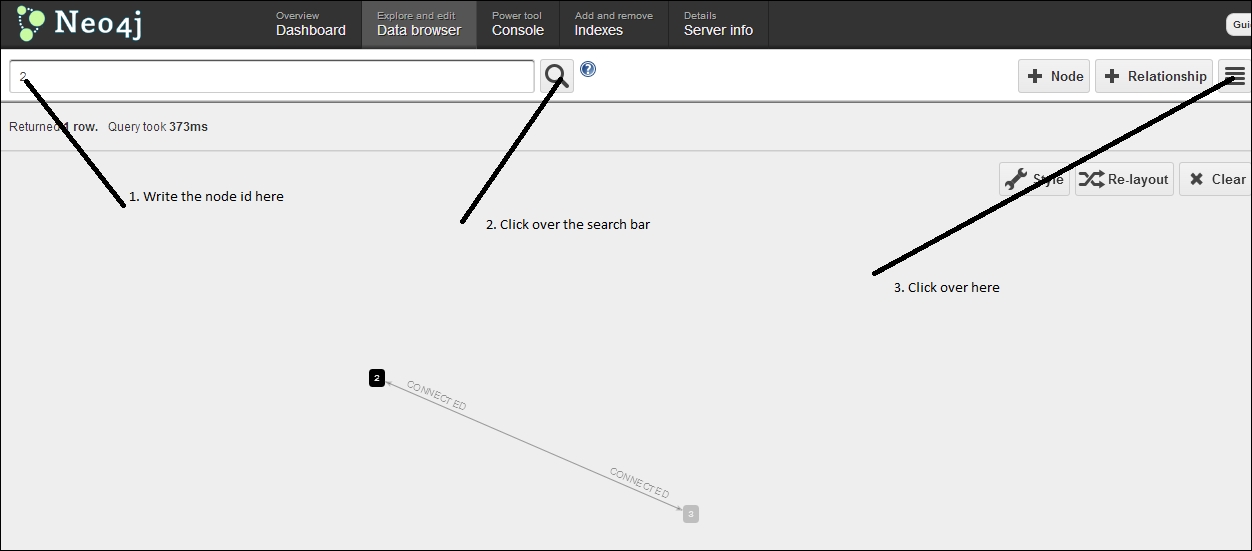
- Let's visualize our first graph in the browser. For this, go to the Neo4j webadmin URL and then click on Data Browser; you will see something similar to the following screenshot:

We can see two nodes, 2 and 3, in the data visualization, which are connected to each other.
How it works...
The Neo4j shell comes with the handy utilities of mknode to create new nodes with properties and with mkrel to create relationships among them.
Nodes in Neo4j are analogous to files in the Unix filesystem, except with one major difference. The difference is that when you create a file in any directory, a relationship automatically gets created between the parent directory and the file. Using this relationship, we can browse the filesystem, whereas mknode in Neo4j creates disjointed nodes that cannot be browsed, as they don't have any relationship between them.
There's more…
To study more about the mknode and mkrel commands, use the man pages under the Neo4j shell. If you want to delete an entire graph that you have just created, the following are the steps to do so:
- Stop the Neo4j server by using the following command:
$ ./neo4j stop
- Delete the
graph.dbfile under the data directory (assuming that you are using the default configuration):$ rm –rf data/graph.db
Once deleted, the data is not recoverable.


