
Erik wants to change the navigation bar of the portal page and add a logo image, which you'll learn in this section.
The steps to add an image to the navigation bar are as follows:
- Go to the portal page and log in using your Azure AD.
- Hover over the navigation bar and name of the company. Click on the Edit button:

- Now the editor will be opened for you to edit the navigation bar. Click on the image icon:

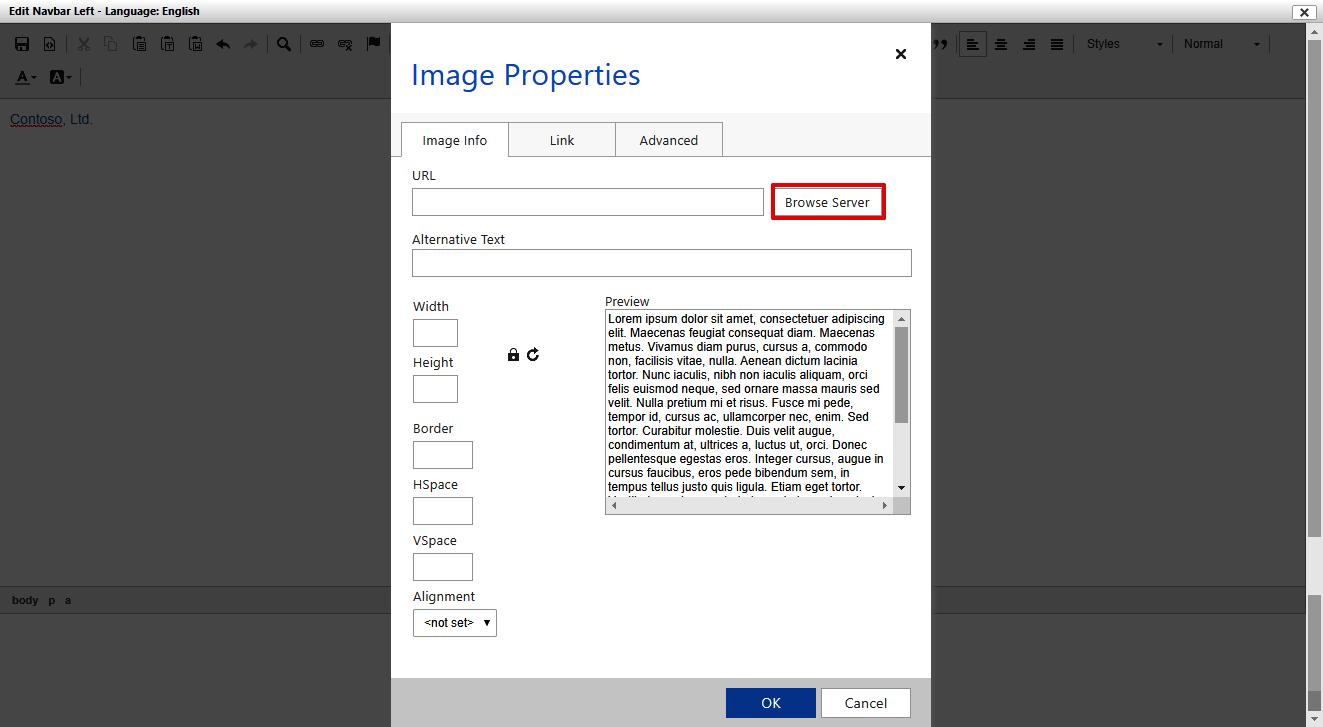
- A new window will be opened for selecting an image. Click on the Browse Server button:
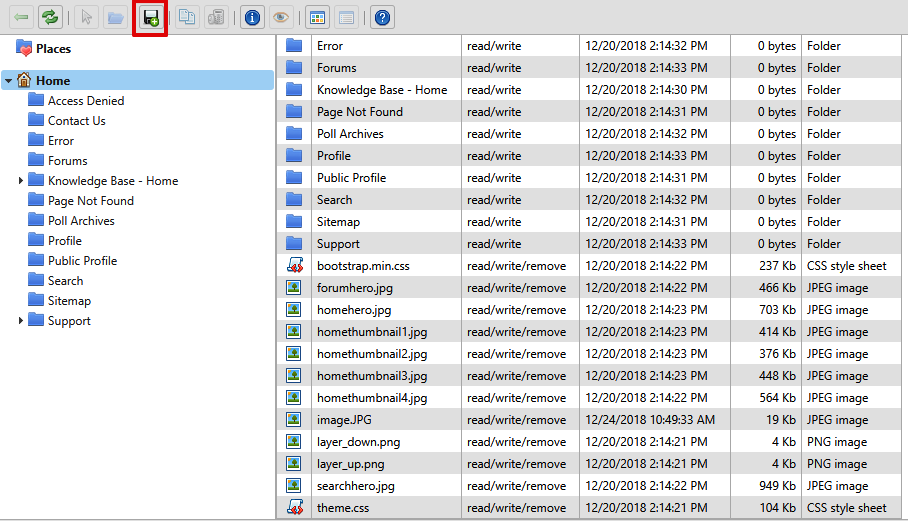
- A new file explorer window will be opened to show all files related to the portal. Here, click on the upload image icon, as shown:
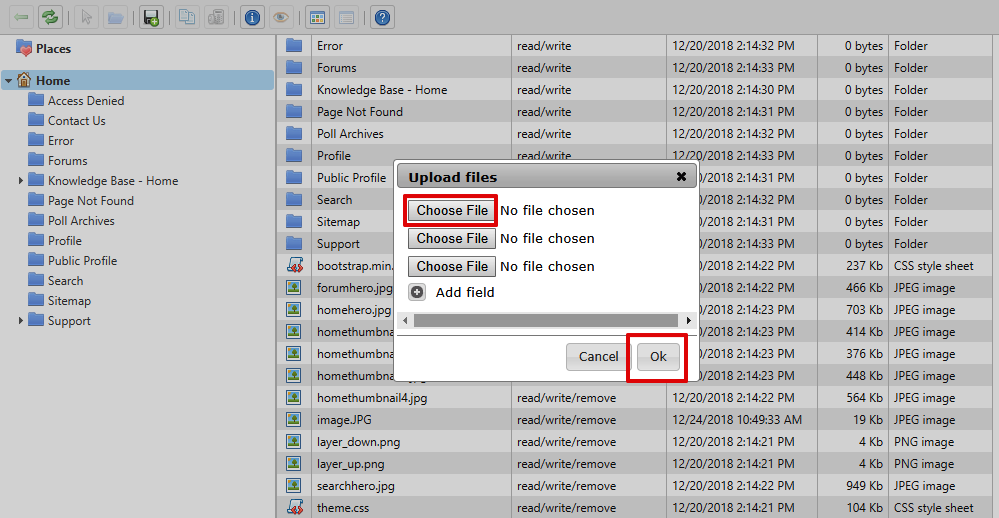
- Select a company logo image in the Upload files dialog box and click on the Ok button:
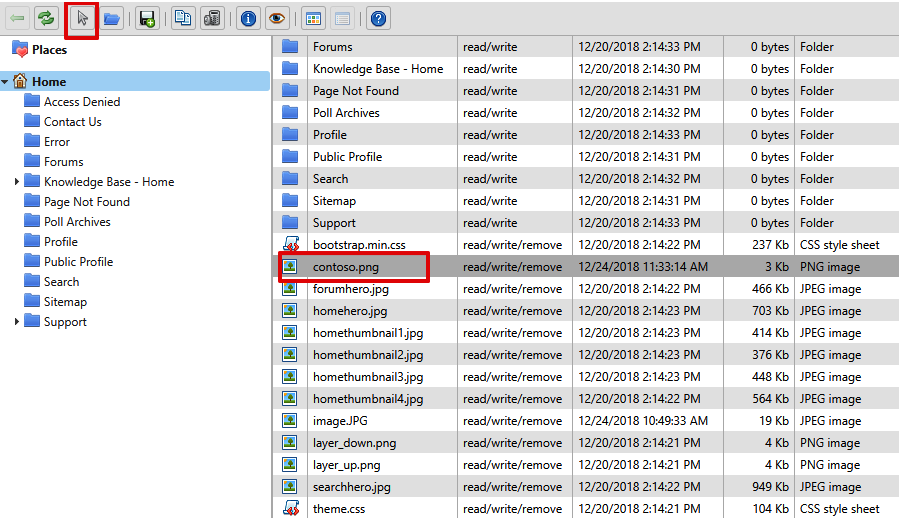
- After uploading the image, select that image and click on the select icon:
- After selecting the image, set the image properties and click on the...