Ordering, renaming, and stacking
For artists working on several projects at once, it’s important to be able to easily sort out their gallery to navigate it smoothly. There are many convenient ways to organize your canvases within the Procreate gallery.
Ordering your canvases
The gallery has no constraints about sorting canvases in chronological, alphabetical, or any other order. By default, every new canvas you create gets added to the left-hand side of the top row. Even so, you are pretty much free to arrange your files in whatever order you want them to appear. This is done by long pressing on a canvas thumbnail and dragging it to the desired position:
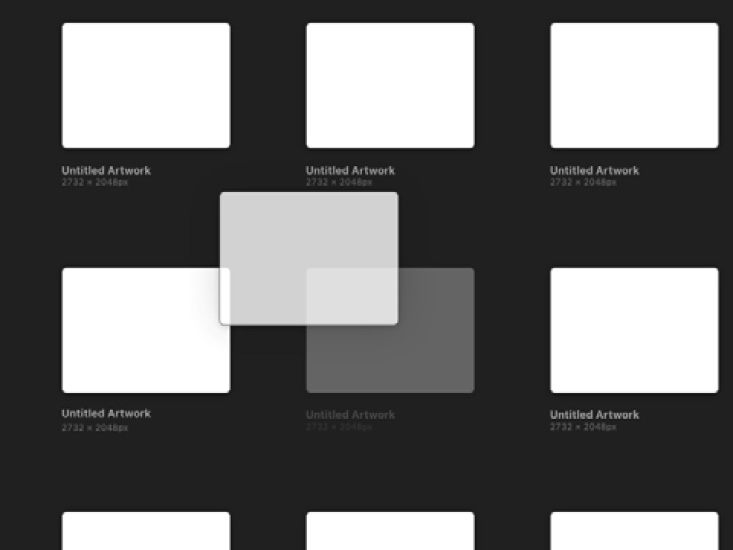
Figure 1.8: Reordering canvases by dragging
Renaming a canvas
The default name of a new canvas is Untitled Artwork. To edit this, simply tap on the canvas name and it will pop out as a text editor bar, where you can type in the name you want. Tapping on the x mark (the cancel icon) on the right-hand side of the text editor will reset it to the default setting. This is how it will look:
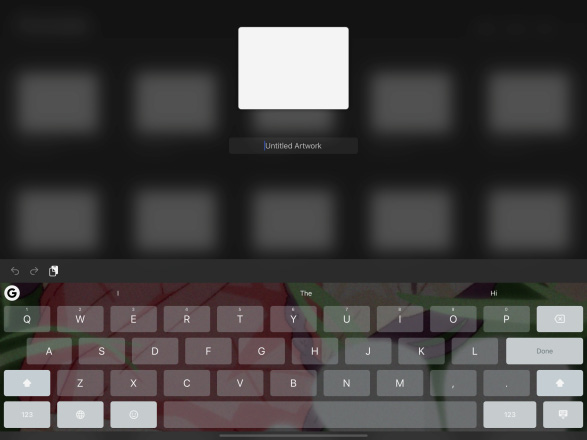
Figure 1.9: Renaming a canvas
Right off the bat, you will notice, that Procreate allows you to have multiple canvases with the same name without marking them, such as painting and painting(1). You are also free to use special characters in any order. Note that it’s a slightly different feeling from, perhaps, naming files on your computer:
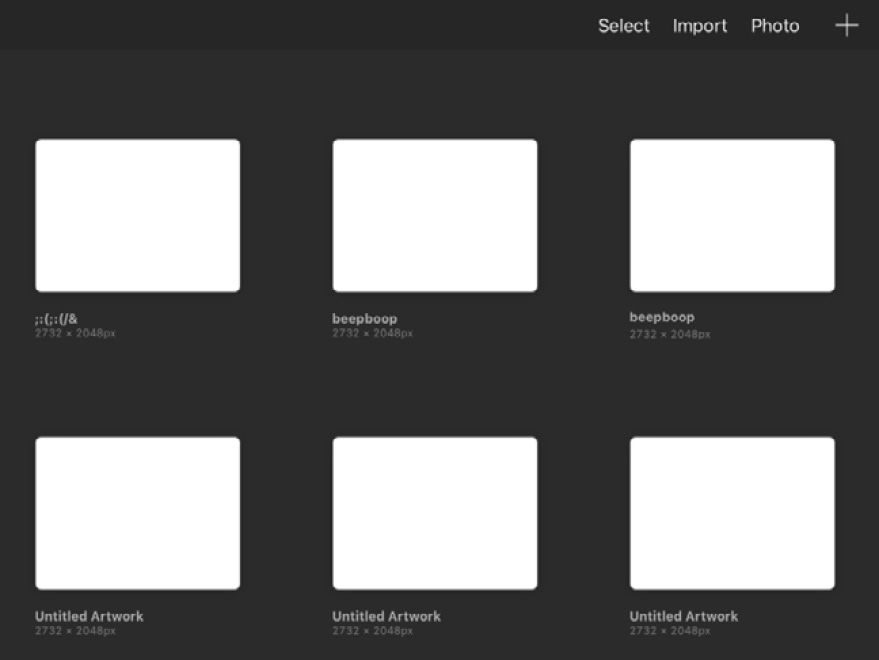
Figure 1.10: No naming conventions
Stacking canvases
Stacking is the feature you can use when you want to group together similar canvases. It’s like creating a “folder” on your computer. Each one of these groups is called a stack.
To stack two canvases, drag one canvas thumbnail over the other and wait for a blue box to appear over the one on the bottom. Then release it to create a stack:
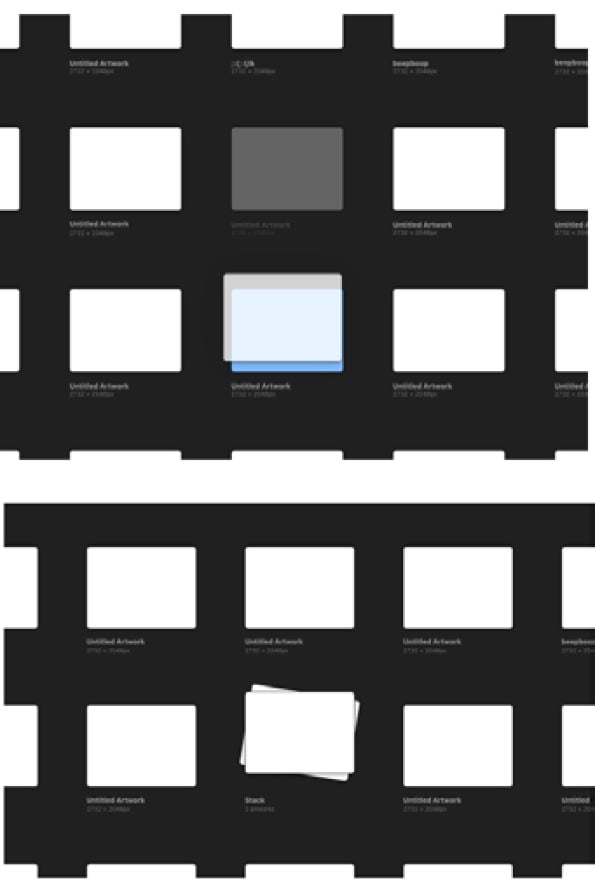
Figure 1.11: Creating a stack
A stack is named Stack by default. You can rename it in the same way as renaming a canvas: by tapping on the name and editing the it.
Adding an existing canvas to a stack can be done in the following ways:
- Drag and hold the stack over the canvas. A blue box will appear over the canvas, and a blue circle with the current number of canvases in the stack will appear in the upper-right corner. Once this happens, release the stack. This will reset the stack name to the default setting, irrespective of what it was named before. The canvas added will be found at the very bottom of the stack.
- Drag and hold the canvas over the stack. Don’t release it until a blue box blinks over the stack and it opens up to show all the canvases inside. Place the canvas in the position you’d like before releasing it. This method lets you keep whatever name the stack originally had.
- You can also choose the canvases you want to stack using the Select feature, which is covered in the next section.
Important Note
You cannot create a stack within a stack. Additionally, one stack cannot be stacked with another using drag and hold.
To move a canvas out of a stack, drag it over to the stack name. Then, hold it until the name turns blue and blinks, and the gallery appears. Place the canvas where you’d like.


