It is not necessarily the case that every user will use Windows platform. In this recipe, you will see how to install and configure R on the Linux platform. Each of the steps is described with an appropriate screenshot so that you can easily understand the steps.
Installing and configuring base R in Linux
Getting ready
To install R in the Linux operating system, first, you need to know the version of Linux you are using. To know the version of Linux installed on your computer, there are many options. One of the options is the following command:
lsb_release -a
This command will give the release information as shown in the following screenshot:

In this recipe, you will see the example from the Ubuntu 14.04 release.
How to do it...
Once you have the version number, you simply need to install base R onto your computer. The step-by-step procedure is as follows:
- Update etc/apt/source.list by adding an entry as follows:
deb <cran mirror address>/bin/linux/ubuntu trusty/
- Replace <cran mirror address> by putting an actual mirror link from the list of available mirrors from https://cran.r-project.org/mirrors.html. Remember that you must have administrator privileges to edit etc/apt/source.list.
- Once you have performed the preceding step, type the following command to install R:
      sudo apt-get update
      sudo apt-get install r-base
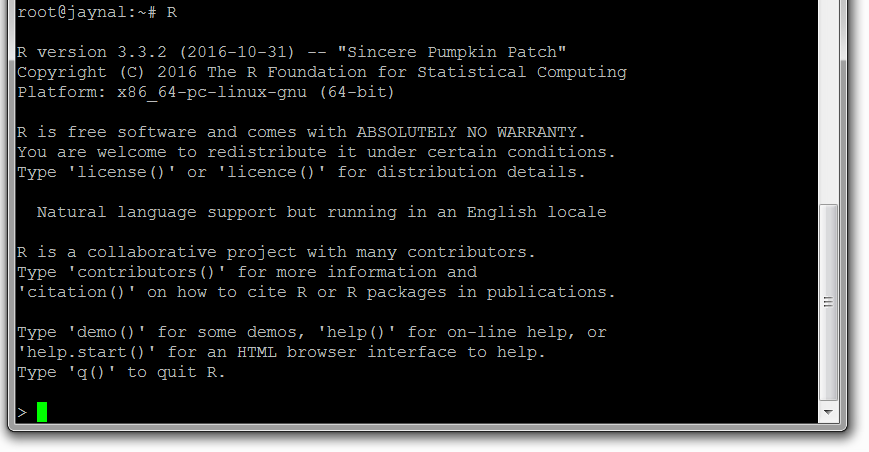
- The preceding two commands will complete the installation process and you can check whether R has been installed correctly or not, by typing R and hitting Enter on the Terminal window. If the R console opens, then you are ready to go:

- Some of the users may need to compile R packages from the source code. In that case, you will need to install the following component of R:
sudo apt-get install r-base-dev
There's more...
In this recipe, you have installed base R into Ubuntu 14.04 release. If your operating system has another release of Linux, then visit https://cran.r-project.org/, select Download R for Linux, and follow the steps outlined there.
See also
To understand how to install an IDE into either Windows or Linux, follow the next recipe.


