Case study 2
For the second case study, we'll be using the FristiLeaks: 1.3 VM. You can simply search for this VM on the VulnHub portal, as in the following screenshot, or find it directly at the following link:
https://www.vulnhub.com/entry/fristileaks-13,133/:
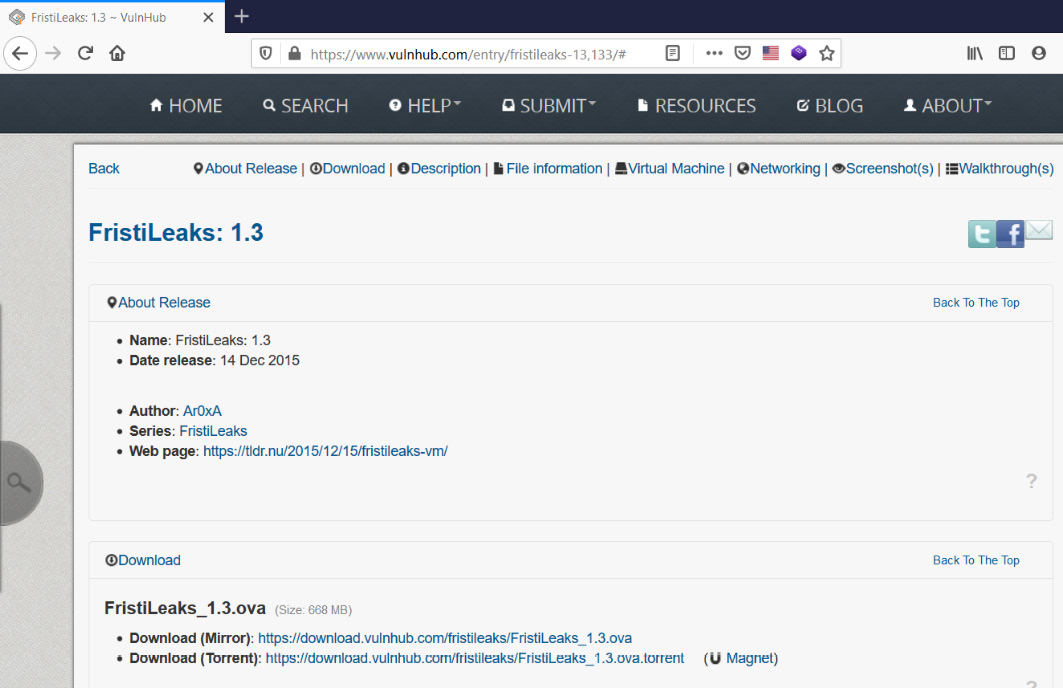
Figure 11.10 – Vulnerable VM on Vulnhub
Once the ISO is downloaded, simply create a new VM and boot up using the ISO. However, before booting up the machine, go to Virtual Machine Settings|Network Adapter|Advanced and put in the MAC address as 08:00:27:A5:A6:76, as in the following screenshot:
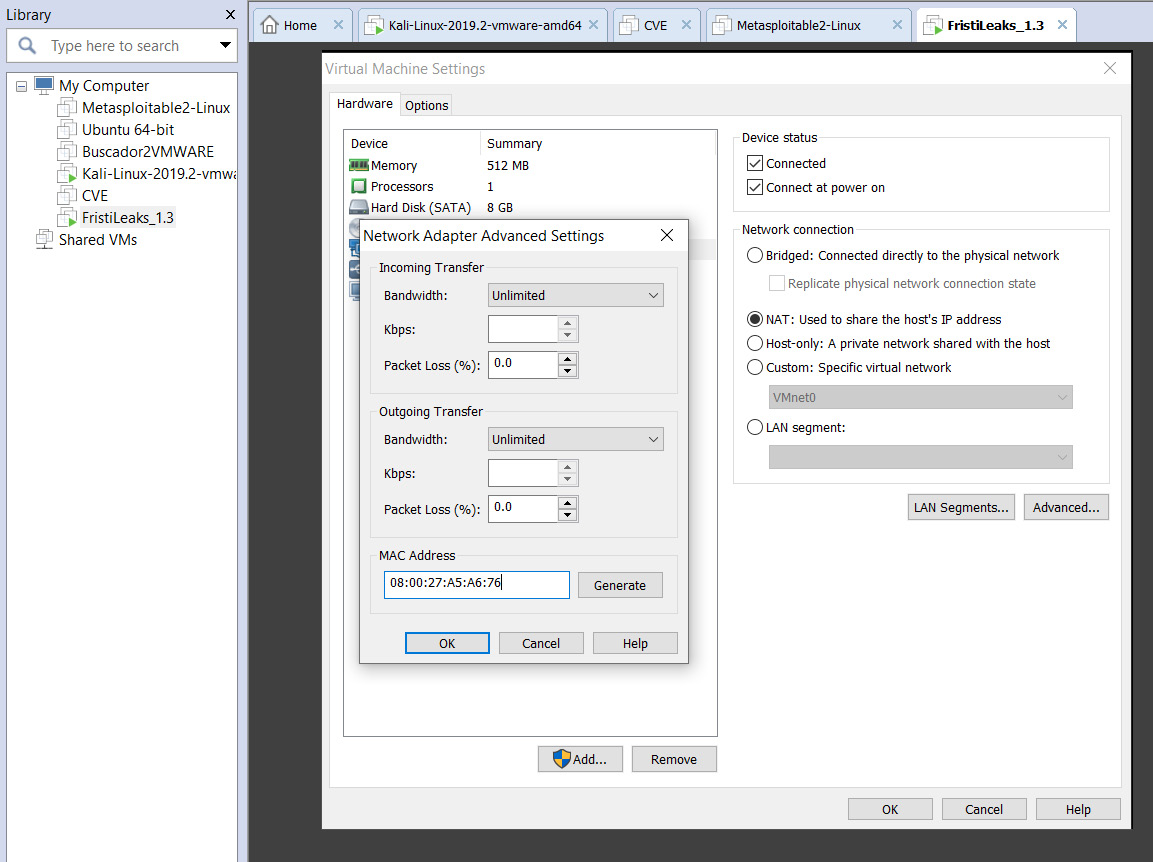
Figure 11.11 – Configuring the vulnerable VM in VMWare
Now, we can boot up the VM and check its IP address, as in the following screenshot:
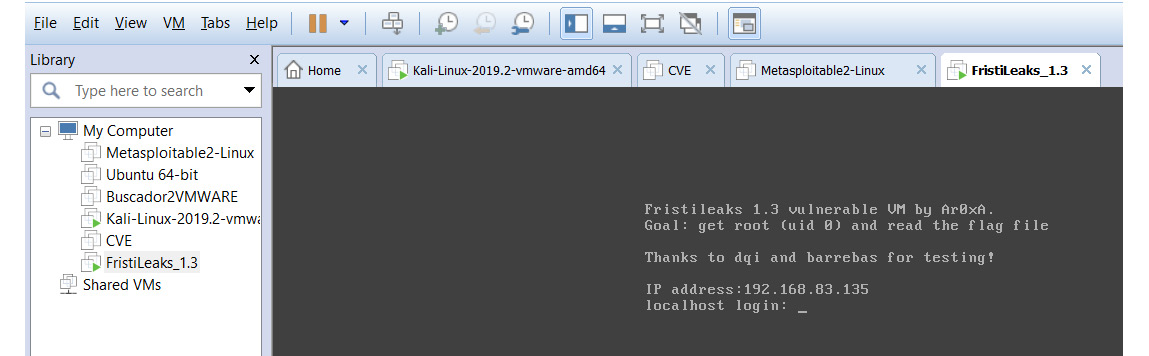
Figure 11.12 – Starting up msfconsole
Now that the vulnerable VM is up and running, we'll leave it aside and get back to our Kali machine. Open up the Metasploit...