Installing Debian 7.0 (Wheezy)
To get started with our Samba environment, we need to install the OS, and for that, the first task must be to choose of the right installation media. To install the Debian 7.0/Wheezy, released in May 04, 2013, we will use the network-installed ISO image. The installation is a very simple and quick process where we will go through using all the default configuration options. You can download the latest ISO (net install) 32-bit image file from the following link (for example, debian-7.0.0-i386-netinst.iso at the time of this writing):
http://cdimage.debian.org/mirror/cdimage/release/current/i386/iso-cd/
Take a look at the proper hardware architecture for the system that you will install, and then choose the right ISO image file accordingly for your system's hardware. The Debian GNU/Linux distribution is available for many different platforms (amd64, ia64, powerpc, and sparc, just to name a few). We did choose i386, because our hardware is 32-bit.
We will run the dhcp, ntp, and Samba 4 Servers on the same system. Our Samba 4 Server will be the default gateway for our Microsoft Windows and GNU/Linux systems that will rely on our AD services. Therefore, it will perform Network Address Translation (NAT) for our clients, as in our example network our clients do not have direct access to the Internet; they will have Internet access using our Samba 4 Server as an intermediate machine. For this configuration, our Samba 4 Server will have two network cards—one in our private network (eth1) with IP 192.168.1.1 and another with Internet access (eth0).
It's really important for any environment to have all systems with the time properly synchronized. Because Samba 4 uses Kerberos as the authentication mechanism, it's even more important to have the system time in sync, so we will configure the ntp services on our server. The dhcp server provides us with a powerful solution to manage the IPs on the network, integrate them with DNS services, and also automatically register their hostnames (another essential feature for AD services). If you already have a dhcp server on your network, you don't need to configure this service again on the Samba 4 Server.
If you already have an installed OS where you intend to install the Samba 4 Server, you can directly go to the installation and configuration phases of the dependencies and auxiliary software sections in this chapter. In the book, we will assume a configuration where dhcp and Samba 4 Servers will run on the same system and will provide the basic configuration files for all these services. Another important service that is crucial for the Samba 4 Server deployment is DNS. Samba 4 itself provides a basic but sufficient DNS server for most installations, and that's why we'll use it. As in the case of the dhcp service, if you already have DNS servers on your network, you can continue using them instead.
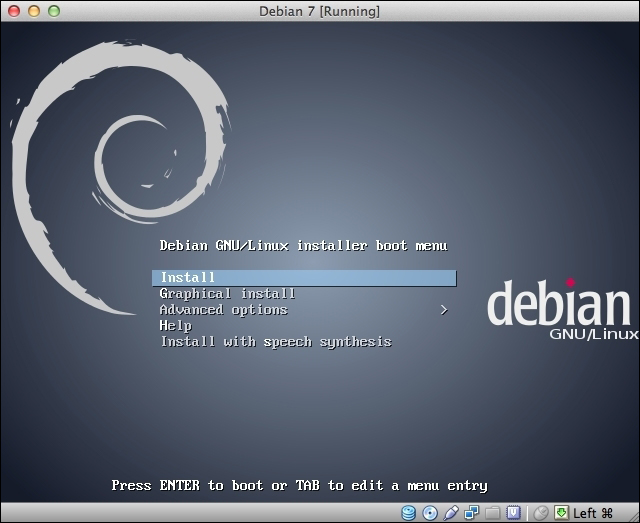
Just after you boot the system with your chosen installation CD, you will receive a screenshot similar to the following (this one is from the netinst ISO image) one:

You just need to follow the screens as the default options should be sufficient for most installations. When the installation is completed, don't forget to update and upgrade the OS:
leal@debian7:~$ sudo apt-get update && sudo apt-get upgrade
This is an important point, and will guarantee that you will be working with all the security patches that are available up to this point, and your running system will not start production with any known security flaws.


