Configuring Jenkins jobs
Prior to recreating the Continuous Integration pipeline job, we need a S3 bucket for our YUM repository. Create a bucket (unless you've kept the old one around), update the demo-app/Jenkinsfile script accordingly then commit and push Git changes upstream.
demo-app pipeline
Refer to the Setting up the pipeline steps from the previous chapter to create the Continuous Integration job. Let us call it demo-app this time around. The script path remains the same (https://git-codecommit.us-east-1.amazonaws.com/v1/repos/demo-app).
You should now have this:
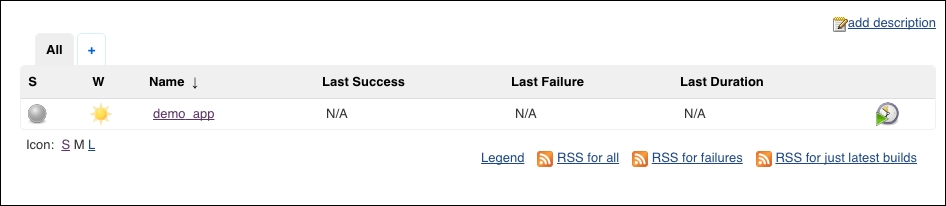
The pipeline is going to fail as we do not have our YUM repository configured yet:

The repository contents have already been uploaded to S3 by this first job run. Now we need to update the salt/states/yum-s3/files/s3.repo file with the S3 URL and set the repository to enabled. Commit and push the Salt changes to the Git repository, then pull and apply on the Jenkins node.
A subsequent pipeline run takes us a step further...