Tips for building your own custom properties
Before adding more properties to HubSpot, take time to understand what already exists and—more importantly—how it is configured. Then, examine your business needs and what kind of information you would like to collect about contacts, their companies, your sales process, or your service process, and then create properties accordingly.
Here are a few things to consider when creating your own properties:
- Choose for which object a property should be created—contacts, companies, deals, or tickets: If it is a property that will collect information about an individual, then create it under Contacts. If it's about the company, then it should be created under Companies. Information about your sales process should be created under Deals, while information related to your service process should be captured under Tickets. Note that only properties created under the Contact object type, as in the following screenshot, can be used in forms. All other properties will only be seen by internal users of HubSpot:
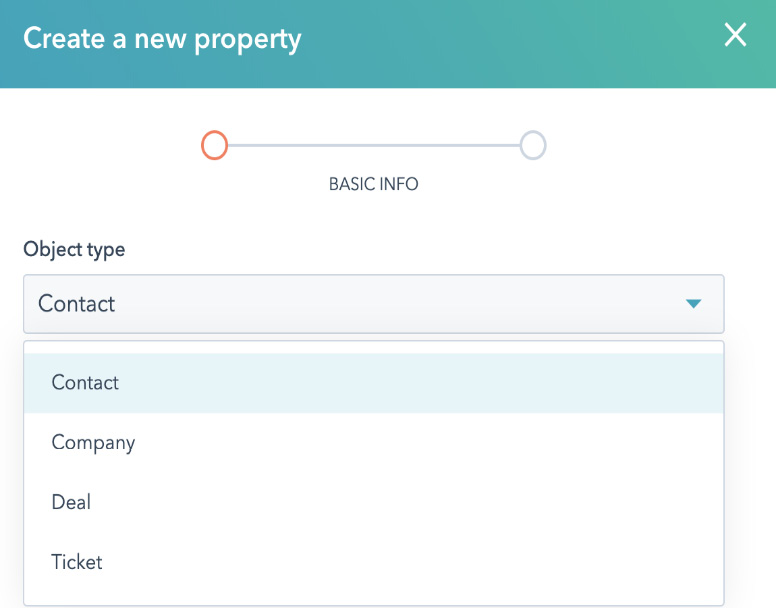
Figure 1.25 – Creating a custom property: choosing an object type
- Deciding under which group the property should sit: Choosing the appropriate group helps you find information easily when you want to use it eventually. For example, under the Contact object type, you may want to collect information about a contact's social media profile, so you can add this field under Social Media Information. Note that you can also create your own group to fit your business requirements. The following screenshot illustrates how to select a group:
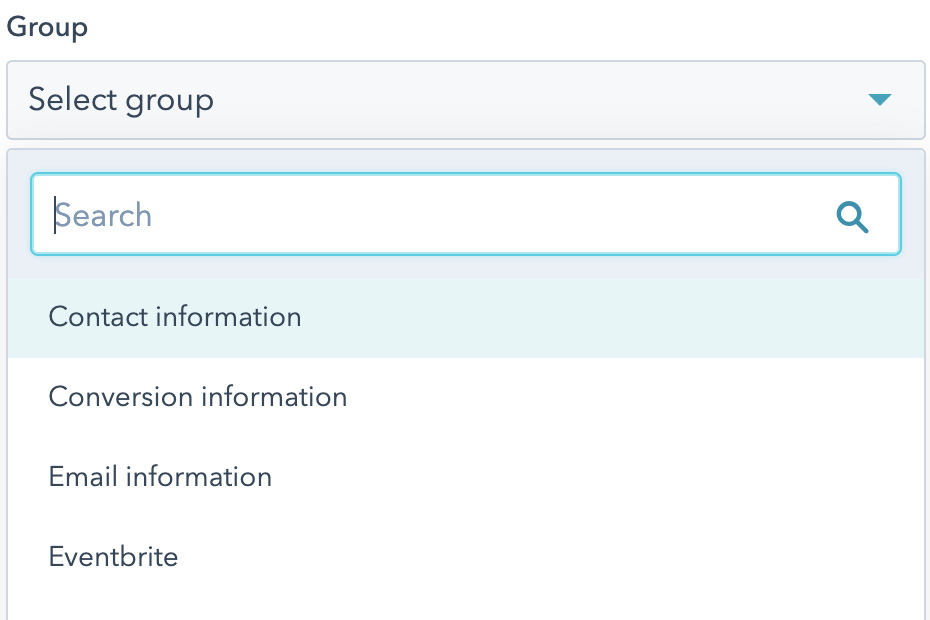
Figure 1.26 – Creating a custom property: selecting a group
- Choosing a label and a description: When choosing a label, consider what you would like users to see when they fill out a form. It should be short, clear, and to the point. The Description field can be used to explain to internal users the purpose of the field. The following screenshot illustrates how to choose a label and a description:
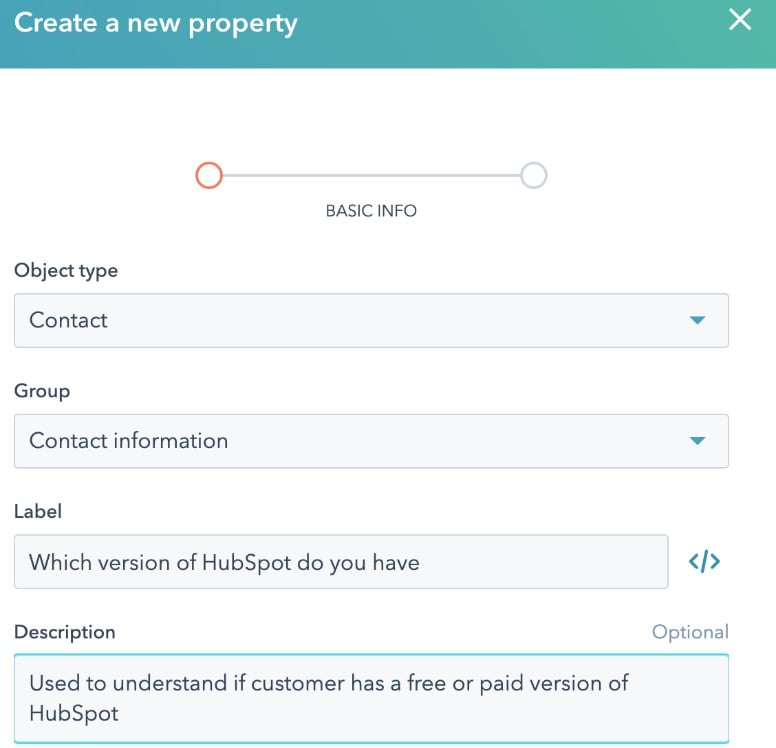
Figure 1.27 – Creating a custom property: choosing a label and description
- Selecting a field type: This is very important as it determines the format of your field.
Important Note
Wherever possible, avoid giving users the opportunity to write free text; instead, give them options to choose from. This will help control how your data is collected so that it makes reporting and other segmentation easier. Therefore, fields such as Dropdown select, Multiple checkboxes, and Radio select should always be considered first.
Note when creating options for these types of fields, an internal value is automatically created that matches the label. You cannot edit this internal value as this is what the system reads to update values in the system. So, if you wish to change a label, you must create a new label and delete the old one.
The following screenshot shows how to select a field type:
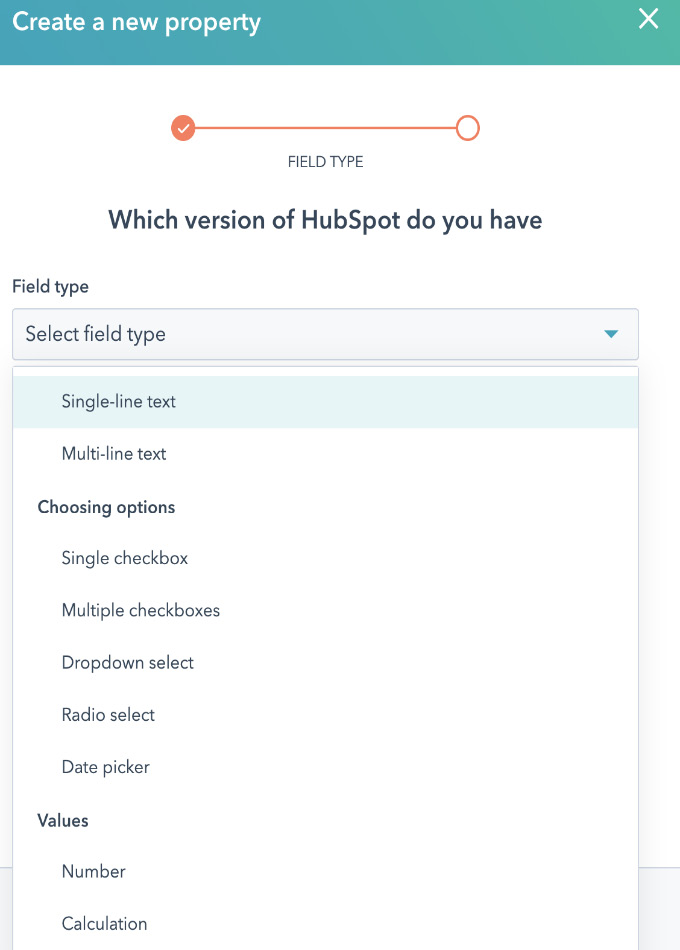
Figure 1.28 – Creating a custom property: selecting a field type
Properties are the backbone of your CRM system as they help you build the information you need about your contacts, but to ensure you are collecting information in a systematic way, it is important that you build properties correctly.
Contact management
Once the necessary fields have been created, you are now able to organize your contacts in a more systematic way to segment your database for better management and activities. Here are a few ways to better manage your contacts.
Filters
Filters are one way to segment your database, giving you a quick view of a segment of your database right from the Contacts page, Companies page, Deals page, or Tickets page. Note that these filters cannot be used in anything such as an email list, report, and so on—their purpose is simply for viewing the database. There are many use cases for filters, but some reasons behind why you may want to use filters could include the following:
- To see contacts that belong only to you or a specific contact owner
- To see which contacts are missing information—for instance, Country or First name field
- To see that contacts from a certain country/region are assigned to the right contact owner
The following screenshot provides an example of this:
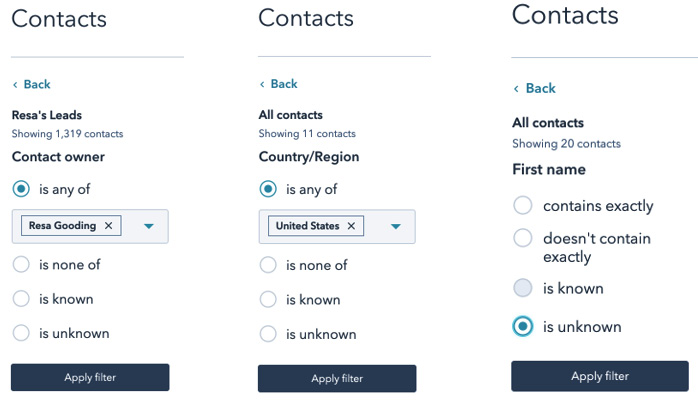
Figure 1.29 – Various filters created in Contacts
You can also save views of your filters and share them with other members of your team for easy access in the future. Simply click Apply filter, then Save filter, choose a name for the filter, and finally, select the Share with everyone option.
Lists
Lists also allow you to segment your database, but the main difference is that they give you more options to choose from. For example, under Contact Properties, you can choose from submissions, page views, and so on. This allows you to use these options to segment your database for specific marketing activities, such as the following:
- Nurturing emails based on page views or form submissions
- Enrolling in workflows
- Keeping track of people who sign up for an event when it is integrated into another platform—for example, registrants to a webinar event hosted on Zoom or GoTo Webinar
Note that lists exist in two forms: static and active. Active lists are updated in real time as contacts meet the criteria, as seen in the following screenshot, while static lists are not updated after a list is created:
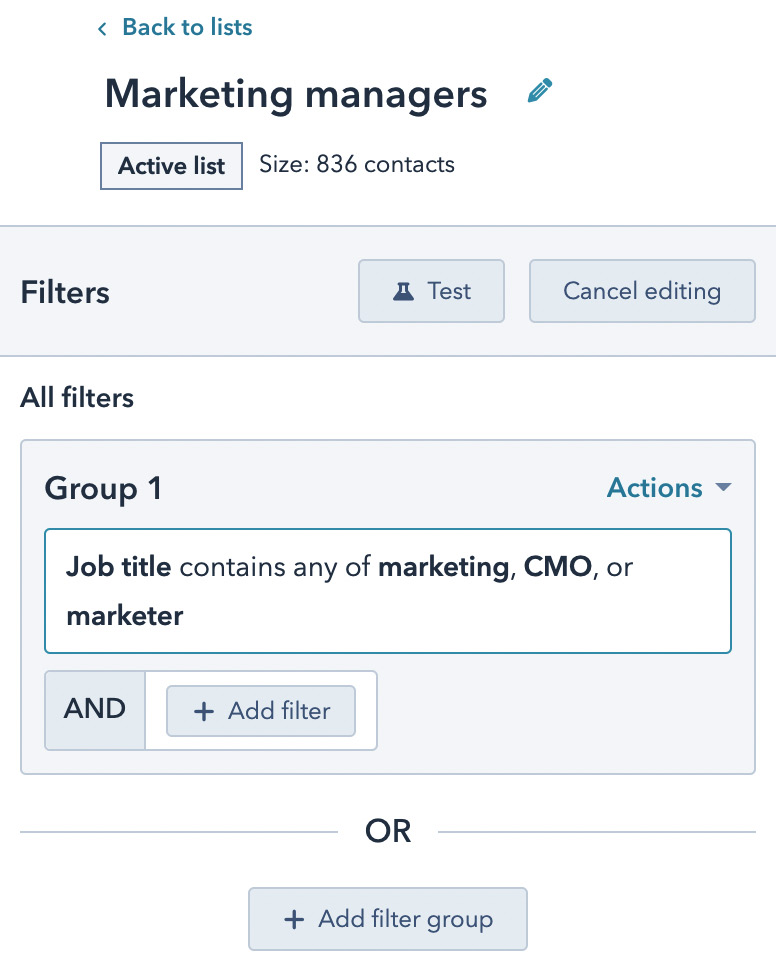
Figure 1.30 – Active list
These lists can then be used to do many things. You can attach them to your email marketing campaigns, use them in workflows when you need to update certain features, or simply use them to keep track of leads being generated from ongoing campaigns.


