


Delete tasks
Now we’ve completed our first functions of viewing and editing our records, we would also like to be able to delete the data. Therefore, we need to create a Delete form.
We want to show a confirmation dialog by clicking on a Delete button in the data table. To do this, we will first search for a data column (see Figure 9.13), and we’ll drag it to the rightmost part of the data table.When adding the Datatable column component, you will see a wizard where you can select a property.
Here, we’ll click the Add without configuration button, showing our new column in the data table. Let’s search for a Delete record button and drag it in our new data column (see Figure 9.15):
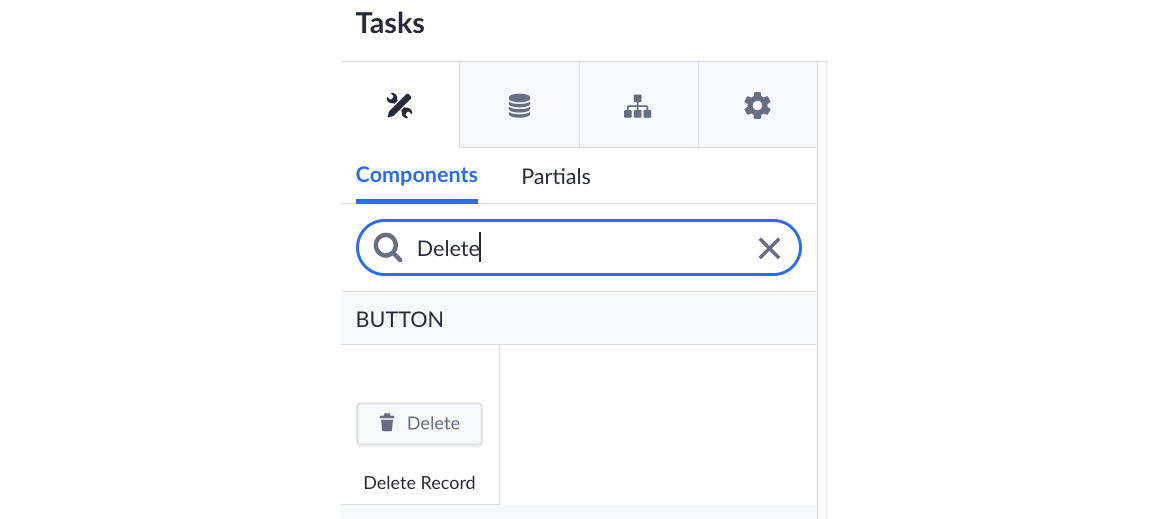
Figure 9.27 – The Delete button to delete a record
After dragging this button, a wizard will appear, where we can select our Task model (see Figure 9.28). After selecting this model, click on Save:
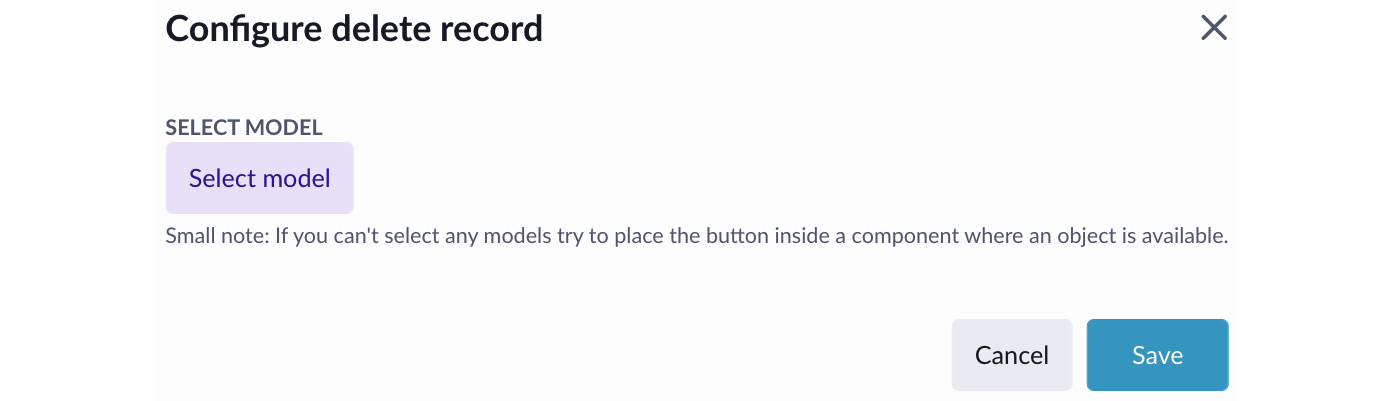
Figure 9.28...


