You have created a new project, and started running that project with Expo in the last step. Once we start making changes to our React Native code, wouldn't it be nice to see the results of those changes? Thanks to Expo, running your project in the installed iOS simulator or Android emulator has also been streamlined.
Running your app in a simulator/emulator
Running your app on an iOS simulator
Running your app in the Xcode simulator only takes a few clicks.
- Open Xcode.
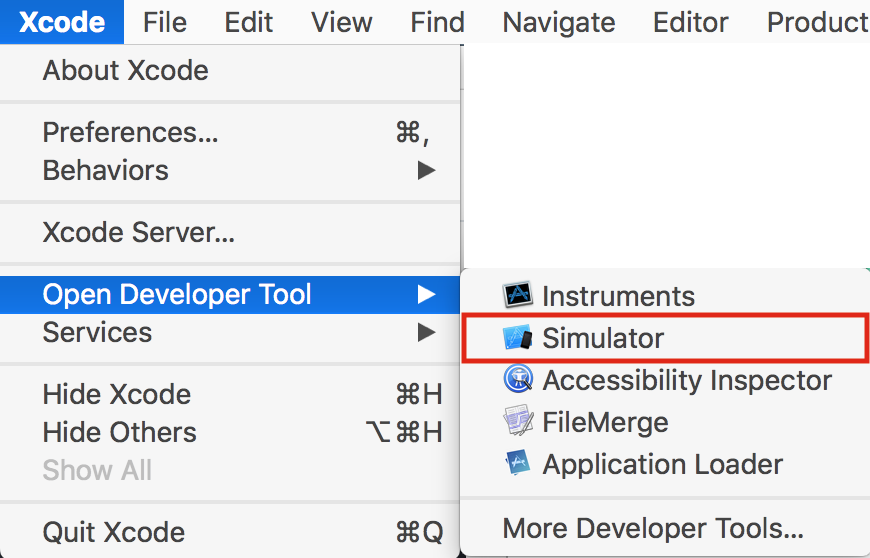
- Open the Simulator from the menu bar: Xcode | Open Developer Tool | Simulator:

- The app can be started with the Expo CLI in your Terminal if you run the following command:
expo start
The command will build your app and open the Expo Developer Tools in your web browser. In the Expo Developer Tools, select Run on iOS Simulator.
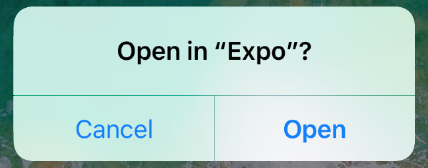
- The first time you run a React Native app on the iOS simulator via Run on iOS Simulator, the Expo app will be installed on the simulator, and your app will automatically be opened within the Expo app. The simulated iOS will ask if you want to Open in "Expo"?. Choose Open:

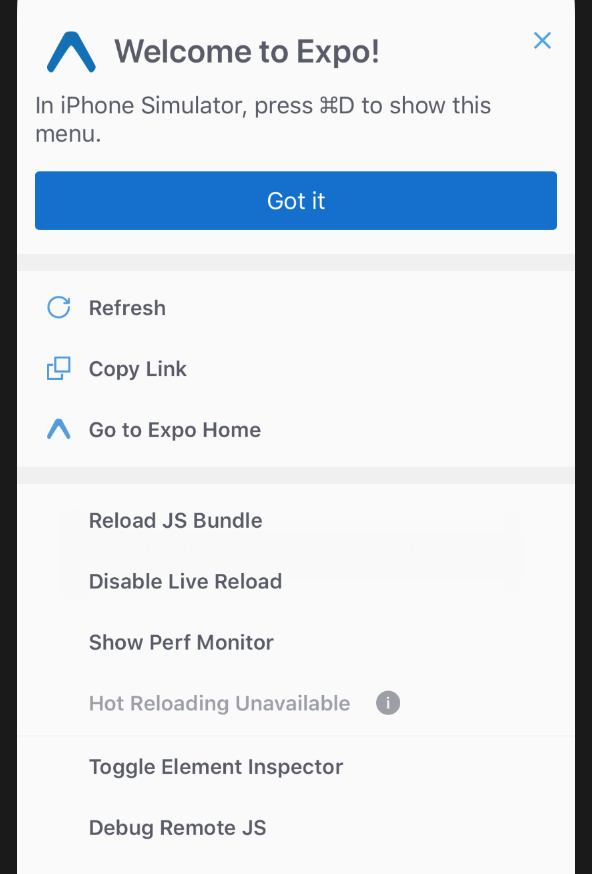
- Upon loading, you will see the Expo Developer menu. You can toggle between this menu and your React Native app by pressing command key + D on your keyboard:

There's more...
Once you have launched an app in the simulator, you'll be able to press the Run on iOS Simulator button without opening Simulator from Xcode. It should also remember your device choice. Opening Simulator from Xcode provides an easy way to choose your preferred iOS device to simulate.
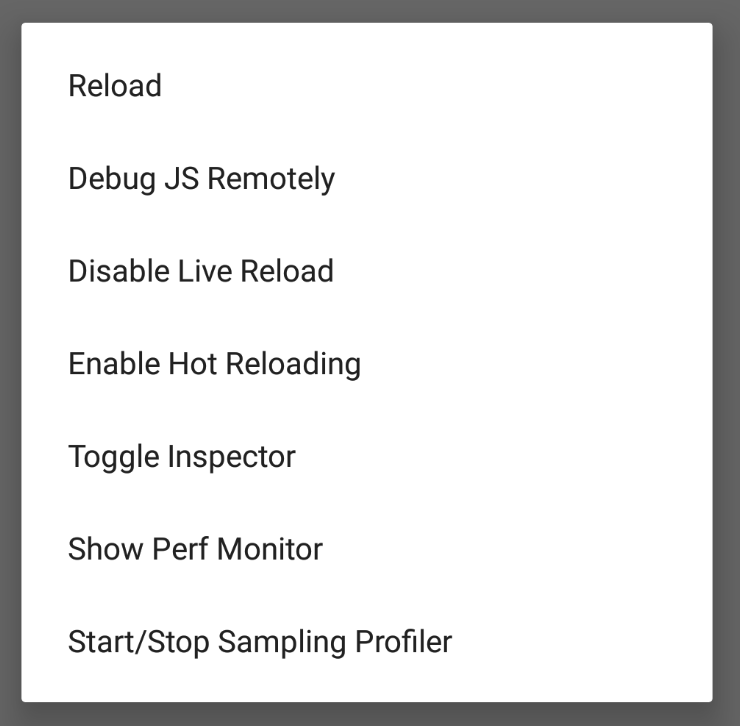
You can toggle between your React Native app and the Expo Developer menu, a list of helpful features for development, by pressing command key + M on your keyboard. The Expo Developer menu should look something like this:


