In the previous section, you downloaded the Unity Installer. Locate that file, likely in your downloads folder, and launch the program.
For the remaining steps, and throughout this book, we will use Unity running on macOS. The steps and processes for installing and using Unity are the same for both systems; the interfaces might vary slightly in appearance.
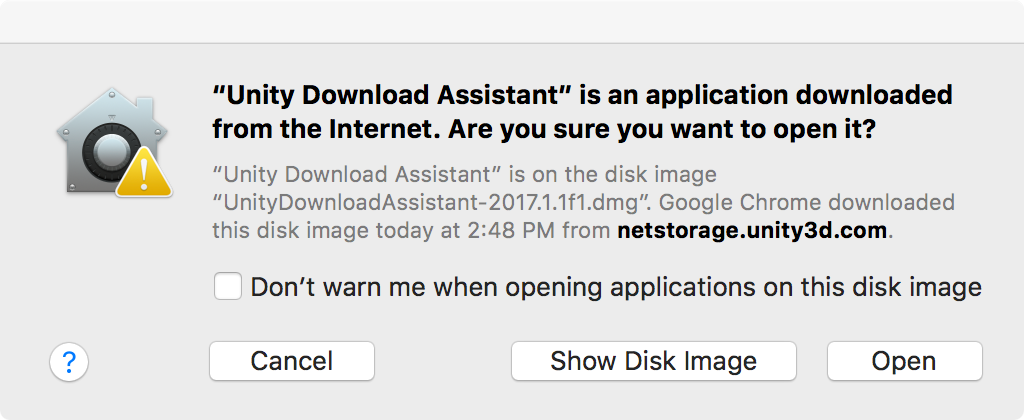
Once you launch the Download Assistant, your computer might present you with a security prompt:

Once you accept the security warning, and after clicking the Open button, you will see the Introduction pane. Click the Continue button.
Next, you will see the Software License Agreement pane (not shown here). You can read, print, and save the Software License Agreement. Click the Continue button to proceed. This will result in a popup asking you if you consent to the terms of the software license agreement. If you do agree, click the Agree button.
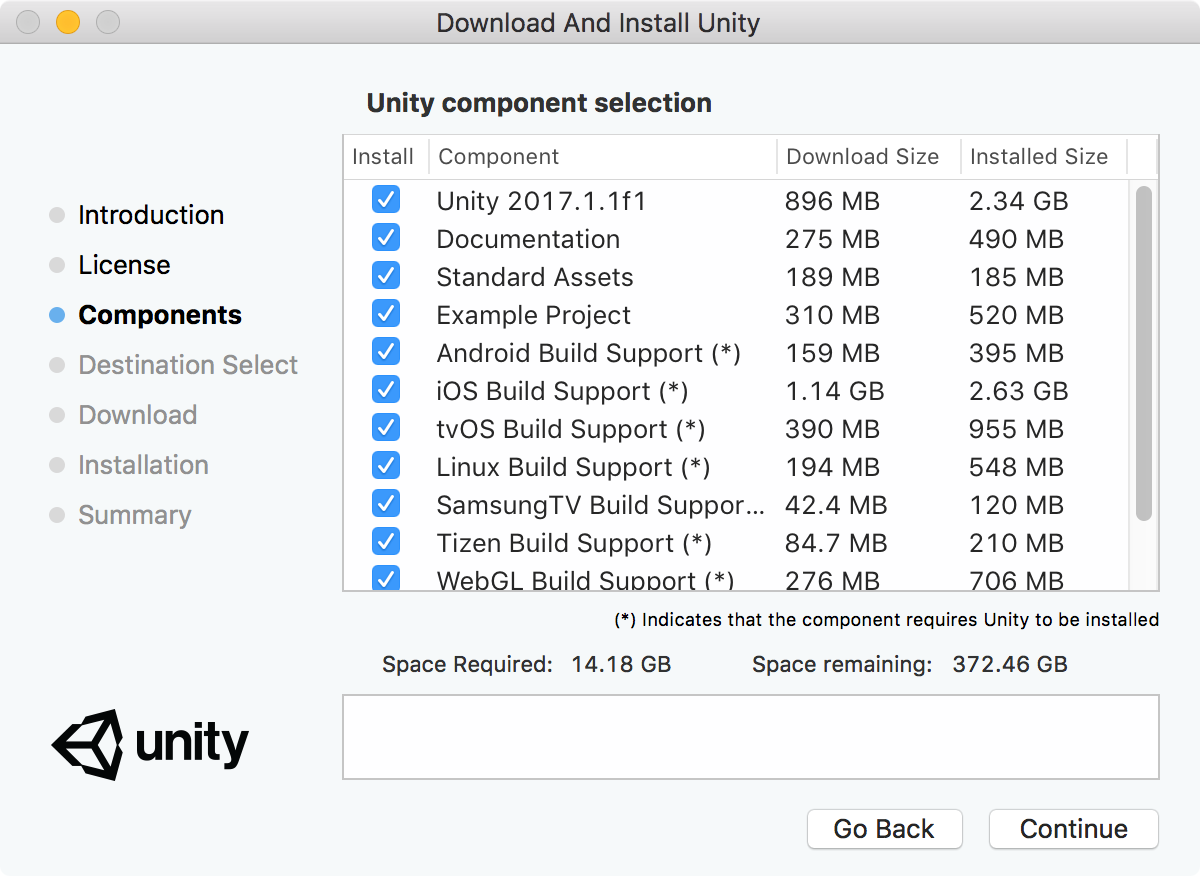
The next step is the Unity component selection screen. By default, all components will be selected. You will see how much space is required for these components to be installed on your computer and how much space you have left. You can disable components you know you will not need right away and install them later. Alternatively, you can install all components if space is not an issue:

In order to follow along with this book's tutorials, you will need to, at a minimum, select the following components:
- Unity 2017.1 (or later version that is presented in the interface)
- Standard Assets
In addition, the following components are highly recommended:
- Documentation
- Example Project
Next, you will select an installation destination and click the Continue button.
The Download Assistant will start downloading the components you previously identified (not shown here). If you have a slow internet connection, this could take a while.
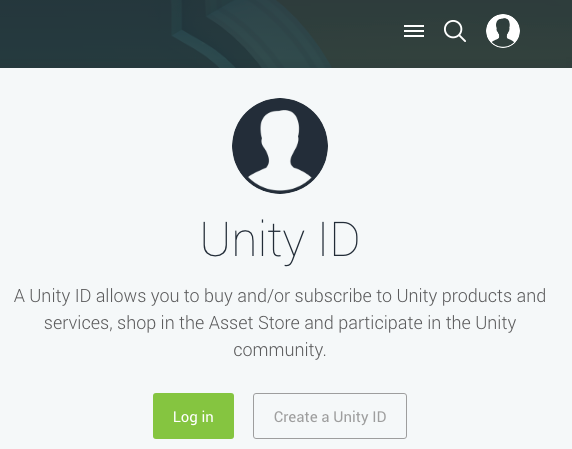
This is a good time to create your free Unity ID. If you still have Unity open in your browser, you will see the person icon in the top-right of their page. If you do not see that icon, you can revisit https://unity3d.com. When you click on the icon, you will see a new interface with a Create a Unity ID button. Click that button and fill out the registration form:

You will need your account to use the Unity Asset Store, even for obtaining free content.
Once all components have been downloaded and installed, you will be notified by the Download Assistant.
When you first launch Unity, you will need to select a license. Unity is now successfully installed on your computer and you are ready to use it.


