Adding the module configuration
We will now add configuration options to our module. To do so, we just have to add the getContent function to our module. The return value of this function will be the content displayed on your screen.
In our case, we will write the following code:
public function getContent()
{
  return 'My name is Raphael, I am a tourist';
}
Note
The sentence returned is only an example (and a private joke from one of the PrestaShop core developers).
When the getContent function is placed in a module's class, PrestaShop automatically displays a Configure link in the back office. When the Configure link is clicked, this function is called and the return value is displayed.
So, if you refresh the modules list in the back office and your module is installed, you should now see a Configure button:

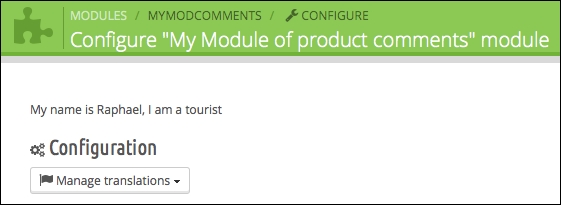
If you click on the configuration link, you will see the translations block (automatically generated by PrestaShop software), and the sentence that we wrote in the function:

You must avoid writing HTML in PHP code (very bad practice). That's why we will use the Smarty template (the template engine used in PrestaShop). If you are not familiar with this library, or with template engines in general, I invite you to read the official documentation (the link is in the introduction of this book). However, do not panic; using Smarty templates is quite easy!
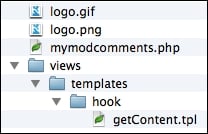
We will start by creating the templates directory in the root of the module's directory: /views/templates/hook/. All of the templates used in the module's class must be placed in this directory.
One of the best practices is to name the templates with the name of the method in which they are used. So, we will create a template named getContent.tpl. Let's write our previous text in this template:
My name is Raphael, I am still a tourist
Then, in the getContent method, we just have to change the return line to the following:
return $this->display(__FILE__, 'getContent.tpl');
In this case, the display method will automatically use the getContent.tpl template in the /views/templates/hook/ directory. If you refresh the page, you'll see that your display has changed (we added one word). Now, your view is separated from your code. The following screenshot displays the file architecture you should have now:


