Chapter 5. Making Our App Versatile with Routing
Since we've made it to this chapter, we should already have a good understanding of Meteor's template system and how data synchronization between a server and clients works. After digesting this knowledge, let's get back to the fun part and make our blog a real website with different pages.
You might ask, "What do pages do in a single-page app?" The term "single page" is a bit confusing, as it doesn't mean that our app consists of only one page. It's rather a term derived from the current way of doing things, as there is only one page sent down from the server. After that, all the routing and paging happens in the browser. There aren't any pages requested from the server itself anymore. A better term here would be "client-side web application," though single page is the current used name.
In this chapter, we will cover the following topics:
- Writing routes for our static and dynamic pages
- Changing subscriptions based on routes
- Changing the title of the website for each page
So let's not waste time and get started by adding the iron:router package.
Note
If you've jumped right into the chapter and want to follow the examples, download the previous chapter's code examples from either the book's web page at https://www.packtpub.com/books/content/support/17713 or from the GitHub repository at https://github.com/frozeman/book-building-single-page-web-apps-with-meteor/tree/chapter4.
These code examples will also contain all the style files, so we don't have to worry about adding CSS code along the way.
Adding the iron:router package
Routes are the URLs of a specific page in our app. In a server-side-rendered app, routes are defined either by the server's/framework's configuration or the folder structure on the server.
In a client-side app, routes are simply paths that the app will use to determine which pages to render.
The steps to perform inside the client are as follows:
- The website is sent down to the client.
- The JavaScript file (or files) is loaded and parsed.
- The router code will check which current URL it is on and run the correct route function, which will then render the right templates.
Tip
To use routes in our app, we will make use of the
iron:routerpackage, a router specifically written for Meteor, which makes it easy to set up routes and combine them with subscriptions. - To add the package, we cancel any running Meteor instance, go to our
my-meteor-blogfolder, and type the following command:$ meteor add iron:router - If we are done with this, we can start Meteor again by running the
$ meteorcommand.
When we go back to the console of our browser, we will see an error saying: Error: Oh no! No route found for path: "/". Don't worry; we will deal with this in the next section.
Setting up the router
In order to use the router, we need to set it up. To keep our code organized, we will create a file called routes.js directly in the root of our my-meteor-blog folder with the following code:
Router.configure({
    layoutTemplate: 'layout'
});
The router configuration allows you to define the following default templates:
|
|
The layout template will be used as the main wrapper. Here, subtemplates will be rendered in the |
|
|
This template will be rendered if the current URL has no defined route. |
|
|
This template will be shown when subscriptions for the current route are loading. |
For our blog, we will just define the layoutTemplate property for now.
Perform the following steps to set up the router:
- To create our first route, we need to add the following lines of code to the
routes.jsfile:Router.map(function() { this.route('Home', { path: '/', template: 'home' }); });Note
You can also name the
Homeroute ashome(in lowercase). Then we can leave the manual template definition out, asiron:routerwill look automatically for a template calledhomefor that route.For simplicity, we define the template manually to keep all routes consistent throughout the book.
- If we now save this file and get back to our browser, we will see the
layouttemplate rendered twice. This happens not becauseiron:routeraddslayoutTemplateby default to the body of our app, but because we added it manually as well as by using{{> layout}}inindex.html, it gets rendered twice.
To prevent the double appearance of the layout template, we need to remove the {{> layout}} helper from the <body> tag inside our index.html file.
When we check out the browser, we will now see the layout template rendered only once.
Switching to a layout template
Even though we passed a template to our Home route using template: home, we are not rendering this template dynamically; we are just showing the layout template with its hardcoded subtemplates.
To change this, we need to replace the {{> home}} inclusion helper inside our layout template with {{> yield}}.
The {{> yield}} helper is a placeholder helper provided by iron:router, where route templates get rendered.
After doing this, when we check out the browser, we shouldn't see any change, as we are still rendering the home template, but this time dynamically. Then we proceed as follows:
- In order to see whether this is true, we will add a not found template to our app, by adding the following template to our
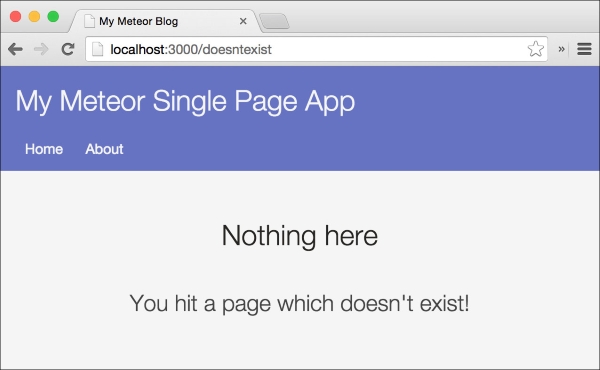
layout.htmlfile after the layout template:<template name="notFound"> <div class="center"> <h1>Nothing here</h1><br> <h2>You hit a page which doesn't exist!</h2> </div> </template> - Now we need to add the
notFoundTemplateproperty to theRouter.configure()function ofroute.js:Router.configure({ layoutTemplate: 'layout', notFoundTemplate: 'notFound' });
When we now navigate to http://localhost:3000/doesntexist in our browser, we will see the notFound template being rendered instead of our home template:

If we click on the Home link in the main menu, we will get back to our front page, as this link was navigating to "/". We have successfully added our first route. Now let's move on to create the second route.
Adding another route
Having a front page doesn't make a real website. Let's add a link to our About page, which has been in our drawer since Chapter 2, Building HTML Templates.
To do this, just duplicate the Home route and change the values to create an About route, as follows:
Router.map(function() {

    this.route('Home', {
        path: '/',
        template: 'home'
    });
    this.route('About', {
        path: '/about',
        template: 'about'
    });
});
That's it!
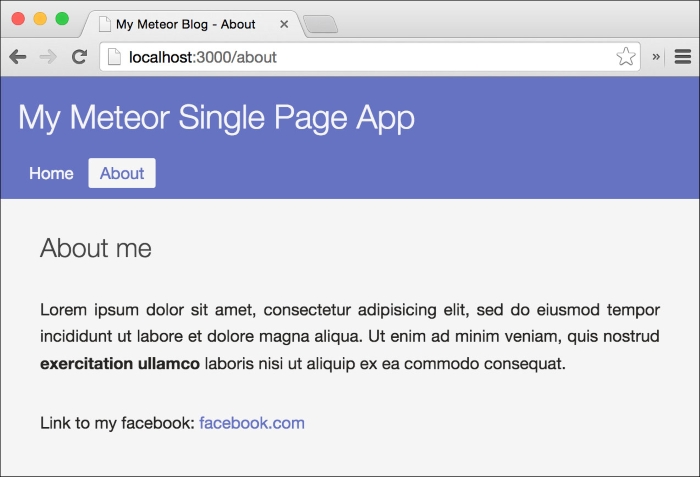
Now, when we go back to our browser, we can click on the two links in the main menu to switch between our
Home and About pages, and even typing in http://localhost:3000/about will bring us straight to the corresponding page, as shown in the following screenshot:

Moving the posts subscription to the Home route
In order to load the right data for each page, we need to have the subscription in the routes instead of keeping it in the separate subscriptions.js file.
The iron:router has a special function called subscriptions() , which is ideal for that purpose. Using this function, we can reactively update subscriptions belonging to a specific route.
To see it in action, add the subscriptions() function to our Home route:
this.route('Home', {
    path: '/',
    template: 'home',
    subscriptions
: function(){
        return Meteor.subscribe("lazyload-posts", Session.get('lazyloadLimit'));
    }
});
The Session.setDefault('lazyloadLimit', 2) line from the subscriptions.js file needs to be placed at the start of the routes.js file and before the Router.configure() function:
if(Meteor.isClient) {
    Session.setDefault('lazyloadLimit', 2);
}
This has to wrapped inside the if(Meteor.isClient){} condition, as the session object is only available on the client.
The subscriptions() function is reactive like the Tracker.autorun() function we used before. This means it will rerun and change the subscription when the lazyloadLimit session variable changes.
In order to see it working, we need to delete the my-meteor-blog/client/subscriptions.js file, so there are not two points where we subscribe to the same publication.
When we now check the browser and refresh the page, we will see the home template still shows all the example posts. Clicking on the lazy-load button increases the number of posts listed, though this time everything happens through our reactive subscriptions() function.
Note
The iron:router comes with more hooks, which you can find as a short list in the Appendix.
To complete our routes, we only need to add the post routes, so we can click on a post and read it in full detail.
Setting up the post route
To be able to show a full post page, we need to create a post template, which can be loaded when the user clicks on a post.
We create a file called post.html inside our my-meteor-blog/client/templates folder with the following template code:
<template name="post">
  <h1>{{title}}</h1>
  <h2>{{description}}</h2>

  <small>
    Posted {{formatTime timeCreated "fromNow"}} by {{author}}
  </small>

  <div class="postContent">
    {{#markdown}}
{{text}}
    {{/markdown}}
  </div>
</template>
This simple template displays all the information of a blog post and even reuses our {{formatTime}} helper we created earlier in this book from our template-helper.js file. We used this to format at the time the post was created.
We can't see this template yet, as we first have to create a publication and route for this page.
Creating a single-post publication
In order to show the full post's data in this template, we need to create another publication that will send the complete post document to the client.
To do so, we open our my-meteor-blog/server/publication.js file and add the following publication:
Meteor.publish("single-post", function(slug) {
  return Posts.find({slug: slug});
});
The slug parameter, which has been used here, will be later provided from our subscription method so that we can use the slug parameter to reference the correct post.
Note
A slug is a document title, which is formatted in a way that is usable in a URL. Slugs are better than just appending the document ID to the URL, as they are readable and understandable by visitors. They are also an important part of a good SEO.
So that we can use slugs, every slug has to be unique. We will take care of that when we create the posts.
Assuming that we pass the right slug such as my-first-entry, this publication will send down the post containing this slug.
Adding the post route
In order for this route to work, it needs to be dynamic because every linked URL has to be different for each post.
We will also render a loading template until the post is loaded. To start, we add the following template to our my-meteor-blog/client/templates/layout.html:
<template name="loading">
  <div class="center">
    <h1>Loading</h1>
  </div>
</template>
Additionally, we have to add this template as the default loading template to our Router.configure() call in the routes.js:
Router.configure({
    layoutTemplate: 'layout',
    notFoundTemplate: 'notFound',
    loadingTemplate: 'loading',
    ...
We then add the following lines of code to our Router.map() function to create a dynamic route:
this.route('Post', {
    path: '/posts/:slug',
    template: 'post',

    waitOn: function() {
        return Meteor.subscribe('single-post', this.params.slug);
    },
    data: function() {
        return Posts.findOne({slug: this.params.slug});
    }
});
The '/posts/:slug' path is a dynamic route, where :slug can be anything and will be passed to the routes functions as this.params.slug. This way we can simply pass the given slug to the single-post subscription and retrieve the correct document for the post matching this slug.
The waitOn() function works like the subscriptions() function, though will automatically render loadingTemplate, we set in the Router.configure() until the subscriptions are ready.
The data() function in this route will set the data context of the post template. We basically look in our local database for a post containing the given slug from the URL.
Note
The findOne() method of the Posts collection works like find(), but returns only the first found result as a JavaScript object.
Let's sum up what happens here:
- The route gets called (through a clicked link or by reloading of the page).
- The
waitOn()function will then subscribe to the right post identified by the givenslugparameter, which is a part of the URL. - Because of the
waitOn()function, theloadingTemplatewill be rendered until the subscription is ready. Since this will happen very fast on our local machine, so we probably won't see the loading template at all. - As soon as the subscription is synced, the template gets rendered.
- The
data()function will then rerun, setting the data context of the template to the current post document.
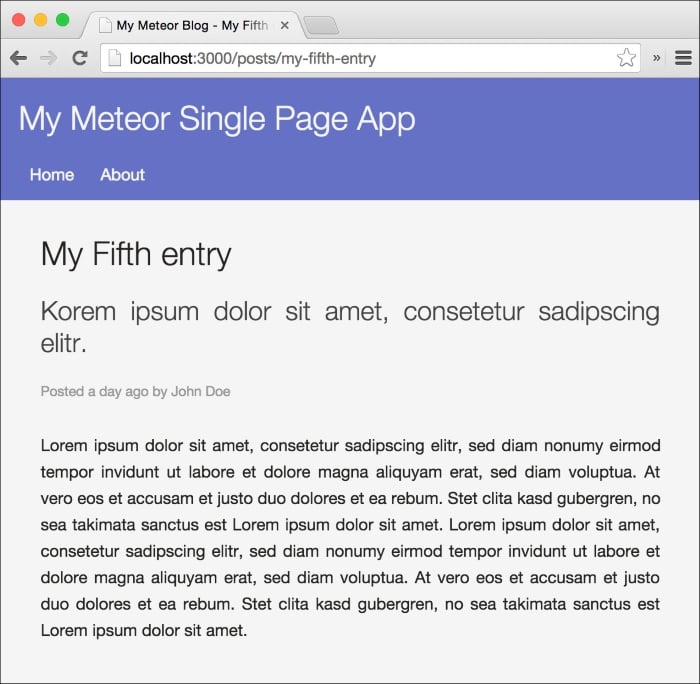
Now that the publication and the route are ready, we can simply navigate to http://localhost:3000/posts/my-first-entry and we should see the post template appear.
Linking the posts
Although we've set up the route and subscription, we can't see it work, as we need the right links to the posts. As each of our previously added example posts already contains a slug property, we just have to add them to the links to our posts in the postInList template. Open the my-meteor-blog/client/templates/postInList.html file and change the link as follows:
<h2><a href="posts/{{slug}}">{{title}}</a></h2>Finally, when we go to our browser and click on the title of a blog post, we get redirected to a page that shows the full post entry, like the entry shown in the following screenshot:

Changing the website's title
Now that we have the routes of our posts working, we are only missing the right titles being displayed for each page.
Sadly, <head></head> is not a reactive template in Meteor, where we could let Meteor do the work of changing titles and meta tags.
Note
It is planned to make the head tag a reactive template, but probably not before version 1.0.
To change the document title, we need to come up with a different way of changing it, based on the current route.
Luckily, iron:router has the onAfterAction() function, which can also be used in the Router.configure() function to run before every route. In this function, we have access to the data context of the current route, so we can simply set the title using native JavaScript:
Router.configure({
    layoutTemplate: 'layout',
    notFoundTemplate: 'notFound',

    onAfterAction: function() {
        var data = Posts.findOne({slug: this.params.slug});

        if(_.isObject(data) && !_.isArray(data))
            document.title = 'My Meteor Blog - '+ data.title;
        else
            document.title = 'My Meteor Blog - '+ this.route.getName();
    }
});
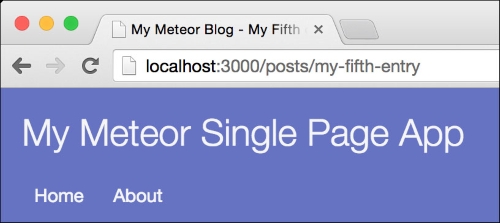
Using Posts.findOne({slug: this.params.slug}), we get the current post of the route. We then check whether it's an object; if so, we add the post title to the title metatag. Otherwise, we just take the route name.
Doing this in Router.configure() will call the onAfterAction for every route.
If we now take a look at our browser's tab, we will see that the title of our website changes when we move throughout the website:

Tip
If we want to make our blog cooler, we can add the mrt:iron-router-progress package. This will add a progress bar at the top of our pages when changing routes. We just need to run the following command from our app's folder:
$ meteor add mrt:iron-router-progress
Summary
That's it! Our app is now a fully working website with different pages and URLs.
In this chapter, we learned how to set up static and dynamic routes. We moved our subscriptions to the routes so that they change automatically, based on the route's needs. We also used slugs to subscribe to the right posts and displayed them in the post template. Finally, we changed our website's title so that it matches the current route.
To learn more about iron:router, take a look at its documentation at https://github.com/EventedMind/iron-router.
You can find this chapter's code examples either at https://www.packtpub.com/books/content/support/17713 or on GitHub at https://github.com/frozeman/book-building-single-page-web-apps-with-meteor/tree/chapter5.
In the next chapter, we will take a deeper look at Meteor's session object.


