Installing the required software
So far, we have had a good introduction to JavaFX and I am as eager as you to start creating and launching our first "Hello JavaFX 8" application. But this can't happen without downloading and installing the right tools that will allow us to create and compile most of the book's code.
You'll need to download and install Java 8 Java Development Kit (JDK) or a later version. Not the runtime version (JRE).
Download the latest Java SE 8u45 JDK or higher from the following location:
http://www.oracle.com/technetwork/java/javase/downloads/index.html
Download and install NetBeans 8.0.2 or higher from the following link https://netbeans.org/downloads, though the NetBeans IDE All Bundle is recommended, you can use the Java EE bundle as well, as shown in the figure:

NetBeans bundles download.
Currently, JavaFX 8 runs on the following operating systems:
- Windows OS (XP, Vista, 7, 8) 32- and 64-bit
- Mac OS X (64-bit)
- Linux (32- and 64-bit), Linux ARMv6/7 VFP, HardFP ABI (32-bit)
- Solaris (32- and 64-bit)
Installing Java SE 8 JDK
The steps outlined in this section will guide you to successfully download and install Java SE 8. Download the Java SE 8 JDK from the following location:
http://www.oracle.com/technetwork/java/javase/downloads/jdk8-downloads-2133151.html
In the following steps, the Java SE 8u45 JDK 64-bit version (at the time of writing) on the Mac OS X Yosemite (10.10.3) operating system will be used as an example.
The steps are similar on other operating systems and JDK versions. However, if your environment is different, refer to the following link for additional details:
http://docs.oracle.com/javase/8/docs/technotes/guides/install/toc.html
The following are steps to install the Java SE 8 JDK:
- Install the Java 8 JDK by launching the image file
jdk-8u45-macosx-x64.dmg. A screen will appear that looks like the following screenshot once you've launched the JDK 8 setup image file. That's the package setup file. Double-click on it and the installer will launch:
JDK 8 setup image file
Tip
Typically, you will need administrator rights on the machine to install the software.
- Begin the setup of the Java 8 JDK. The screen in the following screenshot will appear at the beginning of the installation process. Click on the Continue button, next on the Installation type screen wizard, click on Install to begin the installation.
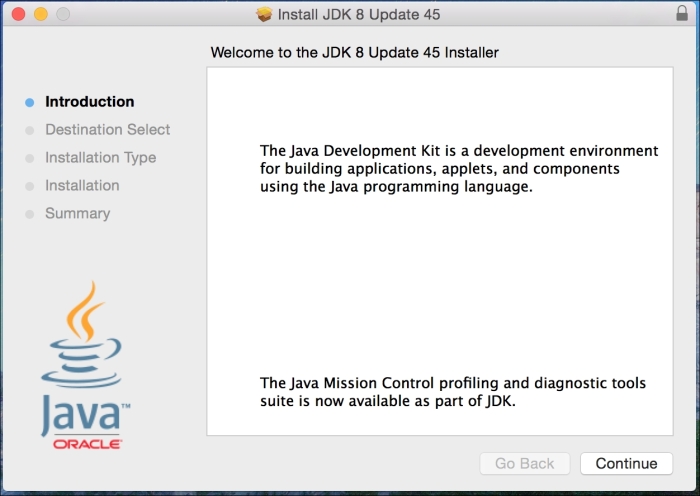
Java SE Development Kit 8 setup
- Once you hit Install, you may be asked to supply your password. Supply it, click on Ok and the installation will proceed with a progress bar, as shown in following figure:
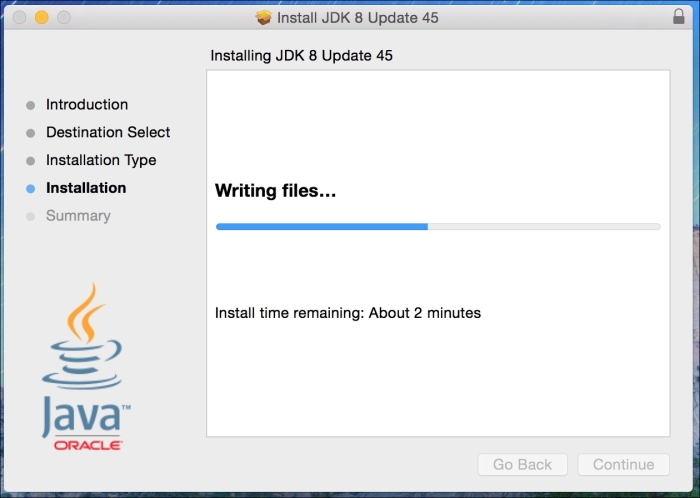
Java SE Development Kit 8 installation in progress
- The setup will complete the installation of the Java 8 SE Development Kit. click on the Close button to exit.
Setting environment variables
Now you need to set a couple of key environment variables. How you set them and the values they should be set to vary depending on your operating system. The two variables to be set are:
- JAVA_HOME: This tells your operating system where the Java installation directory is.
- PATH: This specifies where the Java executable directory resides. This environment variable lets the system search paths or directories containing executable files. The Java executables reside in the bin directory under the
JAVA_HOMEhome directory.
To make JAVA_HOME and PATH more permanent, you will want to add them to your system in such a way that they are always made available whenever you boot or log in. Depending on your operating system, you will need to be able to edit environment variable names and values.
In the Windows environment, you can use the keyboard shortcut Windows logo key + Pause/Break key and then click on Advanced system settings to display the Systems Property dialog.
Next, click on Environment Variables. This is where you can add, edit, and delete environment variables. You will add or edit the JAVA_HOME environment variable by using the installed home directory as the value. Shown in this screenshot is the Environment Variables dialog on the Windows operating system:

Windows Environment Variables
Let's set the environment variables:
- To set your
JAVA_HOMEenvironment variable for the Mac OS X platform, you will need to launch a terminal window to edit your home directory's.bash_profilefile by adding the following export command:export JAVA_HOME=$(/usr/libexec/java_home -v 1.8) - On Linux and other Unix operating systems that use Bash shell environments, launch a terminal window and edit either the
~/.bashrcor~/.profilefile to contain the export commands:export JAVA_HOME=/usr/java/jdk1.8.0 export PATH=$PATH:$JAVA_HOME/bin
- On Linux and other Unix operating systems that use
Cshell (csh) environments, launch a terminal window and edit either the~/.cshrcor~/.loginfile to contain thesetenvcommands:setenv JAVA_HOME /usr/java/jdk1.8.0_45 setenv PATH ${JAVA_HOME}/bin:${PATH}
Once you've set up your path and the JAVA_HOME environment variables, you will want to verify your setup by launching a terminal window and executing the following two commands from the command prompt:
java -version
javac –version
Note
The output in each case should display a message indicating the Java SE 8 version of the language and runtime.
Installing the NetBeans IDE
When developing JavaFX applications, you will be using the NetBeans IDE (or any other IDE of your preference). Be sure to download the correct NetBeans version containing JavaFX. To install the NetBeans IDE, follow these steps:
- Download the NetBeans IDE 8.0.2 or later from the following location:
- Launch the
.dmgimage filenetbeans-8.0.2-macosx.dmg. The image will be verified and a folder containing the installer package archive,netbeans-8.0.2.pkg, will open; double-click on it to launch the installer. A dialog box will appear with the message: This package will run a program to determine if the software can be installed. Click on the Continue button. - Once you've launched the NetBeans installation dialog, click on continue again. Next, accept the license and click on Continue and then on Agree.
- Click on the Install button to proceed. The following screenshot shows a Mac security warning prompt; supply your password and click on Install Software.
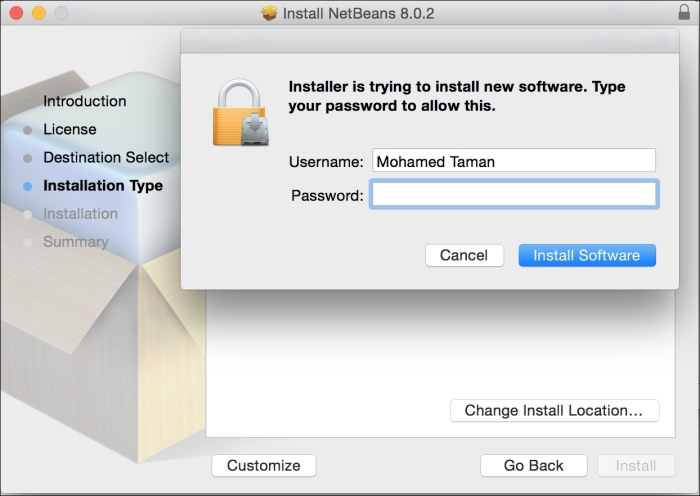
The Mac Security Warning dialog
- The NetBeans IDE installation processes will begin. The following screenshot shows the installation progress bar:
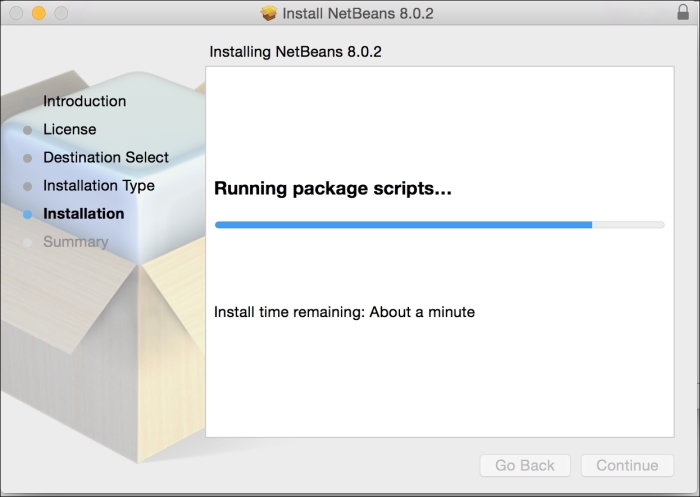
Installation progress
- Click on the Close button to complete the installation, as shown here:
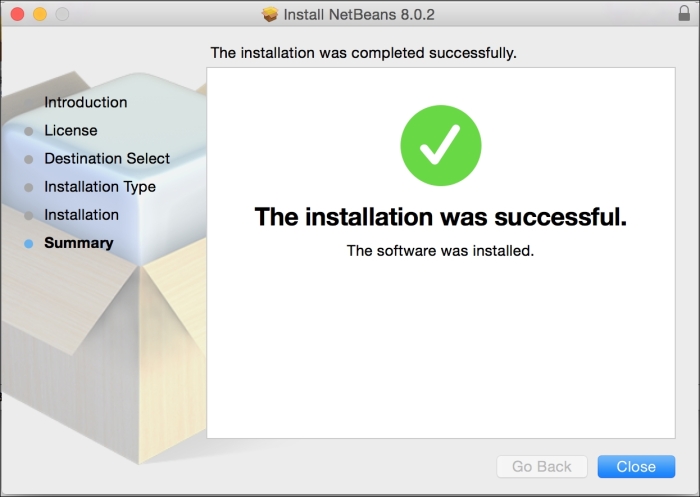
Setup complete
Now you are ready to move on and create JavaFX applications.


