In order to open your 30-day trial of Microsoft Dynamics 365 for Sales, you will need to go through a wizard-driven process that we will learn about in the following subsections.
Let's now proceed with provisioning a new 30-day trial.
Trial provisioning
Let's look at the steps to create a new instance:
- From the Applications dropdown at the top, expand Sales, and then select Overview.
- Review the features. Toward the bottom of the page, you will find a Get Started button. Note that, as the platform evolves, so does the home site; this link could be moved to another location on the page by the time this book reaches its audience. Regardless of its current location, you will still find a link to trigger the process to create your trial on the home site.
- Next, you will be presented with an option to either sign up for a free trial or request a callback. The second option involves receiving support from Microsoft, but the process is so simple that we will do it ourselves. Select Sign up for a free trial.
- You will then be directed to https://trials.dynamics.com/.
At the time of this writing, the trials page looks like the following screenshot:
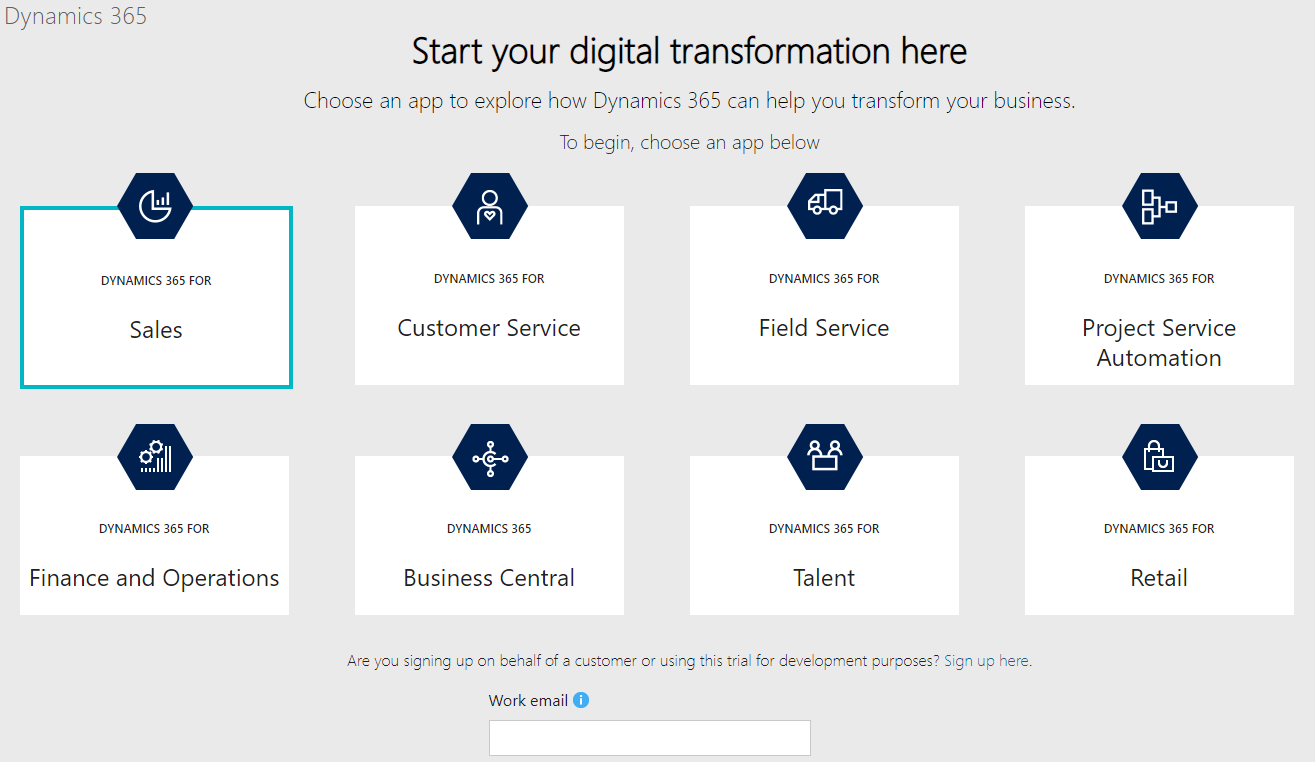
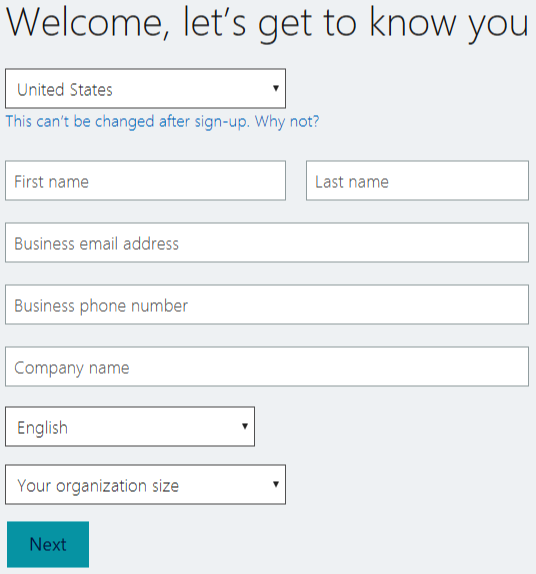
- Now, you could associate this trial with your existing Office 365 subscription tenant by logging in with an Office 365 account. Instead, we're going to find the Sign up here link right above the login area and click it. This will allow us to use a personal account that is not associated with a partner. In the pop-up window, select No, continue signing up. This will put us in the trial creation workflow:
- Next, you will be prompted to create your organization and its first user:
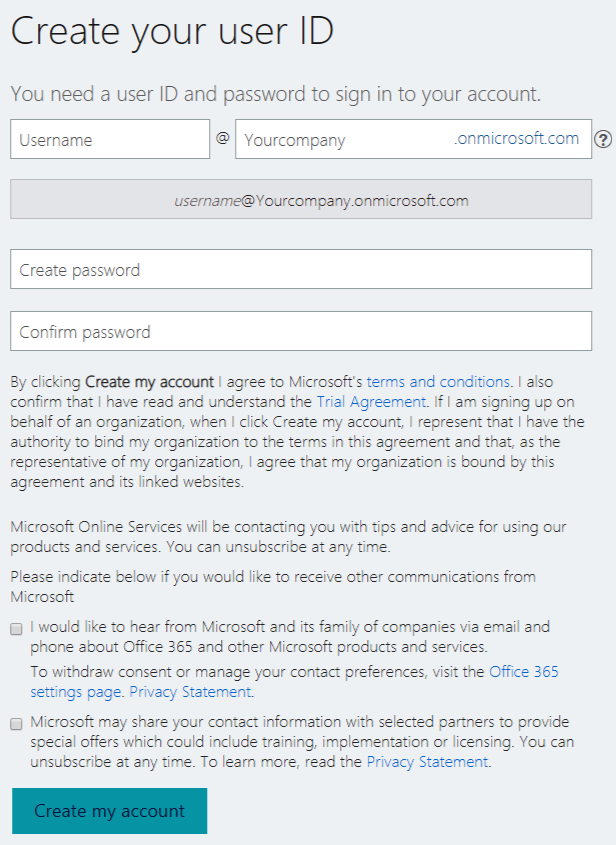
- Once you fill in the organization name in the Yourcompany field, this name will be validated for uniqueness. If everything is okay, then your new account will appear with a green checkmark in the gray bar below.
- Click on Create my account to continue.
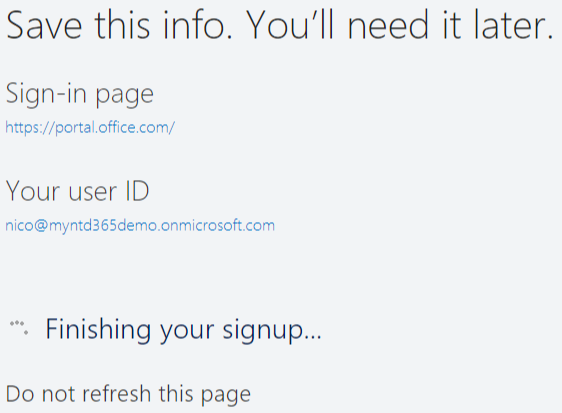
- You will then be prompted to enter a mobile number for validation. You will receive a text message with a verification code. You need to enter it in the next screen and click Next. This triggers the process to create your instance:
- When done, click on Set up to start configuring your new instance. You need to perform the configuration before anything is accessible:
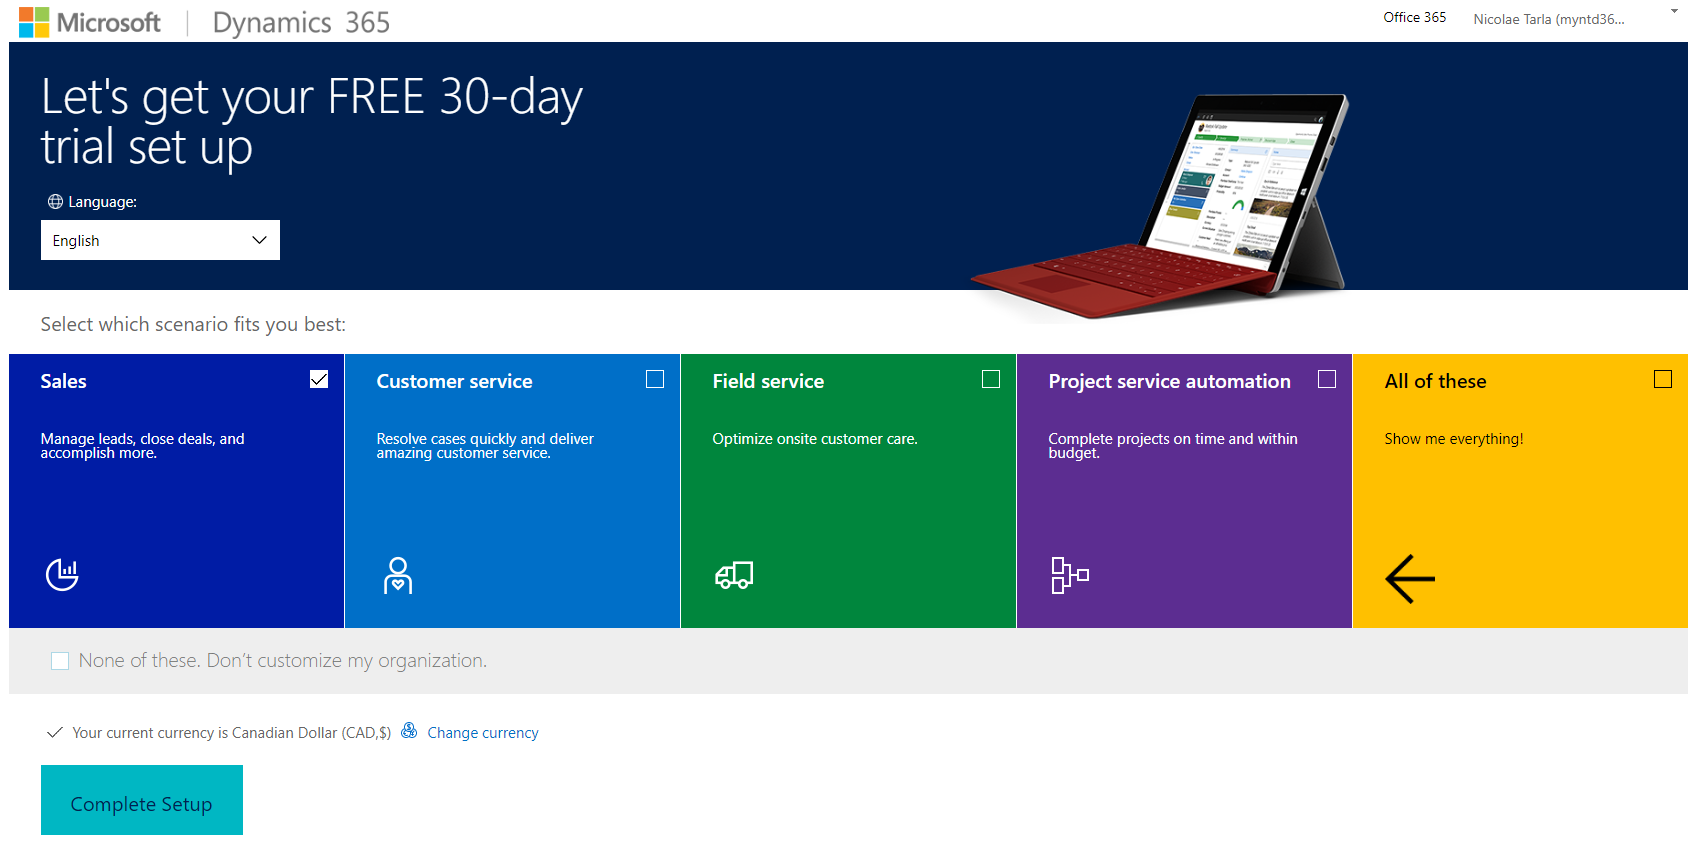
- Now, click on Complete Setup and grab a coffee because this takes a moment. Behind the scenes, a new instance in Dynamics 365 for Sales is created based on the configurations you provided during the setup wizard. This involves, among other things, creating a new Azure Active Directory that provides authentication, an Office 365 Admin portal for the configuration of services, and the Dynamics 365 tenant with the Sales application installed.
- When done, you will be forwarded to the newly created instance. Sample data will already be populated by default, but can easily be removed:
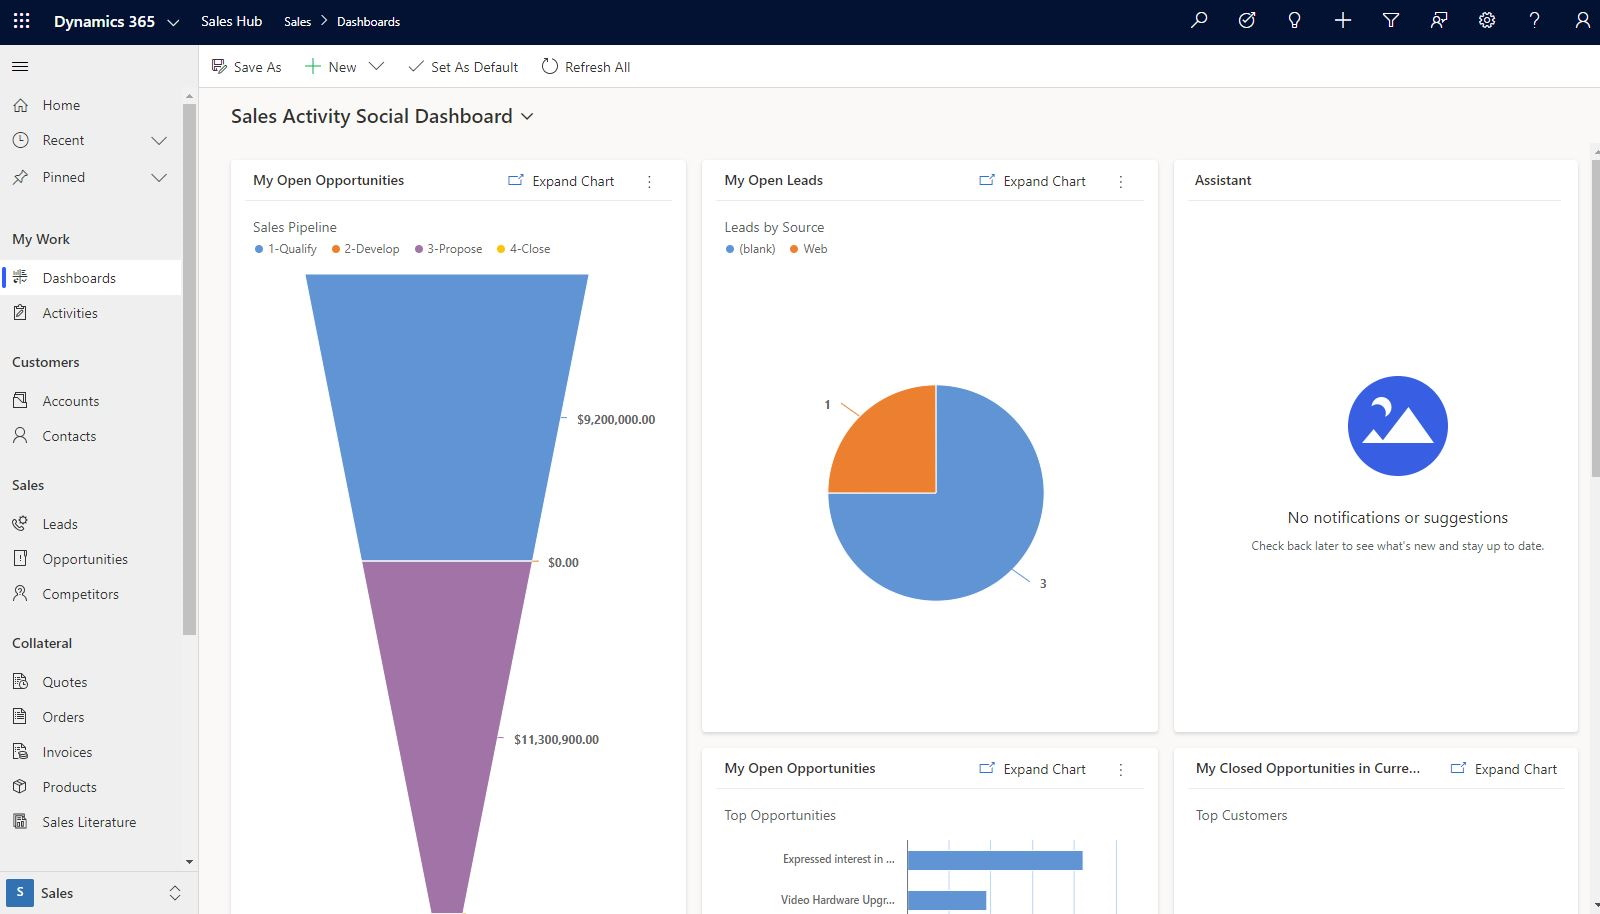
And with this, we now have a functional Dynamics 365 for Sales organization. We will be adding the additional modules as we get to review the functionality for each in the following chapters.
Once we have created the default instance, we can access it directly by the URL, which is going to be in the format https://[orgName].crm[x].dynamics.com, with [orgName] being the name of the organization you selected and crm[x] representing the geolocation of the data center that your instance is served from.
Note that once you have a domain configured, you can reference your current instance by the URL you configure for it, leveraging your domain name.
Now, let's check out the other ways in which can we access this instance.
Tenant access through the Office 365 Admin console
An alternative way to access this instance is by logging in to your Office 365 tenant at https://portal.office.com/ and following these steps:
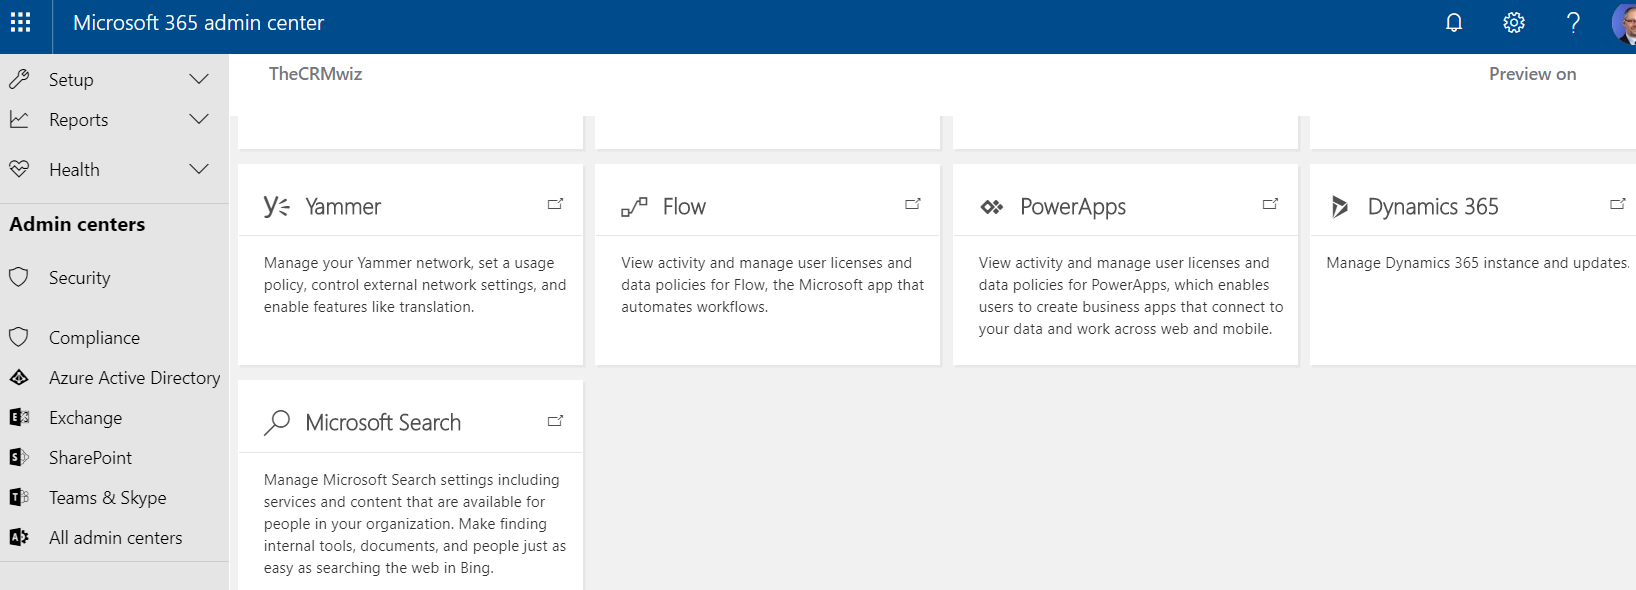
- Log in using the previously created account and password. Once in, assuming that you are an admin and have the necessary permissions, you can navigate to the Microsoft 365 Admin Center, expand All Admin Centers, and find the Dynamics 365 Admin Center listed on the left side:
- This opens the Administration Center. Here, you will find your current trial organization. If you are on a paid subscription, you will get the opportunity to manage multiple paid production instances, as well as various nonproduction instances:
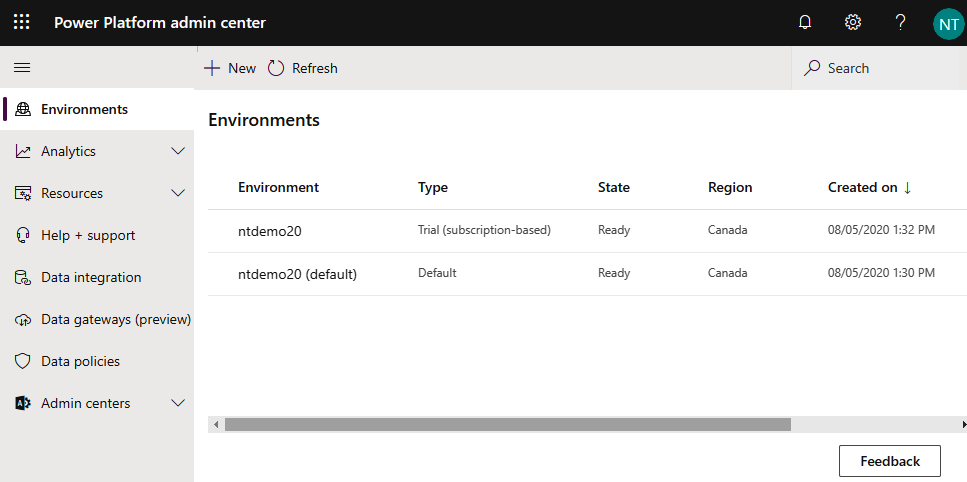
- You can navigate through the tabs at the top to see the available updates for your instances and the status of the service health and announcements, and manage backups and the various applications installed in your instances.
Back on the instances screen, we have the option to edit our instance properties. Selecting this option takes us to a form that allows us to change the name and URL of our organization, as well as provide a detailed message on the purpose of this organization. We can also copy our current instance to a new sandbox instance. This allows us to create a copy of a production instance for various tests. The notifications option allows us to configure additional users to be notified by email when administrative notices are distributed.
As you can see, besides the Production instance, we also get a Sandbox instance. In the next section, we will learn what the sandbox environment is.
What is a sandbox instance?
What are the different instance types, you might ask. Well, a Sandbox instance is basically a nonproduction instance. Depending on your licensing agreement, you could have one or more production instances, as well as several nonproduction sandbox instances. Once in an instance, a sandbox instance is clearly marked by a sandbox overlay over the top header.
From a functionality perspective, no functional changes are made to a sandbox instance. They offer the same functionality as a production instance. One very important aspect of sandbox instances is the fact that, while functionality is maintained on a par with production instances, the database is completely isolated from production. A sandbox instance can contain a full set or a subset of production data, users, and customizations.
As such, sandbox instances can be used for development, quality assurance (QA), and user acceptance testing (UAT) environments.
Finally, selecting the Open button allows you to open the selected instance and navigate directly to the application. Make sure that you have at least one security role assigned to your user in order to access an instance. Since you created this trial, you should have the Administrator role assigned.
The final chapter of this book deals with administration, and that's where we will come back to the Dynamics 365 Administration Center to visit the remaining tabs and options. Until then, let's focus on our current trial instance.
The trial instance of Dynamics 365 for Sales comes preloaded with some sample data. This makes it easy for a first-time user to see some of the visual representations on the dashboards, and also gives said user the opportunity to track some of the data relationships and see how related data is presented in certain records.
In the next few chapters, we will start investigating all the available features of the Dynamics 365 platform. For now, in the next section, let's learn more about how to configure a domain name for your environment.


