Publishing a simple, slide-only course for a website
Articulate handles presentations differently from PowerPoint, creating a Flash animation video (a .swf file) out of it. This means that Articulate has to publish the presentation and not just save it as PowerPoint does. The published presentation consists of two parts, the presentation itself and the player. The player folder is the skin with the controls and other information about the presentation. In addition to controlling the slides of the course, it also allows access to other files if they have been added to the course.
When finished, each slide becomes its own Flash file. This allows for fast downloading by users who are accessing the course or presentation via the Internet. Additional content, such as a glossary, would be a separate Flash file accessible through the player.
Getting ready
Any presentation will consist of a number of slides. These slides may contain any of the text, graphics, and objects that PowerPoint can produce, along with other content that is created in Articulate Presenter or the other programs contained in the Articulate suite. We will be showing you how to add this material throughout this course.

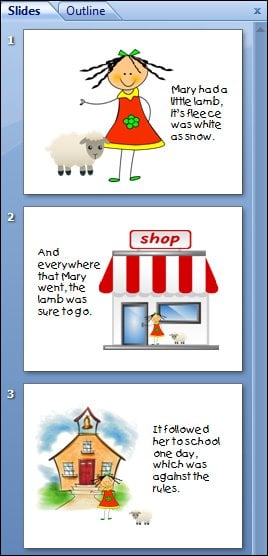
In order to walk through the process of publishing a presentation, we're going to need a presentation that we can use. You can either open an existing PowerPoint presentation that you have on your computer or create a simple one. I've created a simple, three-slide presentation about the nursery rhyme "Mary Had a Little Lamb".
How to do it…
Once you have your presentation, there are two parts to accomplishing this recipe. The first one consists of creating the player template. Once we have created the template, we'll use that template to publish our simple course.

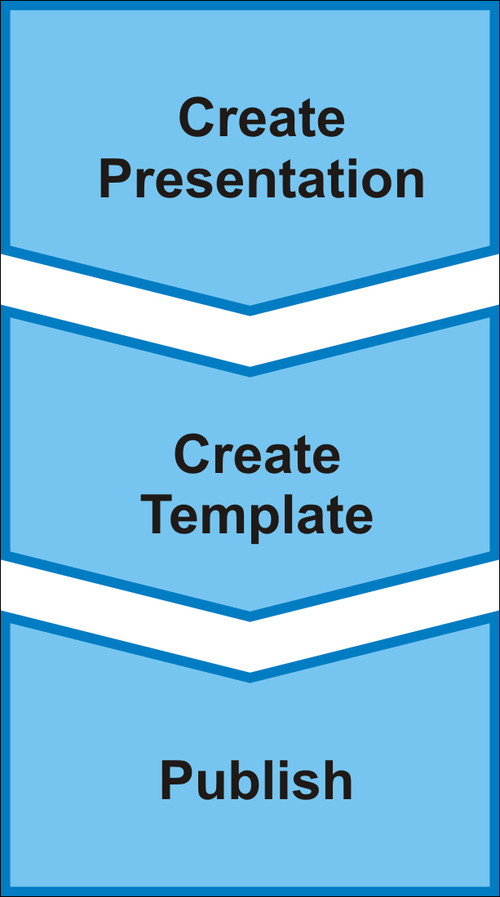
As you can see from this flow diagram, the process is a logical one. Typically, one starts by creating the presentation before creating or choosing the template. In this way, the template can be made to match the needs of the presentation.
Creating the template
The first thing we're going to need is a player template. This will tell Articulate how to set up the player when the presentation is published. Click on the Player Templates button in the Tools section of the Articulate ribbon.
The Player Templates dialog box will open. As we've already seen in other Articulate dialog boxes, this one also has a set of tabs along the left-hand side. It should open with the Layout tab highlighted; if not, select it.

The only change we want to make here at this time is in the View Modes. You will probably find all three tick boxes checked on the upper part of the center pane. Deselect the Standard view and No sidebar view, leaving only the Slide only view (Starting view) tick box checked.
We're now going to save these settings as a new player template. To do so, go to the drop-down list at the bottom of the dialog box. It will say Corporate Communications. Since we want this to be a new template, we're going to click on the button to the right of it that says File…, and select Save As… from the menu. A small dialog box opens for us to type in the new template's name. Let's call this one Slide Only Template.
Publishing the Course
Now that we have our template set up, we can go on to publish the presentation. Close the Player Templates dialog box and select the Publish button from the Articulate ribbon.

To do this, we'll need to be on the Web tab. The first thing we need to do is to provide the Publish Location. If you don't want to use the default location shown in the Folder area, click on the button to the right-hand side of the location (arrow 1 in the screenshot) and select the folder you would like to place the published presentation in. You can also type the location directly into the provided area (arrow 2 in the screenshot).
Dropping a little further down in the dialog box, we find an area called Properties. We'll need to give our presentation a name in the Published title area (arrow 3 on the screenshot). This is the name that will appear in the presentation window header when the presentation is published. Therefore, you want to use a proper name for the presentation. Finally we need to tell the program what template to use. We're going to select Slide Only Template (the template we just created) from the drop-down list.
We are now ready to publish our presentation. All we have to do is click on the Publish button in the dialog box and the program will do the rest.
Depending on the length of your presentation, publishing may take several minutes. To make this process run as fast as possible and reduce the chance of errors, it is recommended to not use your computer for other operations while Articulate is creating your Flash presentation. If you use copy and paste, what you have copied will show up in your presentation.
How it works…
As you can see from the tabs in the Publish dialog box, Articulate can publish your finished Flash presentation in a number of ways. The first tab, the one we used, creates the necessary files for publishing to the Web. You can also use this option for publishing on your computer for local use.
Note
Before you start publishing presentations, it's important to realize that not everything that PowerPoint does is supported by Articulate; specifically, the slide transitions aren't supported. So if you're accustomed to using transitions between your slides, you'll have to forgo that in Articulate Presenter. Likewise, not all animations from PowerPoint are supported. Later we'll show you which ones are.
Once you start working in Articulate Presenter, it creates a second file for your presentation. So instead of only having a .pptx file from PowerPoint, you will also have a .ppta file. The name will be the same, and only the file extension will be different. If you need to move your presentation to another folder on your computer or put it on removable media for it to work on another computer, be sure to copy both the files, otherwise you will lose all the work that you did in Articulate.
The Flash presentations that Articulate creates are noneditable Flash files. This provides a great advantage over standard PowerPoint files, which can be modified by the end user. In training and sales presentation situations, where the user is viewing the presentation on their own, there is no possibility of the viewer accidentally or intentionally making changes to the file.
Once Articulate has finished publishing your Flash presentation, it will notify you by displaying the Publish Successful dialog box. This provides you with a number of options, including the ability to view your presentation, upload it to the Web via FTP, or compress it in a ZIP file.
If you open the folder that contains your presentation, you will see that it consists of a number of files. The folder will be titled with the name of the presentation, and it will contain two folders (titled data and player) and a player.HTML file. The player file is the one that you click to play the presentation. It will open in whatever program the user has selected as your default for Flash files, probably their default web browser.
You can rename this file as desired. However, don't rename the folders. If you need to copy, move, or upload your presentation, be sure to move the entire folder, including the subfolders and the player file. Otherwise, your flash presentation will not work.


