Setting up the Android emulator
The Android emulator has historically been known to be sluggish compared to developing on a physical device. To help solve this issue, Google has produced an x86 emulator that supports hardware acceleration on desktop computers. It isn't installed by default in the Android Virtual Device (AVD) Manager, so let's set that up.
The x86 Android emulator can be installed by performing the following steps:
- Open Xamarin Studio.
- Launch Tools | Open Android SDK Manager....
- Scroll down to Extras; install Intel x86 Emulator Accelerator (HAXM Installer).
- Scroll to Android 6.0 (API 23); install Intel x86 Atom System Image.
- Optionally, install any other packages you are interested in. At the minimum, make sure you have everything that the Android SDK Manager selects for you to install by default.
- Close the Android SDK Manager and navigate to your Android SDK directory, by default located at
~/Library/Developer/Xamarin/android-sdk-macosx. - Navigate to
extras/intel/Hardware_Accelerated_Execution_Managerand launchIntelHAXM_6.0.3.dmgto install the HAXM driver. - Switch back to Xamarin Studio and launch Tools | Open Google Emulator Manager....
- Click on Create....
- Enter an AVD name of your choice, such as
x86 Emulator. - Pick a generic device that will be appropriately sized for your display, such as the Nexus 5.
- As CPU/ABI, make sure you select an option that supports Intel Atom (x86).
- After creating the device, go ahead and click on Start... to make sure the emulator runs properly.
Tip
These instructions should be very similar on Windows. By default, the Android SDK is installed at C:\Program Files (x86)\Android\android-sdk on Windows. Likewise, the HAXM installer is named intelhaxm-android.exe on Windows.
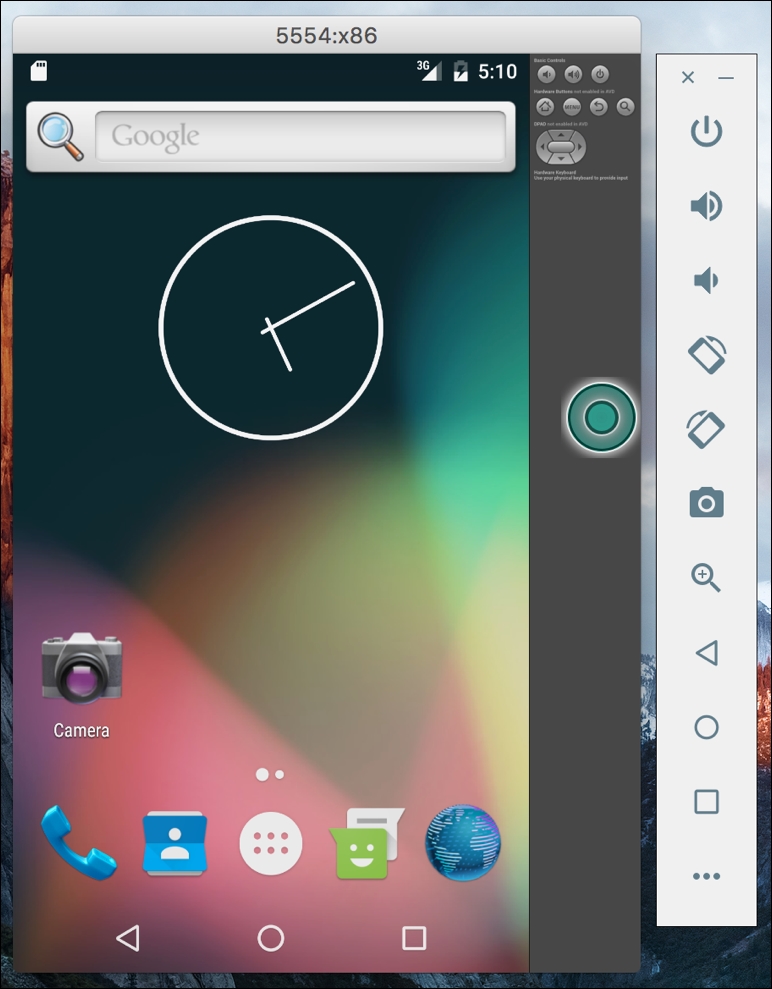
The emulator will take some time to start up, so it is a good idea to leave the emulator running while working on an Android project. Xamarin is using the standard Android tools here, so even Java developers feel the pain of the sluggish emulator. If everything starts properly, you will see an Android boot screen followed by a virtual Android device ready for deploying applications from Xamarin Studio, as shown in the following screenshot:

There are many options out there for Android emulators, such as Genymotion or Visual Studio Android Emulator. Using Xamarin will not limit your choices in Android emulators, so feel free to experiment if the default Android emulator isn't working for you.


