


Creating the UI widgets
To create UI widgets, first, select the All | Content | TopDown | Blueprints folder (or wherever you want to place the new widgets in the Content Drawer). Then, right-click in the empty area and choose User Interface | Widget Blueprint from the pop-up menu:

Figure 11.2 – Creating a UI widget from the editor pop-up menu
Now, click the User Widget button to pick the root widget:
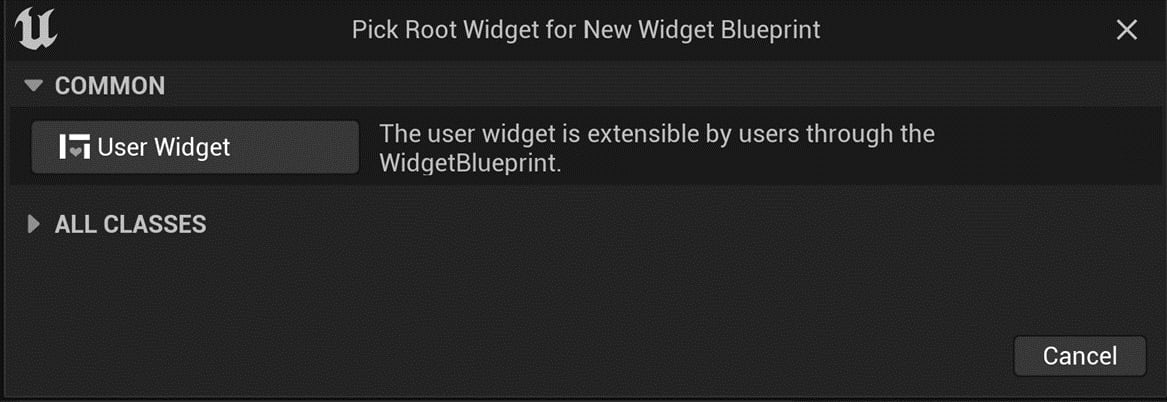
Figure 11.3 – Clicking the User Widget button to create the widget
After picking the root widget, you should see a new item named NewWidgetBlueprint in the folder:
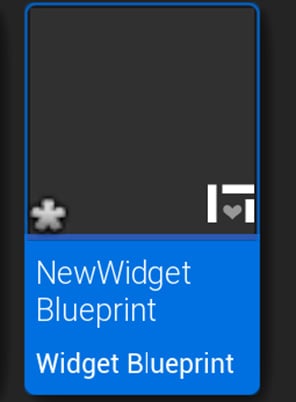
Figure 11.4 – The new widget blueprint
Rename the new widget to the name you want – I will choose BP_LobbyWidget. Then, repeat these steps and create two more widgets called BP_HUDWidget and BP_GameOver.
Now, let’s edit these widgets’ settings.
Creating BP_LobbyWidget
With BP_LobbyWidget...


