Now that you've learned how to create, compile, and execute a module using the Command Prompt, let's see how to do the same thing using the NetBeans IDE:
- Create a new project in the NetBeans IDE by clicking
 in the toolbar or, through the menu File | New Project, you'll see a New Project overlay with a new option in the Java category--Java Modular Project:
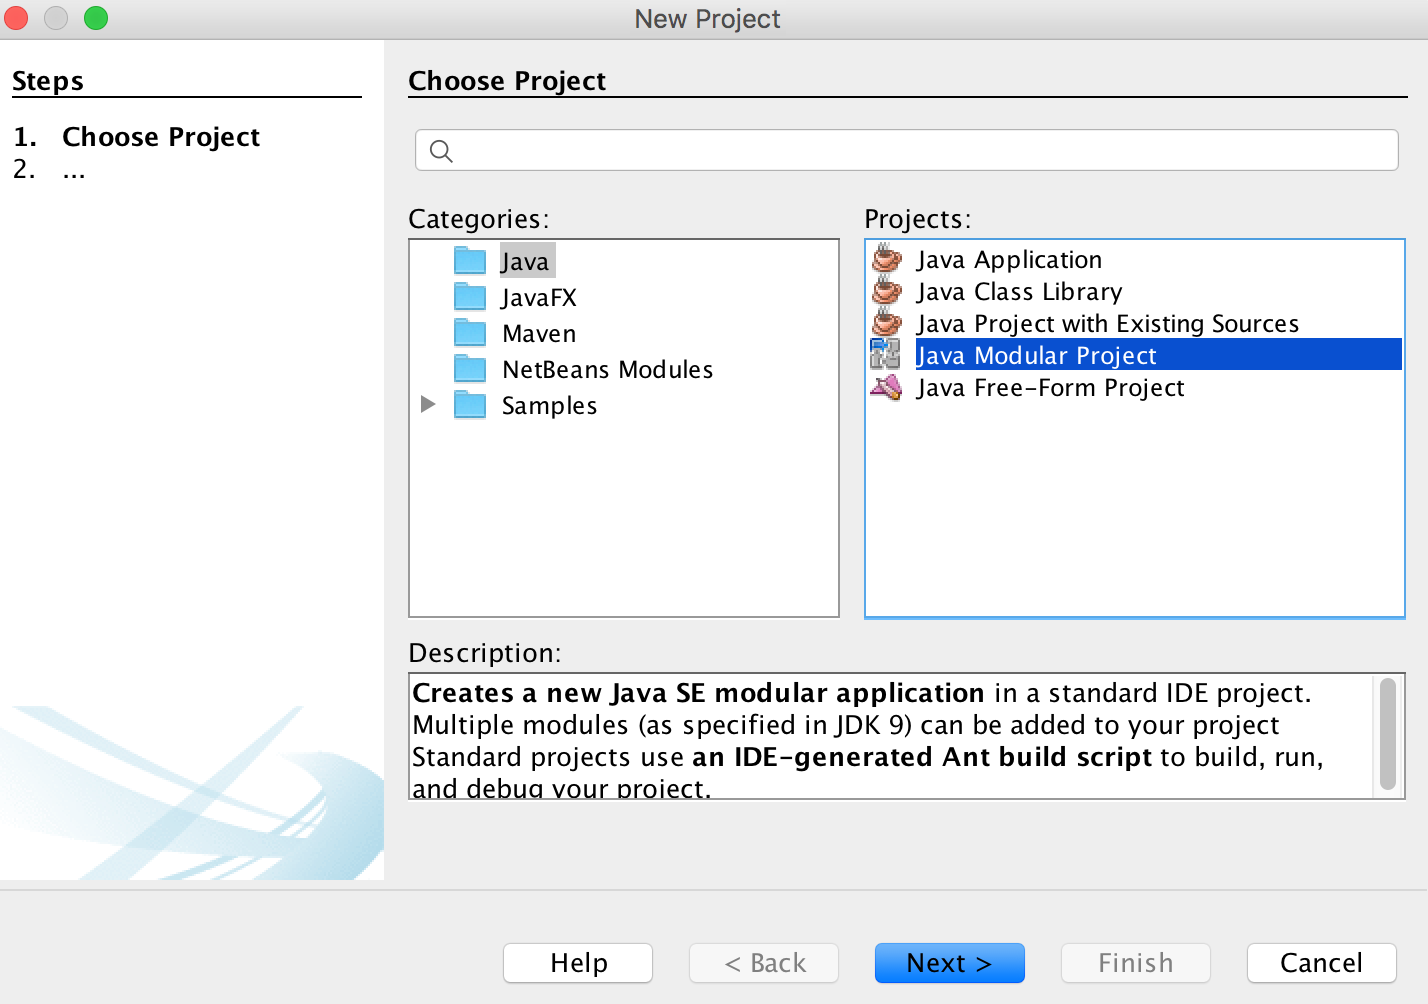
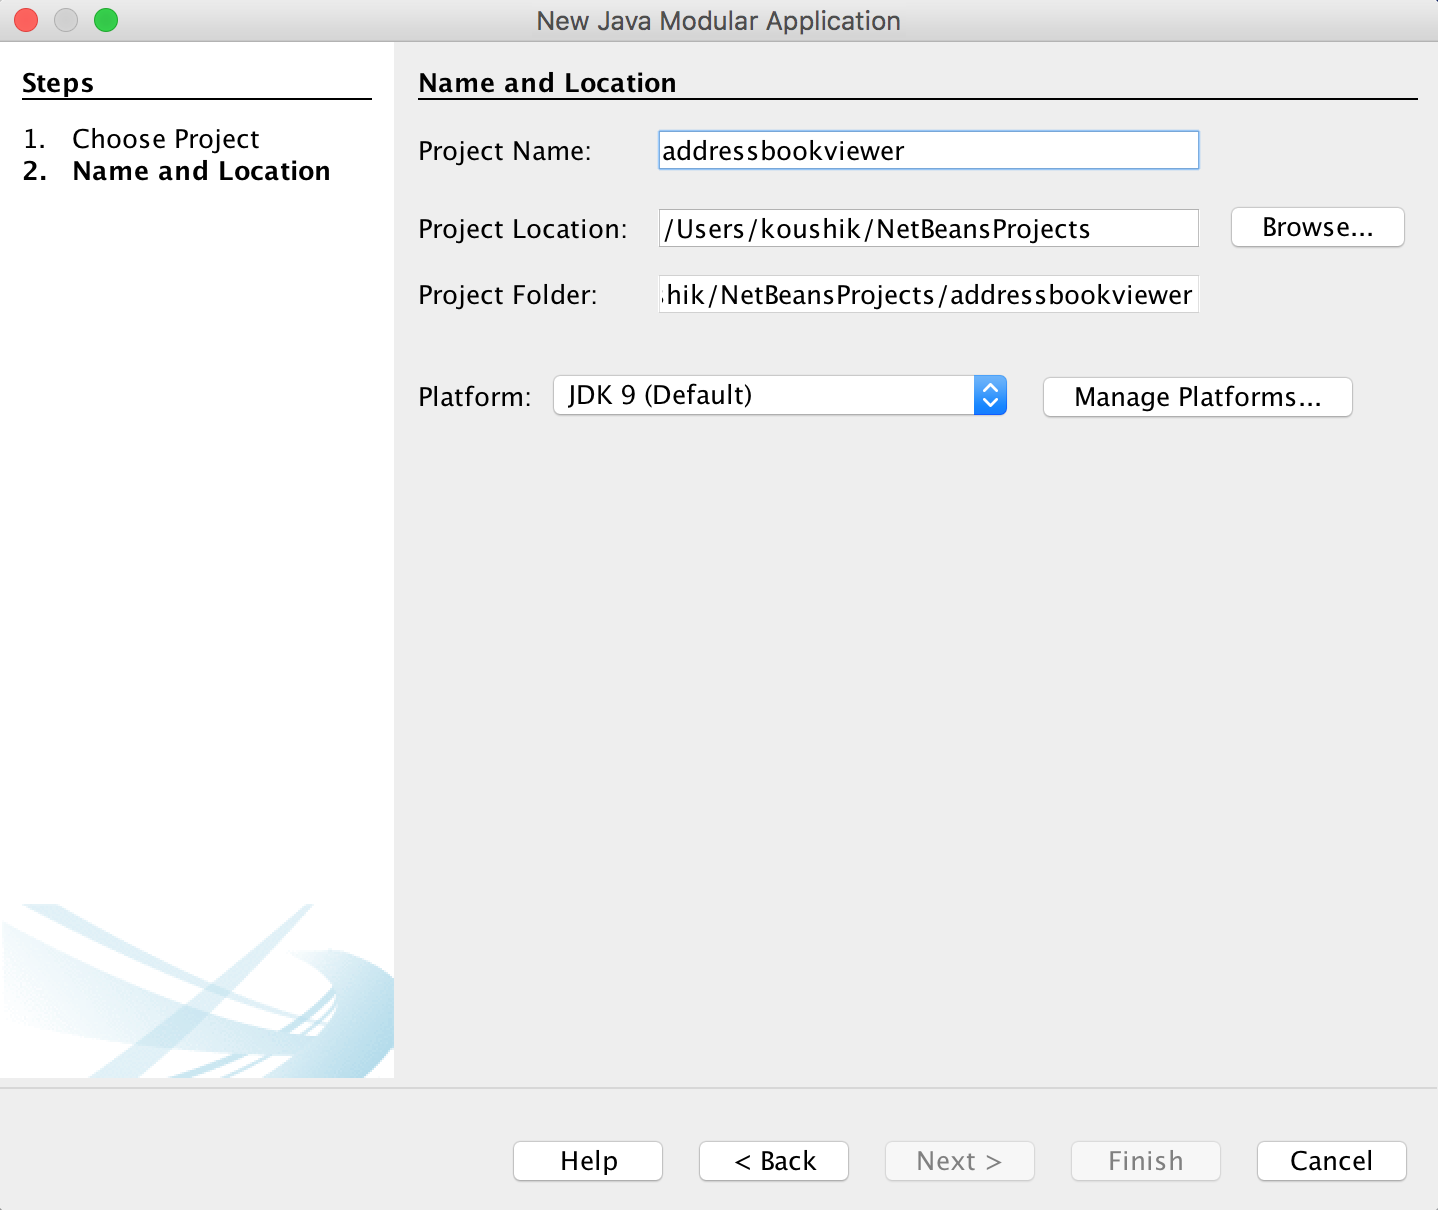
- Select that and click Next. In the next dialog, you can specify the name of your project (I chose addressbookviewer) and the location of your project and click Finish:
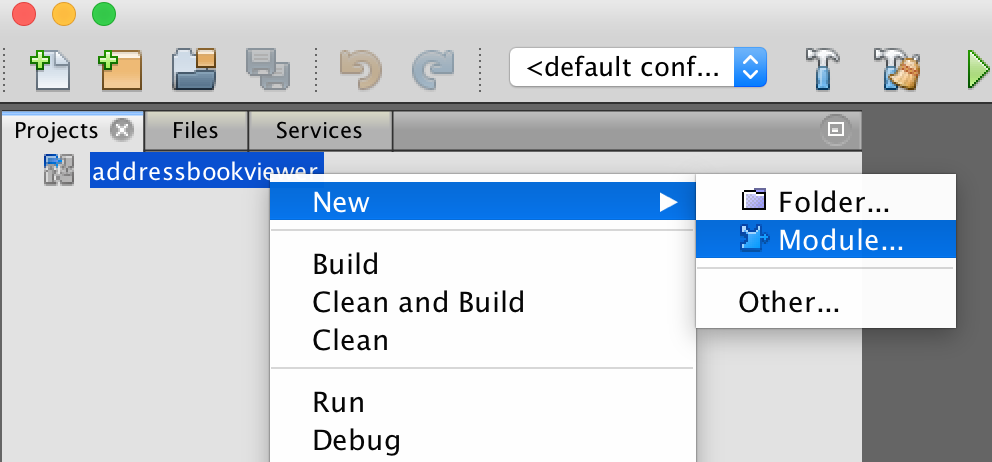
- Once the new project is loaded onto your IDE, you can right-click on the name of the project in the Projects tab and choose the option to create a new module:
- In the New Module dialog, enter the name of the module packt.addressbook and click Finish:
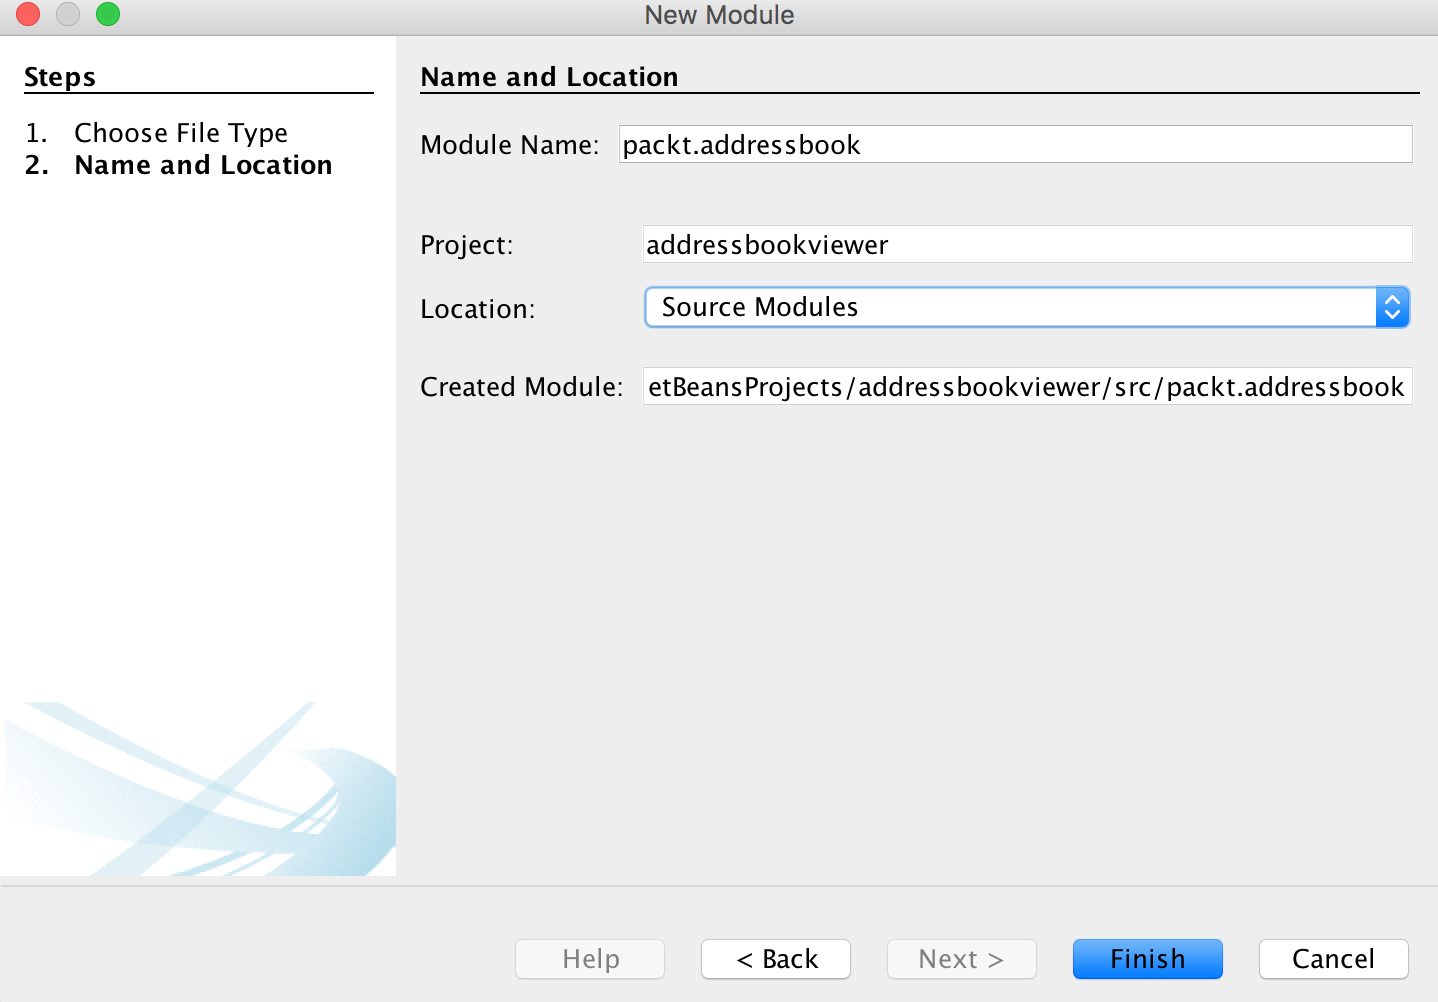
And just like that, you've created a new module...