


Defining case data
The default fields are a good starting point. Leave them as they are. I will explain how to add the following fields to enable proper data management:
- Description: A paragraph to describe the improvement
- Department Manager: The manager responsible for the implementation
- Department: The name of the department in which the improvement would need to be implemented
The default fields are shown in the following screenshot:
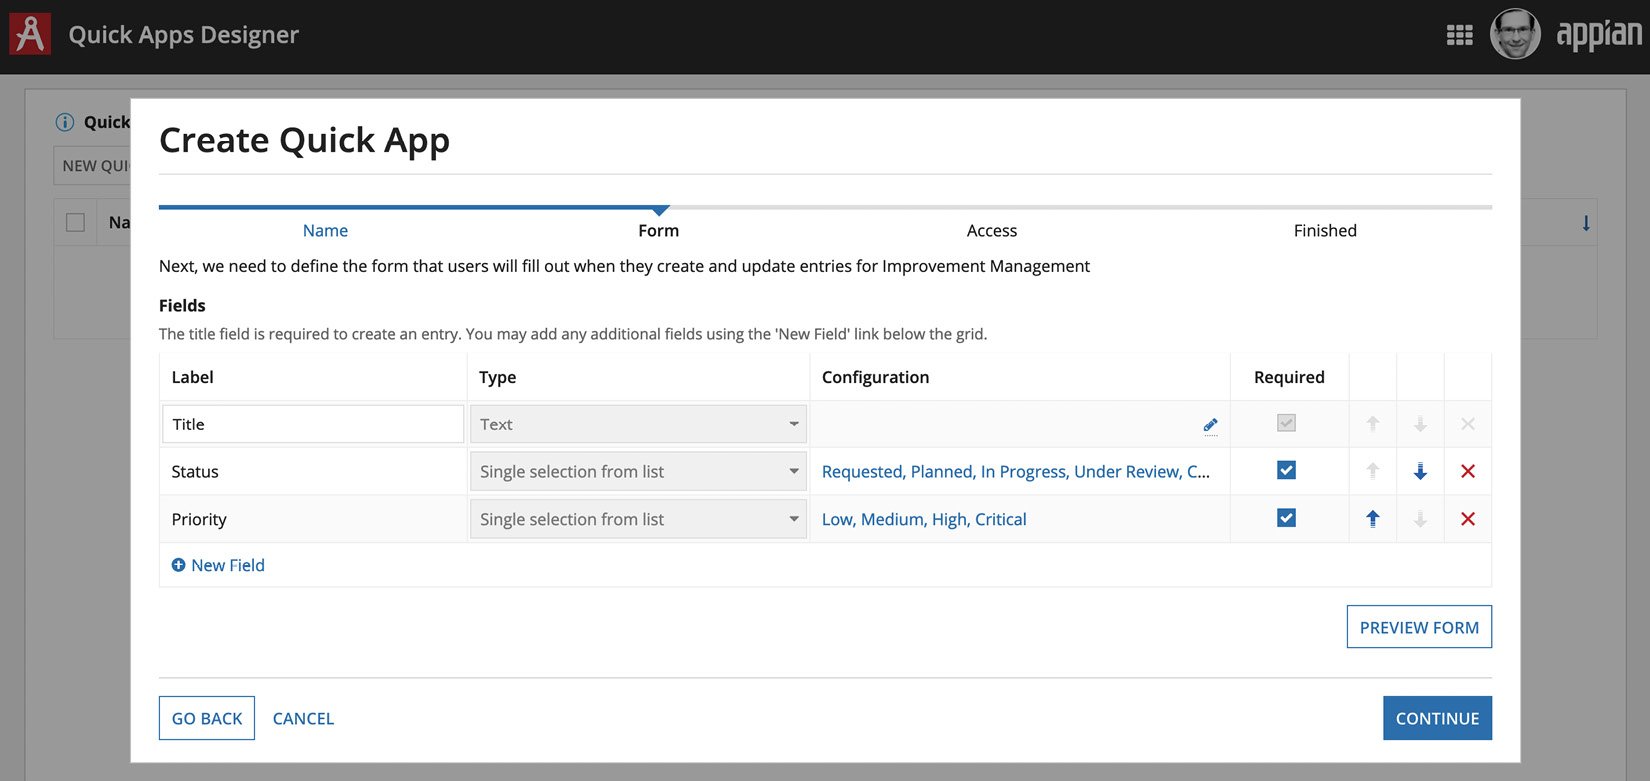
Figure 1.13 – Predefined default fields
For each field, you define the name, a data type, and whether it is required or not. Some fields have additional options, which we will have a look at later.
Let's follow the next series of screenshots to add these three fields, as follows:
- Click the New Field button, as indicated in the following screenshot:
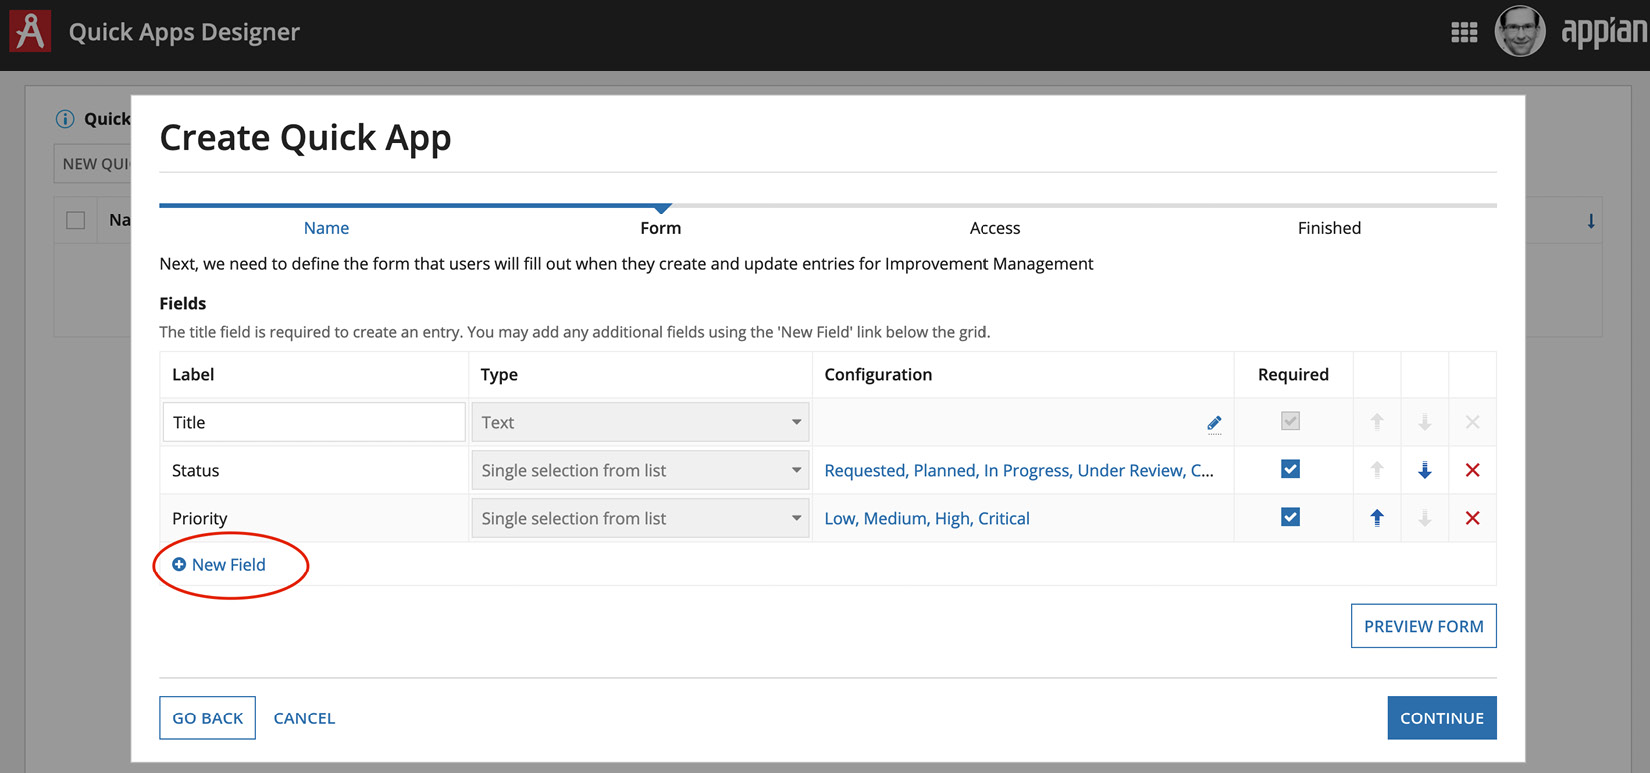
Figure 1.14 – Adding a new field
- Enter and select Paragraph for the data type, as highlighted in the following screenshot:
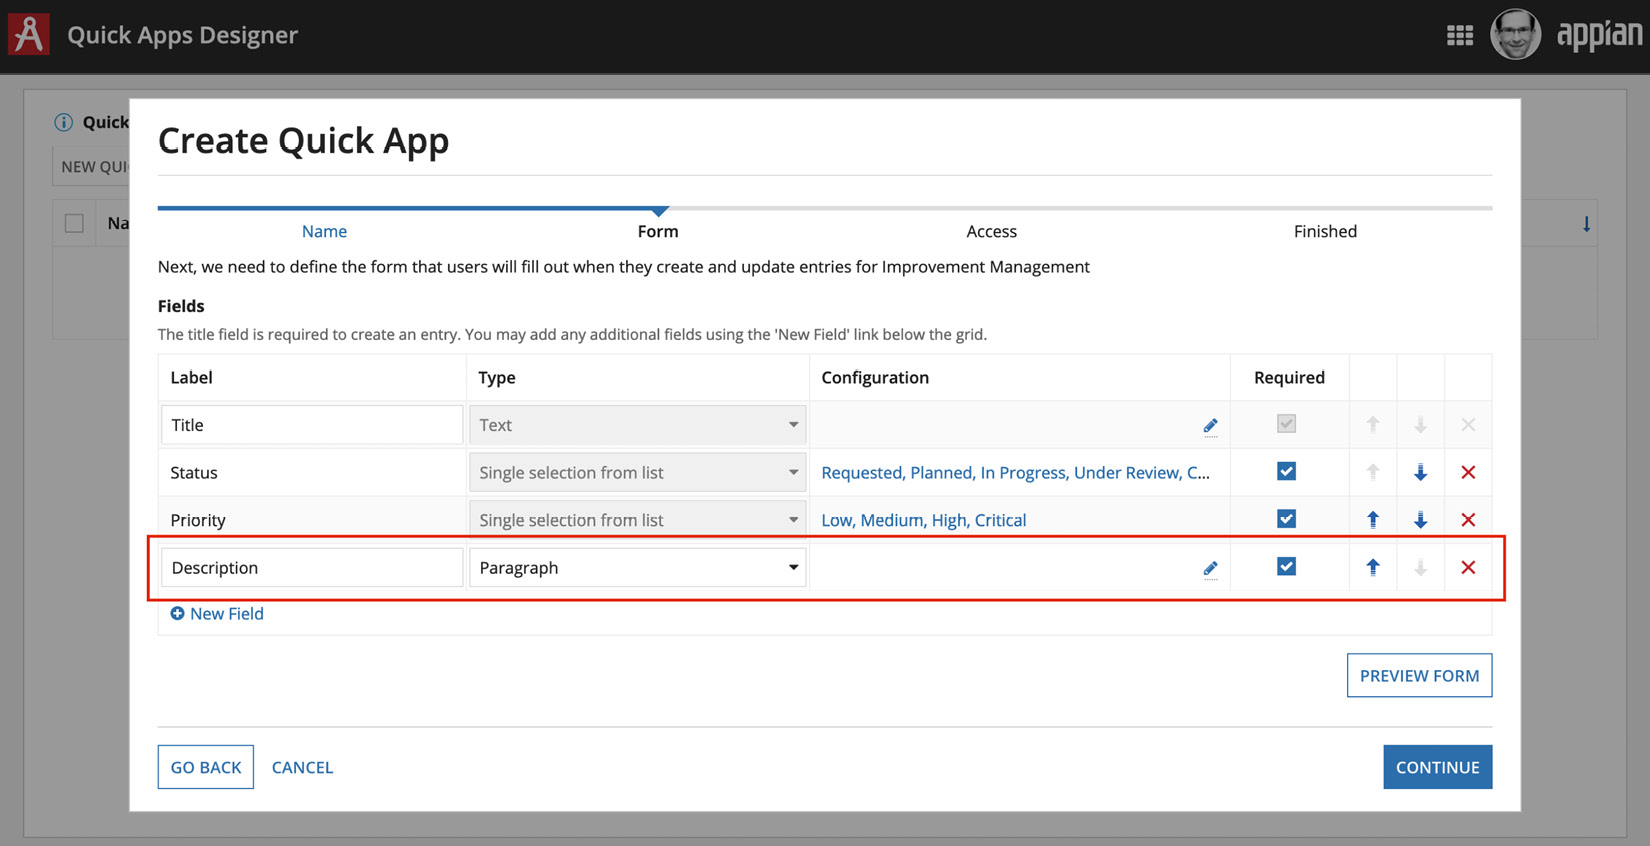
Figure 1.15 – Paragraph type
- Add another field and enter Department Manager for the label and select User as the type, as highlighted in the following screenshot:
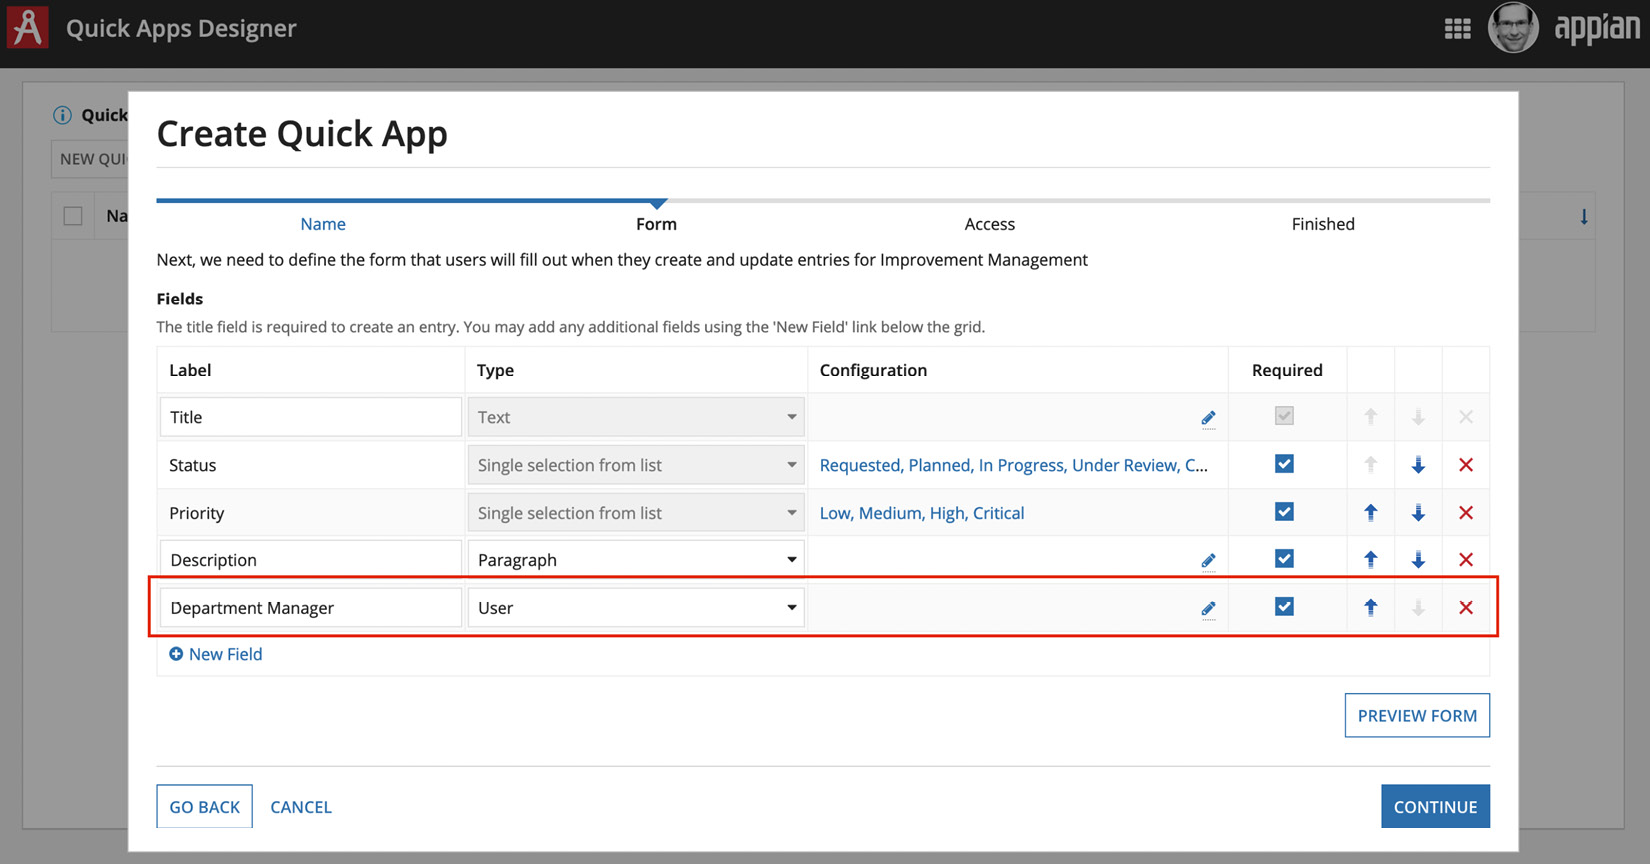
Figure 1.16 – User type
- Name the last field Department and give it the type of Text.
- After adding the three fields, let's look at how the form and the dashboard will look. Click the PREVIEW FORM button to do so, as illustrated in the following screenshot:

Figure 1.17 – All fields added
Appian will display a preview of the form, and you can already enter data to see whether it fits your requirements, as indicated in the following screenshot:
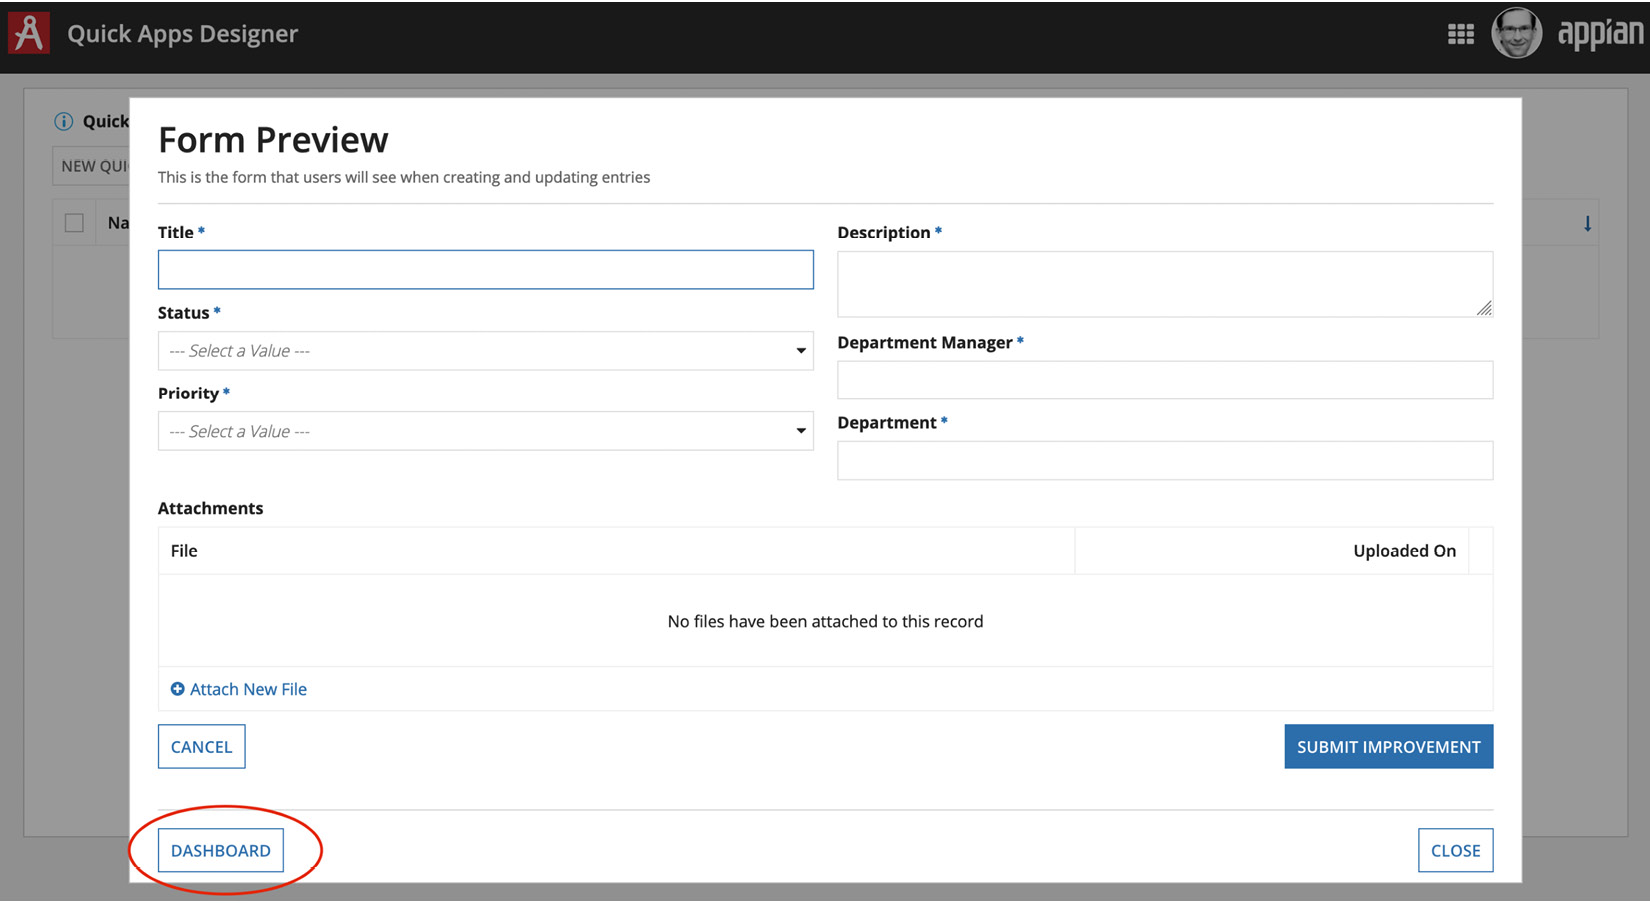
Figure 1.18 – Form preview
- Click the DASHBOARD button highlighted in Figure 1.17 to switch to a preview of how the screen for each improvement will look. This is the result:
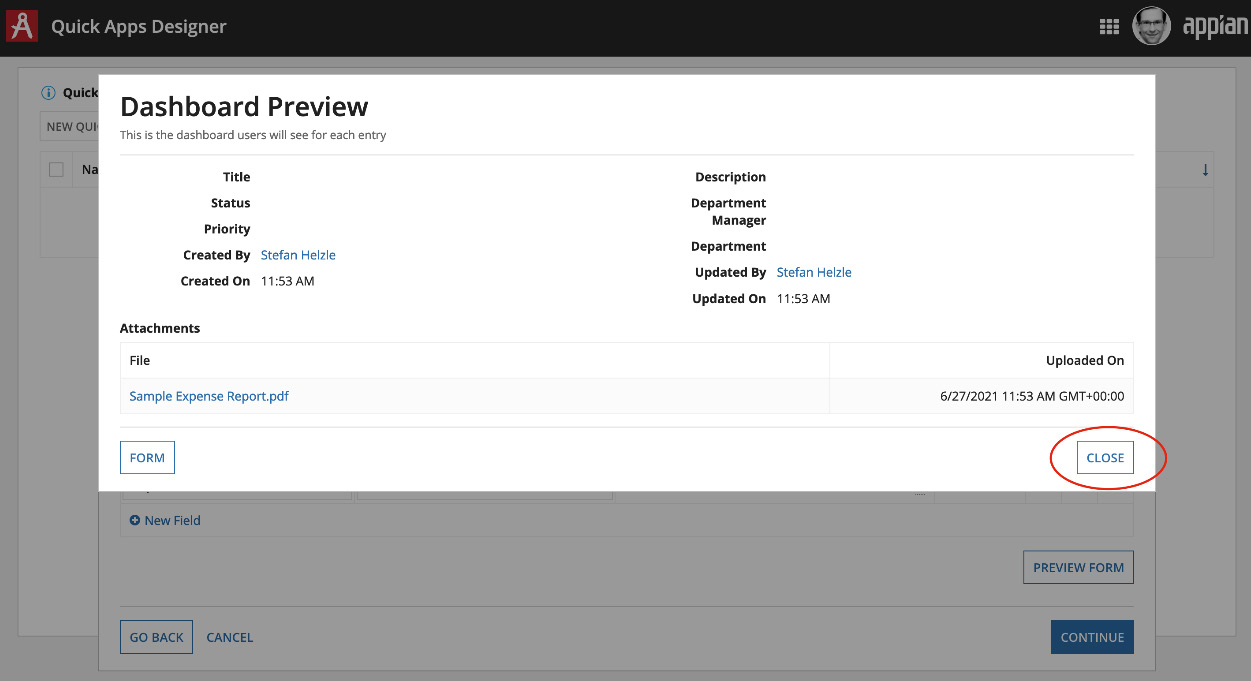
Figure 1.19 – The dashboard preview
- Click the CLOSE button to close the review screen, followed by CONTINUE to get to the next step.


