Installing Node.js
For the stable versions, the official Node.js website supplies linked binaries that provide the easiest way to install Node.js on Linux, Mac OS X, and Windows. Note that you need to download the right architecture version for your operating system. If you use Windows or Linux, make sure to download either the 32-bit or 64-bit version according to your system architecture. Mac users are safe to download the 64-bit version.
Note
The Node.js version scheme works in a way similar to that of MongoDB, where even version numbers mark stable releases, and so versions 0.8.x and 0.10.x are stable, while 0.9.x and 0.11.x are unstable releases and should not be used in production. The latest stable version of Node.js is 0.10.x.
Installing Node.js on Windows
Installing Node.js on a Windows machine is a simple task that can be easily accomplished using the standalone installer. To begin with, navigate to the http://nodejs.org/download/ page and download the right .msi file. Notice there are 32-bit and 64-bit versions, so make sure you download the right one for your system.
After downloading the installer, run it. If you get any security dialog boxes, just click on the Run button and the installation wizard should start. You will be prompted with an installation screen similar to the following screenshot:

Node.js Windows installation wizard
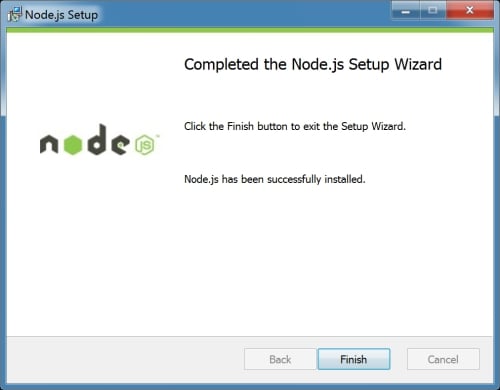
Once you click on the Next button, the installation should begin. A few moments later, you'll see a confirmation screen similar to the following screenshot, telling you Node.js was successfully installed:

Node.js Windows installation confirmation
Installing Node.js on Mac OS X
Installing Node.js on Mac OS X is a simple task that can be easily accomplished using the standalone installer. Start by navigating to the http://nodejs.org/download/ page and download the .pkg file.
After downloading the installer, run it and you will be prompted with an installation screen similar to the following screenshot:

Node.js Mac OS X Installation Wizard
Click on Continue and the installation process should begin. The installer will ask you to confirm the license agreement and then offer you to select the folder destination. Choose the option most suitable for you before clicking on the Continue button again. The installer will then ask you to confirm the installation information and ask you for your user password. A few moments later, you'll see a confirmation screen similar to the following screenshot, telling you that Node.js was successfully installed:

Node.js Mac OS X installation confirmation
Installing Node.js on Linux
To install Node.js on a Linux machine, you'll have to use the tarball file from the official website. The best way of doing so is to download the latest version and then build and install the source code using the make command. Start by navigating to the http://nodejs.org/download/ page, and download the suitable .tar.gz file. Then, expand the file and install Node.js by issuing the following commands:
$ tar -zxf node-v0.10.31.tar.gz
$ cd node-v0.10.31
$ ./configure && make && sudo make install
If everything goes well, this will install Node.js on your machine. Note that these commands are for the Node.js 0.10.31 version, so remember to replace the version number to the version you downloaded. If you encounter any problems, the team behind Node.js has created a set of alternative installation options for you, documented at https://github.com/joyent/node/wiki/installation.
Note
It is recommended that you learn more about Node.js by visiting the official documentation at https://nodejs.org.
Running Node.js
After you successfully installed Node.js, you will now be able to start experimenting with it using the provided command-line interface (CLI). Go to your command-line tool and execute the following command:
$ node
This will start the Node.js CLI, which will wait for a JavaScript input. To test the installation, run the following command:
> console.log('Node is up and running!');
Node is up and running!
undefined
This is nice, but you should also try to execute a JavaScript file. Start by creating a file named application.js that contains the following code:
console.log('Node is up and running!');To run it, you'll have to pass the file name as the first argument to Node CLI by issuing the following command:
$ node application.js
Node is up and running!
Congratulations! You have just created your first Node.js application. To stop the CLI, press CTRL + D or CTRL + C.


