


How a plug-in works:
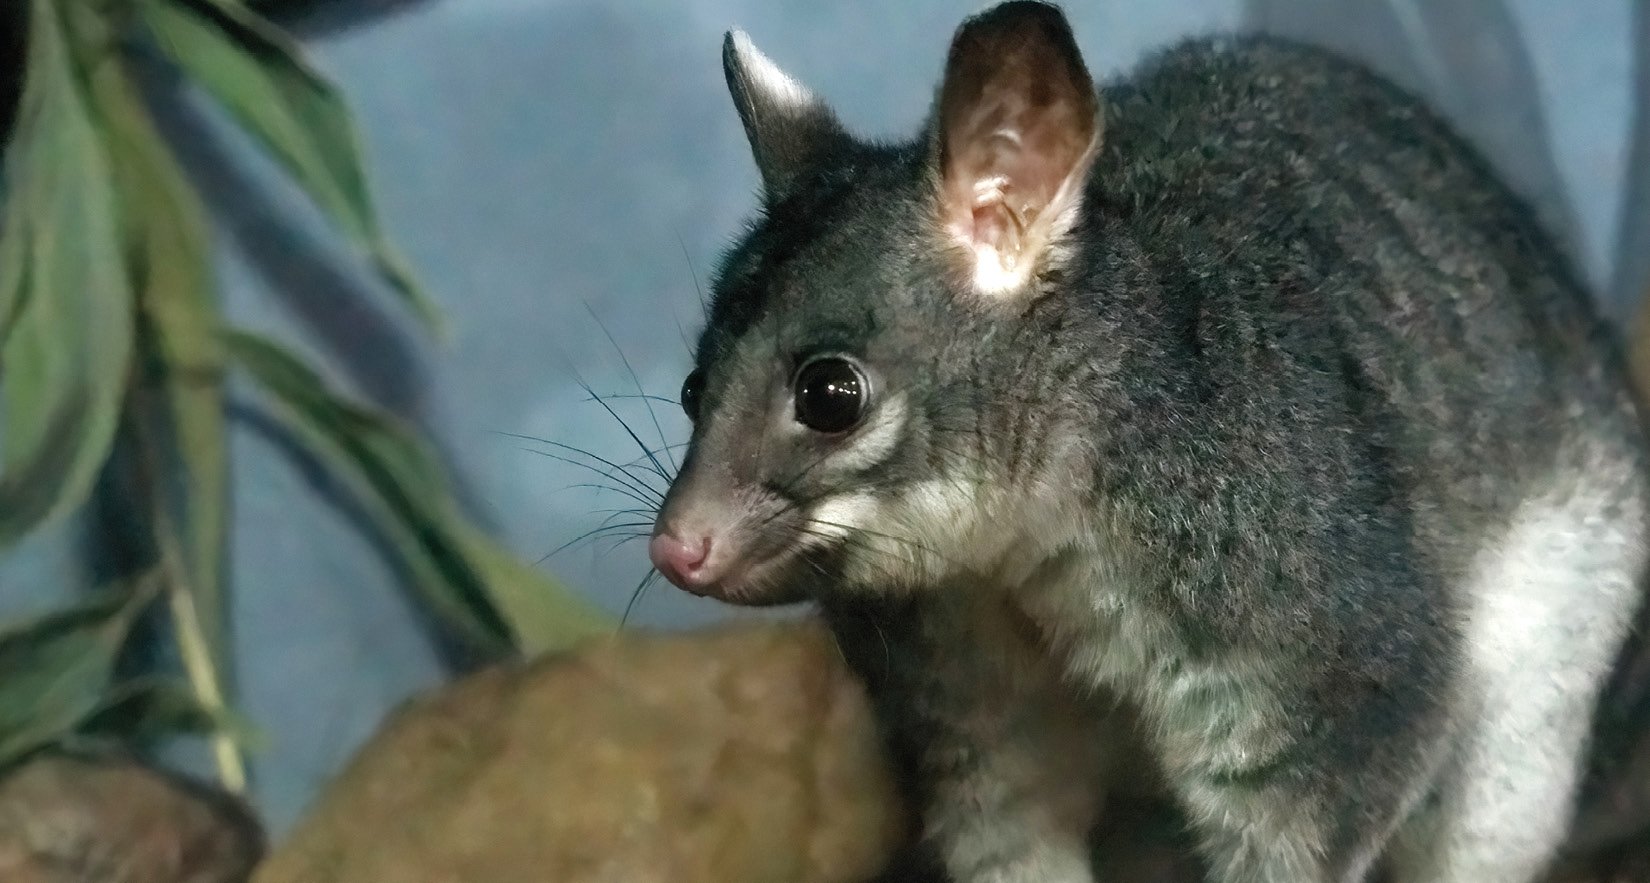
Once the plug-in has installed correctly, restart Elements and test it. Open a suitable photo (this image was snapped in the nocturnal house at a local wildlife park—it was so dark I had to boost the ISO way past my normal comfort zone to ISO12,800, so the noise in the image is very pronounced!
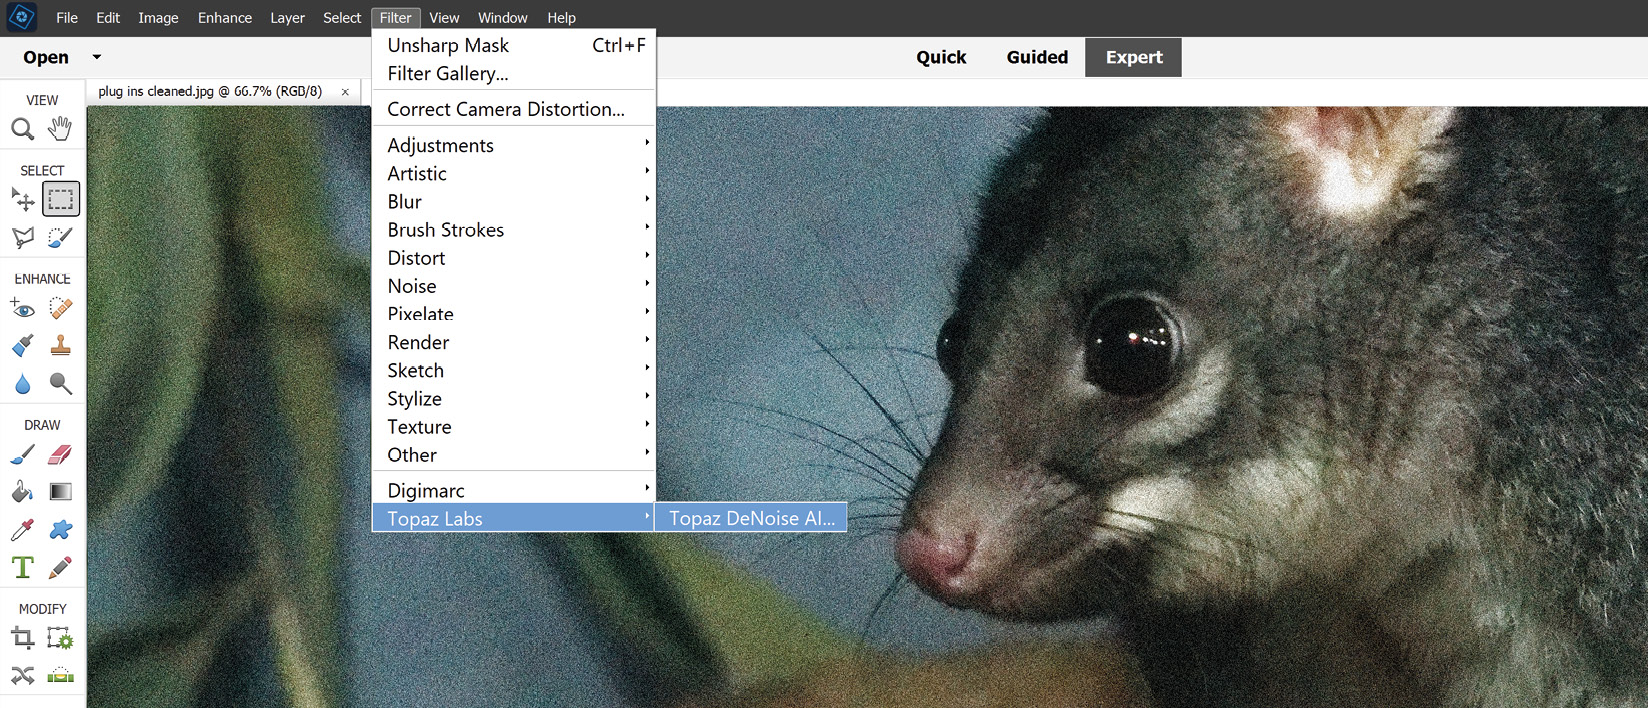
Step 1: Open the image, then, from the Filter drop-down menu, click the name of the appropriate plug-in to start it. In this example I'm using the Denoise plug-in from Topaz Labs.
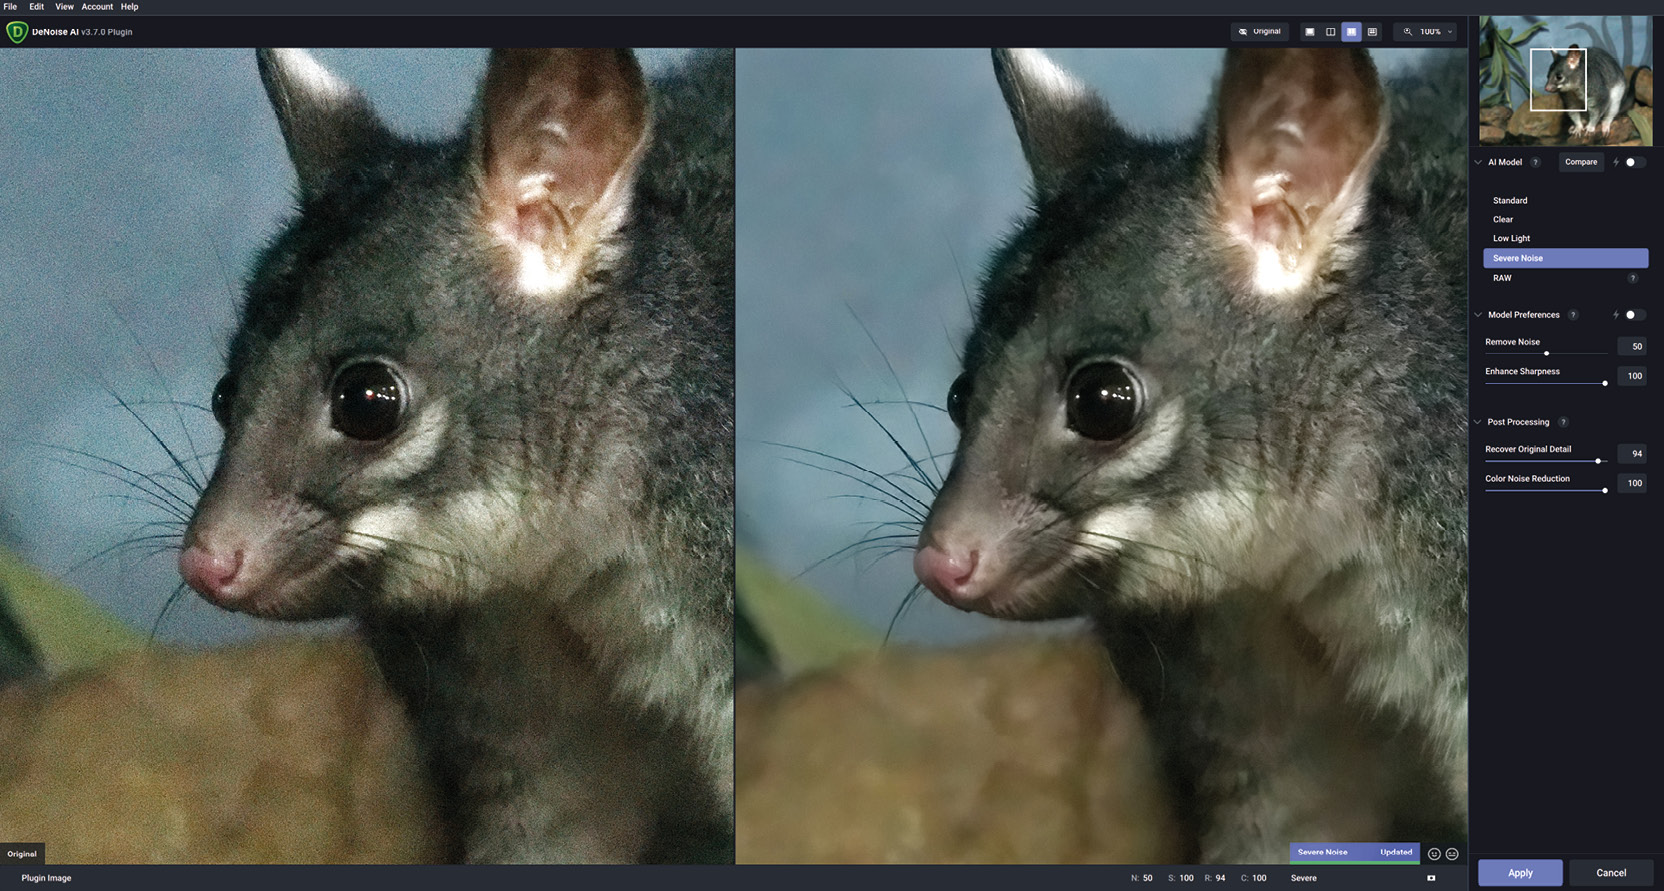
Step 2: Once the plug-in is started you lose sight of Elements and work within the plug-in software itself. Denoise has a range of presets: RAW, Standard, Clear, and Severe Noise, all of which can be further modified if needed. Some plug-ins have hundreds of possible processing combinations, making it tricky to decide on which is best. In this case you can usually save your own favourite combination as a preset to use later.
 ...
...


