Adding the materials
In the previous chapter, we learned all about dynamic paint and what it takes to create a simulation, but we didn’t cover materials. That is what this next section is all about! We will be taking all the images we just exported from dynamic paint and importing them into the material. After that, we will learn how to create a material for the hair particles. Let’s get started!
Creating the canvas material
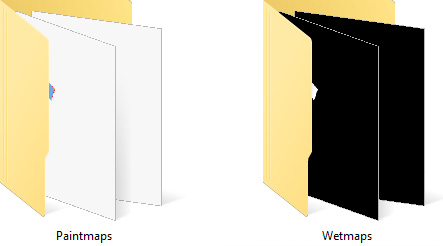
The first thing we need to do before we start working on adding nodes to the material is to separate the paintmaps and the wetmaps. When we baked the image sequence, both the paintmaps and wetmaps were put into the same folder.
So instead, let’s select all the wetmap.png files and move them into a new folder, as you can see in the following figure:

Figure 13.25 – Image folders
With that done, we are ready to jump back into Blender and start creating the materials:
- Head over to the Shading...


