Configuring the server settings (Intermediate)
Now that the installation and the post-installation wizards have completed successfully, we still need to complete a few tasks such as configuring the Reporting Services, creating departments, and groups.
Getting ready
Reporting Services is a component of Microsoft SQL Server and is required as part of a Citrix EdgeSight installation to provide a robust and flexible reporting environment. Reporting Services provides a central location for report storage and management. They can be installed on the database server, web server, or a separate server itself. If you do not have Reporting Services configured, the EdgeSight installation process will not give any warning; the installation will end successfully but no reports will be available on the EdgeSight Console.
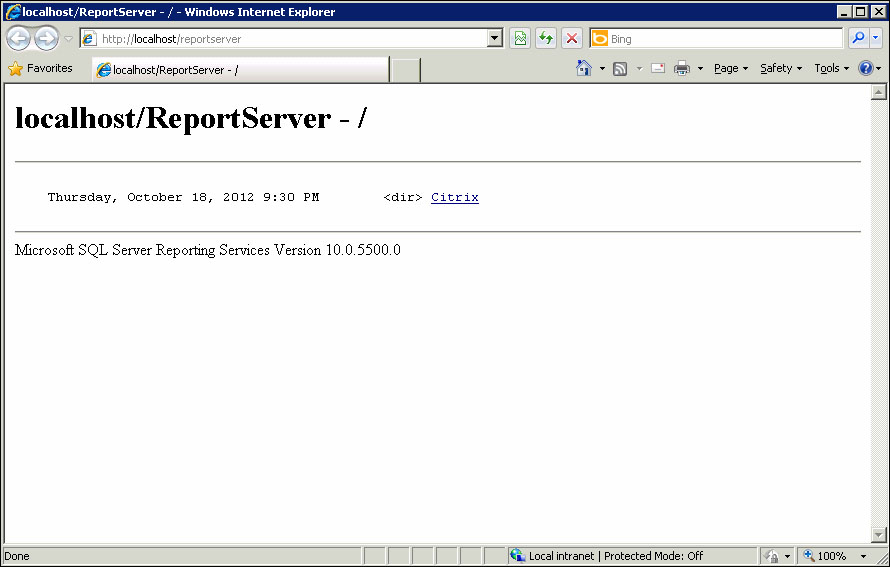
You can open a web browser and point the URL to http://<ServerName>/ReportServer to verify the existence of Reporting Services on a server. This URL could be different if the Reporting Services were customized. This is depicted in the following screenshot:

This web page also displays the version of the Reporting Services we have installed.
For more information on how to install and configure Reporting Services to be used by EdgeSight, refer to the Citrix Article ID CTX111313 documentation at the following link:
How to do it...
As soon as you log in for the first time on the EdgeSight web console, you will see a message on the top such as Reporting Services is not configured or is configured incorrectly. In the Report Server URL field, enter the URL of your reporting server and the credentials for the Reporting Server. Click on the Save Changes button.

Tip
If you have created a new user ID to be used by the EdgeSight Server to connect Reporting Services web services, use this ID. You can later modify the information entered here by navigating to Configure | Server Configuration | Reporting Services | Report Server.
The Reporting Services Configuration Status – Webpage Dialog window pops up. Wait a few minutes for the pop-up window to configure the Reporting Services. Once the Reporting Services have been configured, click on the Close button.
Tip
A department is a logical grouping of agent devices within a company that have the same configurations and alerts applied. We can map one or multiple alert rules, alert actions, worker configurations, and agent configurations to devices in the department.

If the Reporting Services Configuration Status – Webpage Dialog window does not appear and times out after 20 minutes, there is a delay in communication from the EdgeSight web server with SQL Server Reporting Services. If this happens then ensure that the SQL Server Agent service is in started state. This is required for publishing the schedules.
Verify that the default departments were created successfully by navigating to Configure | Company Configuration | Device Management | Departments.

The All root department and the XenApp Farms subdepartments are created by default during the EdgeSight installation and are usually referred as the default departments. The default departments cannot be renamed, moved, or deleted but we can modify their worker and agent properties.
The subdepartments override configuration settings inherited from parent departments. If you have two alerts mapped to the All department and three are mapped to a subdepartment, then that means that a total of five alert rules will be applied to this subdepartment.
Tip
You can create departments based on the type of application published on the XenApp server such as the Office 2007 servers, the Office 2010 servers, the geographical location of the server, or any other hierarchical structure.
After installing the EdgeSight agent and rebooting the XenApp server you will receive an e-mail from the EdgeSight Server that a new instance has been discovered. Verify that you start getting those e-mails. The following screenshot displays the e-mail received from the EdgeSight Server after a new device gets registered with it:

Navigate to Configure | Company Configuration | Device Management | Devices to verify that the XenApp servers on which the agent has been installed start to appear in the EdgeSight console.

Verify the EdgeSight Server's license status by navigating to Configure | Server Configuration | EdgeSight Licensing.
Tip
If a XenApp agent licensing violation has occurred, then the following message will be displayed:
EdgeSight has detected a problem with Licensing. Click here for more information.
Verify that you only upload the data from the agents to the EdgeSight database that is important to you. Navigate to Configure | Server Configuration | Data Maintenance | Upload Configuration to make your selection according to your requirements.
Note
An important message is displayed at the top of the page, informing the administrator that the amount of data uploaded to the server directly impacts the size of your database and the performance of the server. The server will run faster and will be able to support more devices if you do not upload data that is not important to you.
There's more...
A single server can support multiple companies. Companies are broken down into departments.
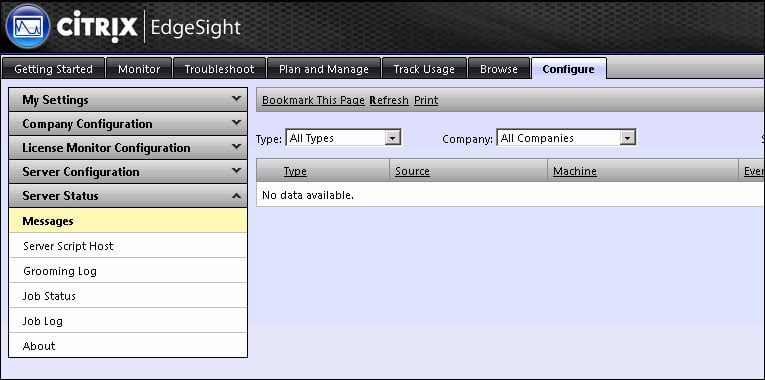
To display the most recent messages related to server maintenance jobs, events, or the registration of new agents, browse to Server Status | Messages.

Modifying the e-mail notification settings
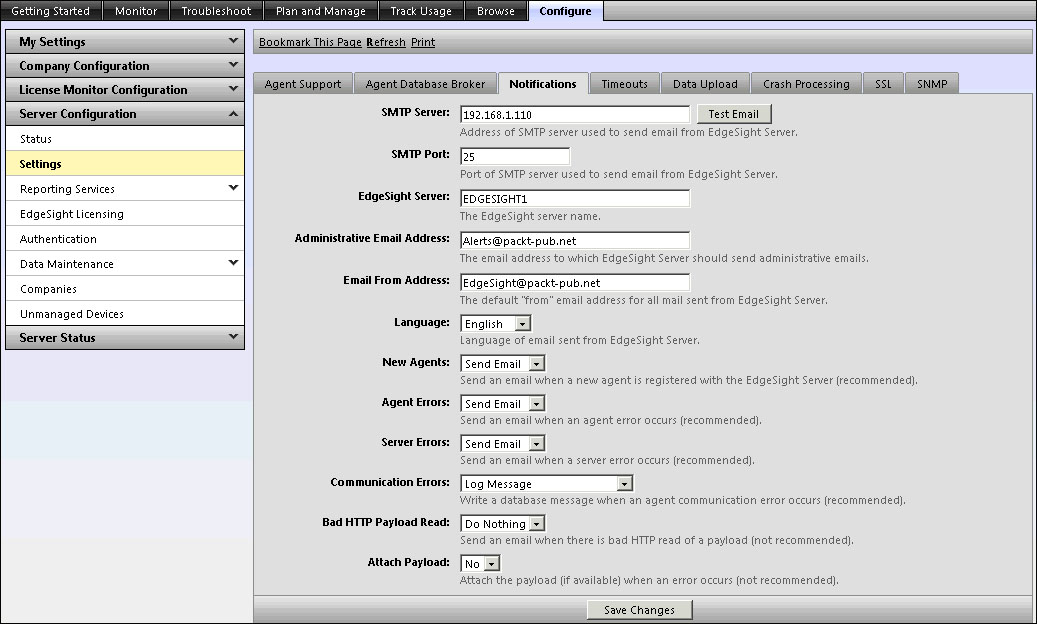
You must provide a valid SMTP server name or IP address as the EdgeSight Server uses e-mail for alerts and error event notifications.
In case you ever need to go back and modify the e-mail notification settings for a company in EdgeSight, navigate to Configure | Server Configuration | Settings | Notifications.

Before saving your changes you must also test the communication with your messaging server by clicking on the Test Email button.
Tip
Based on your SMTP server and its version, you might also need to configure you SMTP server to allow the EdgeSight Server to send an e-mail.


