Layers and tags
If you already have in mind what are you going to do, it's good to set everything up at the beginning. In particular, Unity has some labels that can be given to game objects. These are layers and tags. Unity uses these two properties to discriminate amongst certain kinds of game objects.
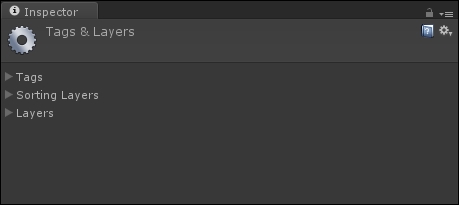
By default, some of them are already defined, but we need a few more for our project. From the toolbar menu, we can access the layers and tags settings by navigating to Edit | Project Settings | Tags and Layers. As a result, the Inspector should now look like the following screenshot:

Note
In this menu, we also have the possibility to change the sorting layers for rendering 2D objects. However, as mentioned earlier, we will use Z-Buffering to achieve the same effect.
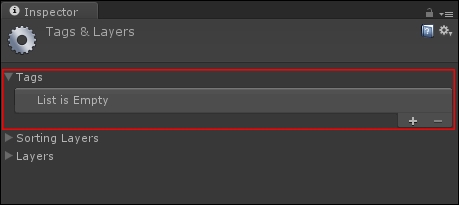
Let's expand the Tags menu, as follows:

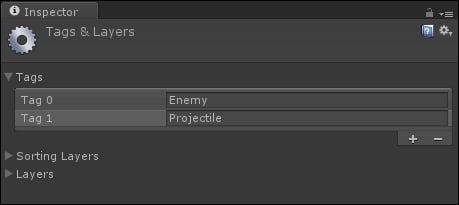
To add a new tag, just press on the + button in the bottom-right corner. We need to add two tags, respectively Enemy and
Projectile, as shown in the following screenshot:

In fact, we will need...


