Installing Grafana on a Raspberry Pi
The Single Board Computer (SBC) Raspberry Pi has been widely adopted for many uses, including IoT. So, it is quite natural to try to use Grafana on it.
In this section, we will see how to install and configure Grafana on a Raspberry Pi. To achieve good performance, we will use a Raspberry Pi version 2 or later.
Installation instructions
All the following instructions assume that you are using Raspberry Pi OS as the operating system.
Let’s start:
- First, it is always recommended to start with an update.
So, we run the following:
$ sudo apt-get update
$ sudo apt-get upgrade
- After that, we need to download the binary files for the installation:
$ wget https://dl.grafana.com/oss/release/grafana-rpi_8.0.6_armhf.deb
$ sudo dpkg -i grafana-rpi_8.0.6_armhf.deb
Note about Versions
Change the package version to the most recent stable version available. You can find all the available options at https://grafana.com/grafana/download?edition=oss.
- The next step is to make Grafana start at boot. To do this, we can use the
systemdservice file, included in Grafana packages.
So, we enable it by running the following:
$ sudo systemctl enable grafana-server
And that’s it. Grafana will start at every boot.
- Now, to start Grafana manually, we can use the following:
$ sudo systemctl start grafana-server
Now that you know how to install Grafana on a Raspberry Pi, let’s dive into how you can access Grafana for the first time.
Accessing Grafana for the first time
Now that you have Grafana running in your Raspberry Pi, you can access it through any web browser, pointing it to http://your-raspberry-ip-address:3000.
You can use your Raspberry Pi IP address, as well as its DNS name. Or, if you are accessing Grafana from the Raspberry Pi itself, you can use localhost or 127.0.0.1 in the URL.
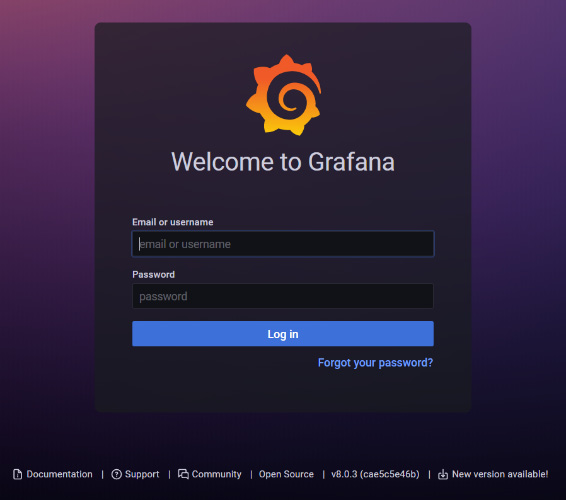
After you access the web interface, you will have to enter the username and password to enter the platform.
The default credentials are user = admin and password = admin.

Figure 1.1 – Grafana login page
In this section, you have learned to install Grafana on a Raspberry Pi. In the next section, you will see how to do it on Ubuntu Server.


