Building an Android NDK application in Eclipse
The previous recipe discusses how to build an Android NDK application in the command line. This recipe demonstrates how to do it in the Eclipse IDE.
Getting ready
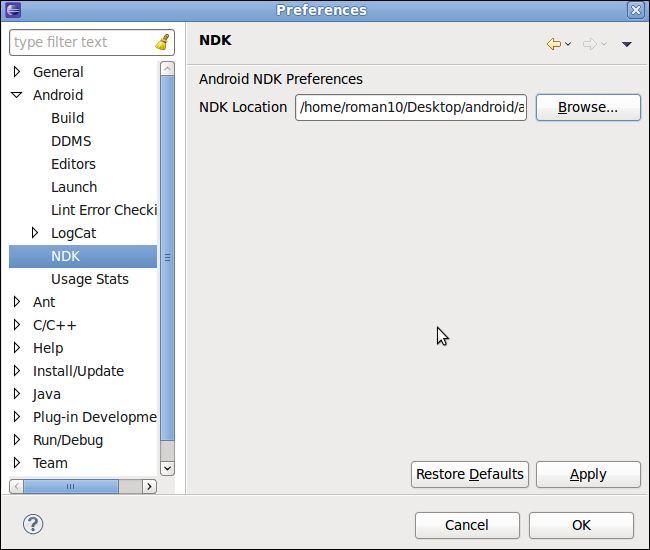
Add NDK Preferences. Start Eclipse, then click on Window | Preferences. In the Preferences window, select NDK under Android. Click on Browse and select the NDK root folder. Click on OK.

How to do it…
The following steps create an NDK project using Eclipse:
Create an Android application named
HelloNDKEclipse. Set the package name ascookbook.chapter3. Create an activity namedHelloNDKEclipseActivity. Please refer to the Loading native libraries and registering native methods recipe of Chapter 2, Java Native Interface, if you want more detailed instructions.Right-click on the project
HelloNDKEclipse, select Android Tools | Add Native Support. A window similar to the following screenshot will appear. Click on Finish to dismiss it:
This will add a
jnifolder with two files (HelloNDKEclipse...


