Using the search function to launch applications quickly
Windows 10, and therefore Windows Server 2019, have moved back to a more traditional Start menu. Ever since Windows 7 was released, I have been using the Start menu for one critical function in my daily workflow: searching. Let's explore the search capabilities of Server 2019, which can be accessed with a single press of a button.
Getting ready
For this recipe, you will need a Windows Server 2019 system online.
How to do it…
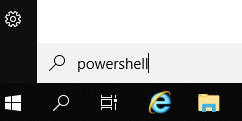
There are two ways to search inside Server 2019, but they both do exactly the same thing. One is to click on the little magnifying glass next to the Start button, while the other one is to just click the Start button itself. The only difference is that the magnifying glass brings up the search box automatically, while with the Start button, you have to start typing first:

Figure 1.7 – Using search to open PowerShell on the taskbar
You can see here that I've started searching for the PowerShell prompt. It's not immediately obvious, but I have just pressed the Start button and just typed in the word powershell. That's it. I didn't click on anything or move my mouse. I just pressed the Start button on my keyboard and then typed in the word.
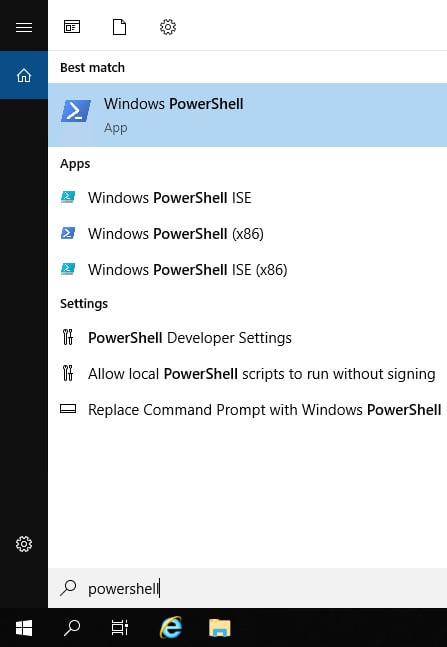
Search results are presented at the top of that screen, and you can choose what you are looking for accordingly. This is a quick, easy search. I employ this method of opening applications all day, every day. This way, I don't have to pin anything to the task bar, I don't have to create any shortcuts, and, most importantly, I don't have to use my mouse in order to launch applications:

Figure 1.8 – Using the Start menu search feature to open PowerShell
How it works…
From the Start menu, we can search for anything on the server. This gives us the ability to quickly find and launch any program or application that we have installed. This includes Administrative Tools. Rather than moving into Server Manager in order to launch your administrative consoles from the Tools menu, you can also search for them using the Search menu and launch them from there. It also gives us the ability to find files or documents by name. Another powerful way to use the search function in Windows Server 2019 is to open any kind of setting that you might want to change. In previous versions of Windows, you had to either memorize the way to get into the settings that you wanted to change or you had to open up the Control Panel, where you had to poke and prod your way around until you stumbled upon the one that you were looking for. Now, it is a very simple matter of pressing the Windows key, typing the first few characters of the setting or program you want to launch, and pressing Enter.
Another common task to perform from the Search screen is to right-click on the application that you are trying to launch and pin it somewhere. When you right-click on a program from the Search screen, you will see the option to pin the program to either your Start menu or to the taskbar. This will create a quick-launch shortcut on either the main Start menu or on the taskbar of the Desktop mode, giving you easier and faster access to launch those applications in the future.


