Importing the player model
First, make sure you create a new Unity 3D project. This is not like the first project we created as this is going to be a 3D project, not a 2D project.
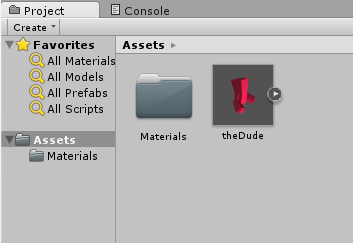
Once you've created the project, you will find the Dude.FBX file in the assets for this chapter, so drag and drop the file into the Unity project:

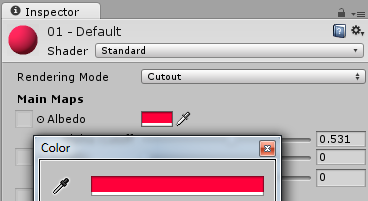
In your case the model will be gray, not red as shown here. To make it red, double-click on the Materials folder. You will see the 01- Default file. When you select it, you'll will get an option to change the color of the object. Click on the gray box next to the Albedo option in the Inspector panel and select a red color to change the color of the character:

The next thing that needs to be done by us is to create animation clips for all the animations that we have in the game. Click on the Dude character in the Assets folder of the project. Now look at the Inspector pane. In the Inspector pane you will see three tabs called Model, Rig, and Animations, as shown in the following...


